Are you looking to elevate your WordPress website without diving deep into coding? Look no further! Elementor, a popular page builder plugin, empowers you to design stunning layouts and visually appealing sites with ease. In this tutorial, we’ll explore everything you need to know about Elementor, from installation to advanced tips and tricks. Whether you’re a beginner or an experienced user, this guide aims to help you master
What is Elementor and Why Use It?
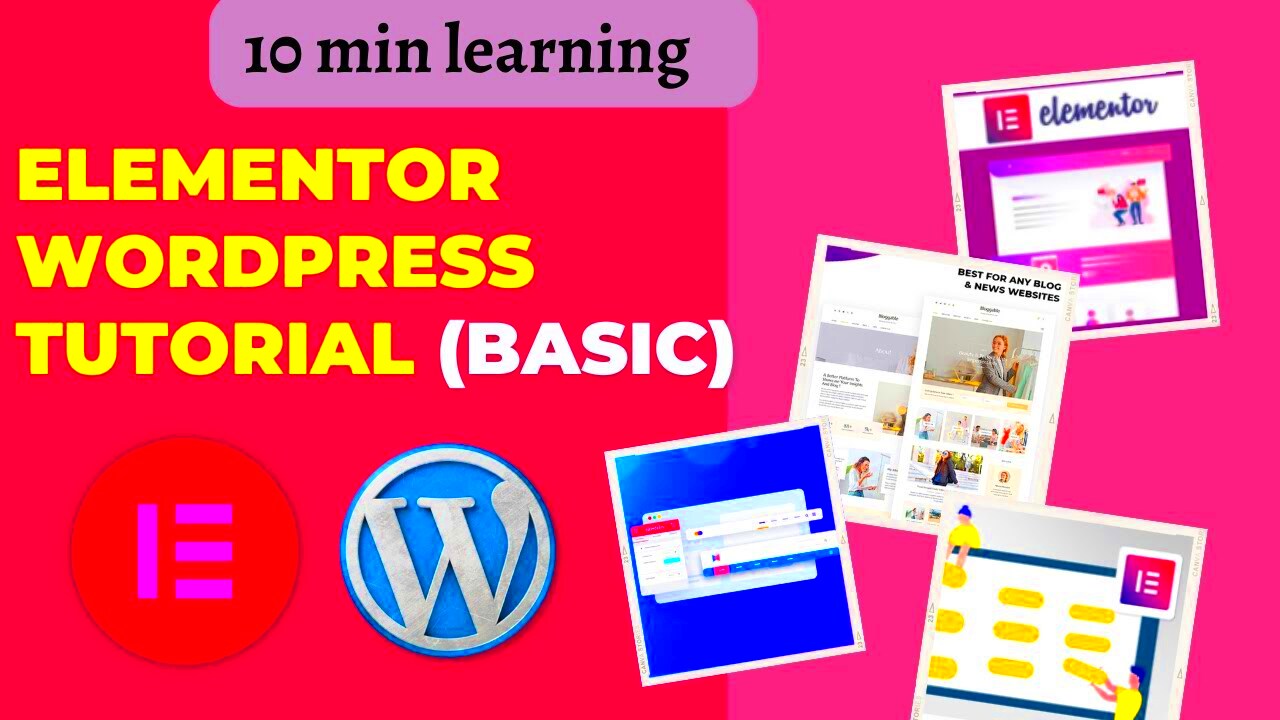
Elementor is a robust drag-and-drop page builder plugin for WordPress that allows users to create custom designs without needing any coding skills. Launched in 2016, it has quickly become one of the most popular page builders in the WordPress community. But why should you consider using Elementor?
Here are some key reasons:
- User-Friendly Interface: The intuitive interface makes it easy for anyone to create beautiful pages. Just drag and drop elements where you want them!
- Responsive Design: Elementor allows you to create layouts that look fantastic on all devices, adjusting seamlessly to screens of any size.
- Extensive Library of Widgets: Choose from a vast collection of widgets like buttons, images, sliders, and forms, enabling you to create any design you envision.
- Pre-designed Templates: Save time by using professionally designed templates that you can customize to fit your brand. It’s like having a head start!
- Advanced Design Capabilities: For those who want more, Elementor offers advanced features like custom positioning, animations, and effects for a polished finish.
In summary, Elementor isn’t just a tool; it’s a complete solution for building stunning websites, whether you’re a novice just starting out or an experienced developer looking for speed and flexibility. With Elementor, your creativity can truly shine!
Installing Elementor on Your WordPress Site
Getting started with Elementor is a breeze, and you’ll have your site ready for some serious customization in no time! Let’s walk through the process step by step.
First things first, you need to log in to your WordPress dashboard. Once you’re in, follow these simple steps:
- Navigate to Plugins: On the left-hand menu, click on “Plugins” and then select “Add New.”
- Search for Elementor: In the search bar, type “Elementor” to find the plugin quickly.
- Install Elementor: Once you find the Elementor Page Builder, click the “Install Now” button. It won’t take long; in just a few seconds, you’ll see the install complete notification.
- Activate the Plugin: After installation, the button will change to “Activate.” Click it, and voila, Elementor is now part of your WordPress site!
If you prefer to install Elementor manually, you can also download it directly from the WordPress Plugin Directory and upload it:
- Download the Elementor plugin ZIP file.
- Go back to your WordPress dashboard, click on “Add New” under “Plugins,” then select “Upload Plugin.”
- Choose the downloaded ZIP file and hit “Install Now.”
- Don’t forget to activate it afterward!
And that’s it! You’re all set to start designing stunning pages. Just remember to check for updates regularly to take advantage of the latest features and enhancements!
Understanding the Elementor Interface
Once Elementor is installed and activated, you’ll notice it comes with a clean and user-friendly interface that allows you to create pages effortlessly. Let’s break down the main components of the Elementor interface so that you can navigate with confidence.
When you enter the Elementor editor, you’ll be greeted by a split-screen view. On the left side, you’ll find the Elementor Panel, while the right side displays your live page preview. Here’s what you need to know:
The Elementor Panel
This is where the magic happens! The Elementor Panel contains different sections:
- Elements: These are the building blocks of your design, such as headings, images, buttons, and galleries. You can simply drag and drop elements from the panel onto your page.
- Sections and Columns: Organize your layout through sections and columns, allowing for complex designs. Each section can contain multiple columns, helping you create flexible, responsive designs.
- Settings: Clicking on the gear icon in the bottom left corner lets you adjust global settings like layout, colors, and fonts for a cohesive look across your site.
Edit and Style
When you click on an element on the page, the panel updates automatically to show the settings for that specific element. Here, you can:
- Content: Edit the text, images, and links related to the element.
- Style: Customize colors, fonts, spacing, and borders, giving your element a unique look.
- Advanced: Access more options for margins, responsive settings, custom CSS, and motion effects.
And there you have it! The Elementor interface is intuitive and designed to streamline your workflow. With time, you’ll become a pro at dragging and dropping elements, customizing to your heart’s content!
Creating Your First Page with Elementor
So, you’ve installed Elementor and you’re eager to dive into the world of page building! Creating your first page with Elementor is an exciting step, and I’m here to guide you through it. First things first, you need to ensure you’re using a compatible theme that supports Elementor—many popular themes like Astra, OceanWP, and GeneratePress do. With that out of the way, let’s get started!
To create a new page, go to your WordPress dashboard, hover over “Pages,” and click “Add New.” Give your page a title, something simple like “Home.” Before jumping into Elementor, make sure you click on the “Edit with Elementor” button. This will open up the Elementor interface where the magic happens.
Once you’re in, you’ll see a layout that might seem overwhelming at first, but don’t worry, it’s quite user-friendly! You’ll notice on the left side a panel filled with widgets, and on the right, it’s your canvas to create. To add sections:
- Click on the “+” button to add a new section.
- Choose a structure for your layout (one, two, three, etc.).
Next, drag and drop elements (or widgets, as Elementor calls them) into your section. You can add headings, text, images, buttons and even videos! Don’t forget to customize styles using the options in the left panel. When you’re happy with your design, hit “Publish.” Voila! You’ve just created your first page with Elementor.
Exploring Elementor Widgets and Elements
Now that you’ve created a stunning page, it’s time to delve deeper—let’s explore the incredible widgets and elements that Elementor offers. Widgets are the building blocks of your design, and each one is packed with customizable options to make your pages truly unique.
Start by clicking the “+” icon to add a section or click on any existing section to edit. Look to the left sidebar; here you’ll find a variety of widgets organized into categories. Let’s break them down:
| Category | Widgets |
|---|---|
| Basic | Heading, Text Editor, Image, Button |
| General | Spacer, Divider, Google Maps |
| Pro Widgets | Forms, Posts, Slides, Global Widget |
| WooCommerce | Product Grid, Add to Cart Button |
Widgets can be customized in terms of layout, style, and advanced settings. For instance, when you drag a button widget to your canvas, you can change its text, size, color, hover effects, and even link it to other pages or external URLs. The possibilities are endless!
To truly unlock your creativity, don’t hesitate to explore more settings under advanced tab—thing such as margins, padding, motion effects, and responsive settings to ensure your site looks great on all devices.
Take your time to experiment with different combinations of widgets. You may surprise yourself with what you can create with just a few clicks!
Customizing Your Layout with Elementor
Customizing your layout with Elementor is one of the most exciting aspects of using this powerful page builder. Whether you’re building a blog, a portfolio, or a business website, Elementor offers a plethora of options to help you create a unique look that reflects your brand. Let’s dive into some key features that make layout customization a breeze!
First off, Elementor’s Drag-and-Drop Editor allows you to see changes in real-time. Say goodbye to the days of constantly refreshing your page! This intuitive interface lets you simply drag elements to where you want them on your page.
Another fantastic feature is the Global Widgets. This allows you to create a widget once and use it across multiple pages. For instance, if you have a call-to-action button that you want on the footer of several pages, you can do this easily without having to recreate it each time.
To further refine your layout, consider the Responsive Editing feature. It enables you to customize how your site looks on desktop, tablet, and mobile devices separately. Isn’t that neat? You can adjust margins, paddings, and even hide certain elements on specific devices to ensure a flawless user experience.
Utilizing the Template Library is also a game-changer. Elementor provides a vast collection of pre-designed templates and blocks that you can import and customize. This simplifies the process, especially if you’re short on time or design skills.
In summary, Elementor is a versatile tool that offers several options to customize your layout. From drag-and-drop functionality to responsive editing, getting creative with your design has never been easier!
Advanced Features of Elementor
If you think Elementor is straightforward, wait until you explore its advanced features! These tools take your web design to the next level, offering functionality that competes with top-tier page builders out there. So, let’s explore some of these awesome features!
Custom CSS Integration is a standout feature allowing more seasoned developers to apply custom styles directly within Elementor. Imagine being able to tweak every detail without needing a separate CSS stylesheet! You simply go to the Advanced tab and add your CSS code right there.
Another innovative feature is the Role Manager. If you’re running a team, this lets you control what each user can access within Elementor. You can limit certain functionalities for your team members while giving full access to the main developers. This keeps things organized and efficient, don’t you think?
Additionally, there’s an Elementor Cloud option that provides a complete hosting solution integrated with the Elementor editor. This means you can manage your entire website from a single platform without needing to juggle between hosting providers and design tools.
| Feature | Benefit |
|---|---|
| Custom CSS | Advanced design control |
| Role Manager | Enhanced team collaboration |
| Elementor Cloud | All-in-one management |
Overall, the advanced features of Elementor empower you to create highly customized, functional websites with ease. Whether you’re an amateur or an expert, there’s something for everyone to explore. So, jump right in and see what cool things you can build!
9. Responsive Design with Elementor
Creating a website that looks good on all devices is essential in today’s digital world, and with Elementor, achieving responsive design is simpler than ever. Responsive design ensures that your website adjusts seamlessly to different screen sizes, whether viewed on a desktop, tablet, or smartphone. Let’s dive into how you can utilize Elementor to create a site that’s responsive and user-friendly.
First off, when you build a page using Elementor, you can easily switch between device views right within the editor. This feature allows you to see how your design looks on desktop, tablet, and mobile. Here’s how to get started:
- Responsive Mode: Click on the responsive mode icon at the bottom of the Elementor panel. This lets you toggle between device views.
- Adjust Settings: For each device view, you can adjust settings like margins, paddings, and font sizes. This means that while a font might look great on a desktop, you can customize it for mobile without affecting the desktop layout.
- Hide/Show Widgets: Elementor allows you to hide or show widgets based on the device. Use the “Advanced” tab and set visibility based on the screen size.
Don’t forget to test your design! After making adjustments, preview your site on actual devices, ensuring everything works flawlessly. Responsive design not only enhances user experience but also improves your SEO rankings. So, make it a priority in your Elementor projects!
10. Integrating Elementor with Other Plugins
One of the greatest strengths of Elementor is its ability to integrate seamlessly with a variety of other plugins. This capability allows you to extend the functionalities of your website, tailoring it to suit your specific needs. Whether you want to add advanced forms, create stunning galleries, or enhance your SEO, integrating Elementor with the right plugins can elevate your website’s performance.
Here are some popular plugins that pair beautifully with Elementor:
| Plugin | Functionality |
|---|---|
| Elementor Pro | Unlocks additional widgets and features like theme builder and pop-up builder. |
| WooCommerce | Transforms your website into a fully functional online store with customizable product pages. |
| Yoast SEO | Enhances your site’s SEO capabilities, helping you rank better in search engines. |
| Contact Form 7 | Lets you add simple, customizable forms for user engagement. |
| Slider Revolution | Creates beautiful sliders, enhancing visual appeal while engaging visitors. |
To integrate a plugin with Elementor:
- Install and Activate: Go to your WordPress dashboard, find the plugin, and install it.
- Use Elementor Widgets: Many plugins offer widgets that you can drag and drop into your Elementor layout.
- Customize Settings: Once the plugin is integrated, customize its settings through the WordPress dashboard or directly in the Elementor editor.
Integrating with these plugins can significantly enhance your website’s capabilities, offering a richer user experience and increased functionality. So, explore and experiment — you might find the perfect combination that brings your vision to life!
Common Issues and Troubleshooting Tips
If you’re diving into the world of Elementor, chances are you might encounter some bumps along the way. But don’t worry! Here are some common issues users face and handy troubleshooting tips to get you back on track.
- Elementor Not Loading: This is a frequent issue that can manage to frustrate anyone. Check your browser’s console for error messages or try switching to a different browser. Often, clearing the cache or disabling conflicting plugins can help.
- Preview Issues: If the preview looks different from the live site, ensure you’ve saved changes. Sometimes, purging the cache in caching plugins or your hosting can make a significant difference.
- Widgets Not Working: It might feel like a nightmare when your favorite widgets suddenly cease to function. Always ensure your Elementor and WordPress are updated. If a specific widget doesn’t respond, check if that’s due to a conflicting third-party plugin.
- Page Not Responsive: A well-optimized site should look great on all devices. If your page doesn’t seem to adjust, ensure you’re utilizing Elementor’s responsive settings to preview and adjust for mobile and tablet views.
- Slow Loading Speeds: Elementor can be resource-intensive, leading to slower loading speeds. Consider optimizing images, using a content delivery network (CDN), or even checking with your hosting provider for better performance.
By recognizing these common issues, you’ll not only save time but also streamline your design process. Remember, every problem usually comes with a solution. Happy building!
Best Practices for Using Elementor
When you’re working with Elementor, you want to ensure that you’re getting the most out of its extensive features while still maintaining a clean and efficient workflow. Here are some best practices to consider as you create your stunning designs.
| Practice | Description |
|---|---|
| Keep It Updated | Always run the latest versions of Elementor and WordPress. Updates often fix bugs and introduce new features. |
| Use Global Settings | Make use of the global settings to define colors and fonts across your site. This keeps everything consistent and saves time. |
| Optimize for Performance | Minimize the use of large images and complex animations. They can slow down your site. Optimize images and consider lazy loading. |
| Design Responsively | Always check how your designs look on mobile and tablet views. Elementor offers responsive editing features that are super helpful! |
| Backup Regularly | Before major changes, make it a habit to back up your site. You never know when something may go awry! |
By adhering to these best practices, not only will you enhance your Elementor experience, but you’ll also create a more efficient and user-friendly website. Happy designing!
Conclusion and Next Steps
In this comprehensive Elementor WordPress tutorial, we have explored the powerful features and functionalities that Elementor offers for building stunning, responsive websites. By following the steps and guidelines outlined in our tutorial, you should now have a solid understanding of:
- Installing Elementor: How to install and set up the Elementor plugin on your WordPress site.
- Creating Pages: Using Elementor’s drag-and-drop interface to create visually appealing pages without any coding knowledge.
- Using Widgets: A detailed overview of the various widgets available and how to customize them to fit your needs.
- Responsive Design: Ensuring your website looks great on all devices by utilizing Elementor’s responsive design features.
- Templates and Blocks: How to use pre-built templates and content blocks to speed up your design process.
- Advanced Features: Exploring more advanced functionalities like motion effects, custom CSS, and integrating third-party tools.
As you proceed, consider the following next steps to enhance your web design journey:
- Experiment with different layouts and designs to create unique pages.
- Explore the Elementor marketplace for additional templates and addons that can extend functionality.
- Stay updated with the latest Elementor releases and features to keep your skills sharp.
- Join the Elementor community for support, inspiration, and to share your creations.
In conclusion, mastering Elementor opens a world of possibilities for creating professional websites easily and efficiently. Continue to practice and explore the diverse features available to elevate your web design skills.

