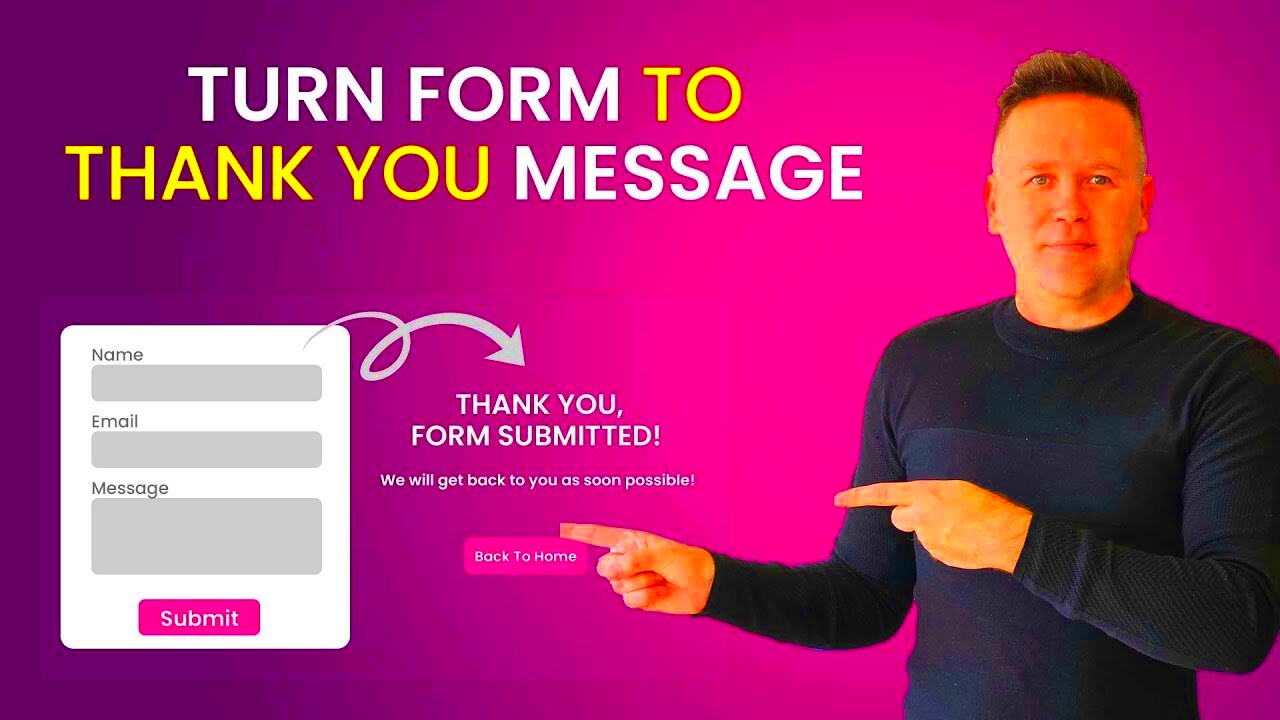
Hey there! If you’re using Elementor for your website, you probably already know how important forms are for capturing leads, feedback, or just general inquiries. But did you know that you can customize the “Thank You” message that pops up after someone submits a form? Personalizing this message can enhance user experience and make your visitors feel appreciated. In this post, we’ll dive into the details of changing the “Thank You” message for your Elementor forms. Let’s get started!
Understanding Elementor Forms

Elementor Forms are an integral part of the Elementor page builder, designed to allow users to create custom forms without any coding. Not only do they look great, but they’re also powerful and flexible. Here’s a breakdown of what makes
- User-Friendly Interface: The drag-and-drop interface makes it incredibly easy to design forms. You can add fields like text inputs, email fields, checkboxes, and more, all with a few clicks!
- Customizable Options: You can modify all aspects of your forms including styles, colors, and layouts. This means your forms can blend seamlessly with your website’s theme.
- Action After Submission: One of the standout features is the ability to set actions that occur after form submission. You can redirect users to another page, send them an email, and of course, change the “Thank You” message.
Understanding these aspects will empower you to create effective forms that not only gather information but also engage your audience. Let’s explore how to modify that “Thank You” message next!
Why Customize the Thank You Message?
When visitors fill out a form on your website, it’s a crucial moment—one that’s filled with potential for engagement and connection. But how you respond to that moment matters a lot! By customizing the thank you message seen after form submission, you can create a more memorable experience for your users. Here are a few reasons why tweaking this simple message can be a game-changer:
- Enhanced User Experience: A personalized thank you message adds a warm touch, making users feel appreciated. It shows that you care about their input and are grateful for their time.
- Branding Opportunities: Your thank you message is a prime spot to reinforce your brand identity. By incorporating your brand’s tone, voice, and even colors, you make every interaction feel cohesive.
- Additional Information: This is a great place to keep users engaged! You can direct them to other relevant content, upcoming events, or social media links, making the thank you message functional as well as friendly.
- Building Trust: A thoughtful thank you can establish a stronger relationship between you and your visitors. It signals professionalism and can go a long way in building trust.
- Opportunity for Feedback: Why not invite users to share their thoughts on your services? A customized message is an excellent opportunity to solicit feedback or encourage further interaction.
In essence, a customized thank you message can transform a mere acknowledgment into a powerful extension of your brand. So, let’s dive into how you can make this simple yet impactful change!
Step-by-Step Guide to Change the Thank You Message
Changing the thank you message in Elementor forms is straightforward and doesn’t require any coding skills. Let’s walk through the process step by step!
- Open Your Elementor Editor: Navigate to the page where your form is located. Click on “Edit with Elementor” to launch the page editor.
- Select Your Form Widget: Click on the form you want to edit. This will open up the Form settings in the sidebar.
- Go to Actions After Submit: In the Form settings, scroll down to the “Actions After Submit” section. Here, you should see the “Email” and other actions listed.
- Select “Web Redirect” (if needed): If you want to redirect users to a new page after submission, select the “Web Redirect” option. Ensure your thank you page is ready!
- Customize the Thank You Message: If you’re keeping the thank you message on the same page, look for the “Message” option. Here, you can enter your customized text. Feel free to include hyperlinks if you want to direct users elsewhere!
Tips for Effective Messages:
- Keep it concise and friendly.
- Consider adding emojis to convey warmth and enthusiasm.
- Ensure grammar and spelling are spot on!
Once you’ve made your changes, don’t forget to hit “Update” at the bottom of the sidebar to save your work. Congratulations! You’ve just customized your thank you message and elevated the user experience!
Using Shortcodes for Dynamic Messages
One of the most exciting features in Elementor is the ability to use shortcodes, which can really enhance the thank you message on your forms. Shortcodes allow you to insert dynamic content that can change based on user interaction, enhancing the overall experience for your visitors.
Imagine being able to personalize the thank you message for each user based on the information they’ve provided. For instance, you might want to address the user by their first name, confirm their inquiry, or provide them with specific instructions. That’s where shortcodes come in handy!
Here’s a simple way to implement this:
- First, create a custom field in your Elementor form where users can input their name.
- After users submit the form, you can include a shortcode in the thank you message that dynamically replaces it with their name. For example:
[user_name]When the user submits the form, the shortcode will be replaced with whatever name they provided. You can also use more complex shortcodes to pull in data from other fields or even create conditional messages. For instance:
- [user_role] – To thank users based on their specified roles, such as ‘Thank you, teacher!’ or ‘Thank you, student!’
- [submission_date] – To add a timestamp of when they submitted the form.
This approach not only provides a more personalized experience but also encourages user engagement by making them feel valued. It’s a simple yet effective way to enhance communication through your Elementor forms!
Styling Your Thank You Message
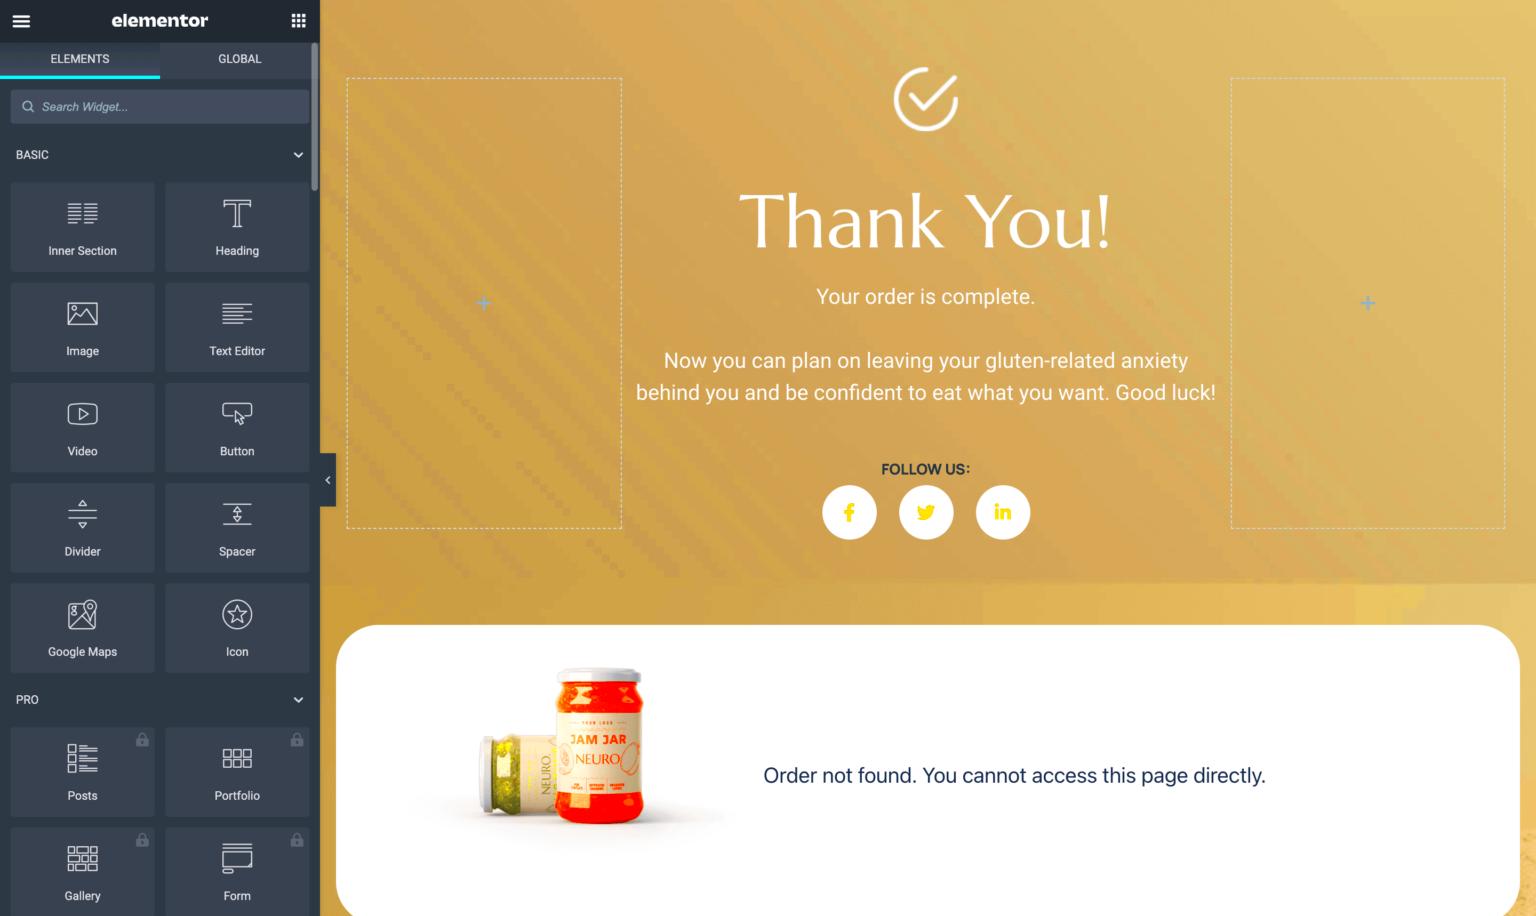
Once you’ve crafted the perfect thank you message for your Elementor forms, you might want to ensure it stands out visually. Styling is crucial because a well-designed message can enhance your brand’s image and make the submission experience feel complete and professional.
You have several options when it comes to styling your thank you message in Elementor. Let’s take a look at some important aspects you can customize:
- Font Style: Choose a font that reflects your brand’s personality. You might opt for something modern and bold, or perhaps a classic serif font.
- Colors: Use your brand’s color palette to make the message harmonious with the overall design of your website. For instance, if your brand colors are blue and white, consider a blue background with white text for high contrast.
- Text Size: Large, readable text boosts accessibility. Make sure your thank you message is easy to read on all devices.
- Spacing: Use margins or padding to ensure that the message is not cramped. Enough white space adds elegance to your design.
Additionally, you can use Elementor’s styling options to add background images, icons, or borders. For example, a soft gradient background can create an inviting atmosphere, while a subtle animation can draw attention.
| Style Element | Recommendation |
|---|---|
| Font Style | Choose a legible font that aligns with your brand |
| Color Scheme | Stick to your brand colors for consistency |
| Text Size | Ensure readability across devices |
| Background | Add images or gradients for a professional touch |
By carefully styling your thank you message, you ensure that this final touchpoint leaves a lasting impression. After all, first impressions matter, and your visitors should walk away feeling appreciated and connected to your brand!
7. Common Issues and Troubleshooting
When you’re customizing the “Thank You” message in your Elementor forms, you might run into a few bumps along the road. Don’t worry; most of these issues are fairly common and have straightforward solutions! Let’s explore some of the typical problems you might face, along with tips on how to troubleshoot them.
- The message doesn’t appear:
If your custom “Thank You” message isn’t showing up at all, the first step is to check if the form settings are correctly configured. Ensure that under the Actions After Submit section, “Message” is selected. If it’s not, your message won’t show!
- Message appears but in the wrong place:
Sometimes, the message may appear in an unexpected location. This might be due to the positioning settings of the element you’ve edited. Go back to the Advanced tab of the form to check margins and alignment settings.
- Formatting issues:
If your message doesn’t look quite right—like fonts or colors not displaying as expected—double-check the Style tab of your message widget. Make sure you’re applying the styles correctly and that there are no conflicting styles in your theme.
- Message not translating:
If you’re using a multilingual plugin and your message isn’t translating, ensure that the string is translatable within the plugin settings. You may need to add it manually if it’s not detected automatically.
Staying patient during the troubleshooting process is essential. Most problems will have a simple, snappy fix if you carefully follow the steps outlined here.
8. Conclusion
Customizing the “Thank You” message in Elementor forms is a fantastic way to enhance user engagement and provide a personal touch to your communications. Whether you’re acknowledging a signup, completion of a contact form, or any other interaction, a well-crafted thank you message can make all the difference in how users perceive your brand.
In summary, remember the following key points:
- Explore your options: Whether you’re using simple text or HTML, take the time to get creative with your messages!
- Testing is key: Ensure that you test your forms thoroughly to see how the thank you message appears to your users.
- Stay updated: Keep an eye out for updates from Elementor, as they frequently enhance their plugins and features.
By addressing common issues and remembering the essentials, you can create a user-friendly experience that leaves a lasting positive impression on your visitors. Now go ahead and make those thank you messages shine!


