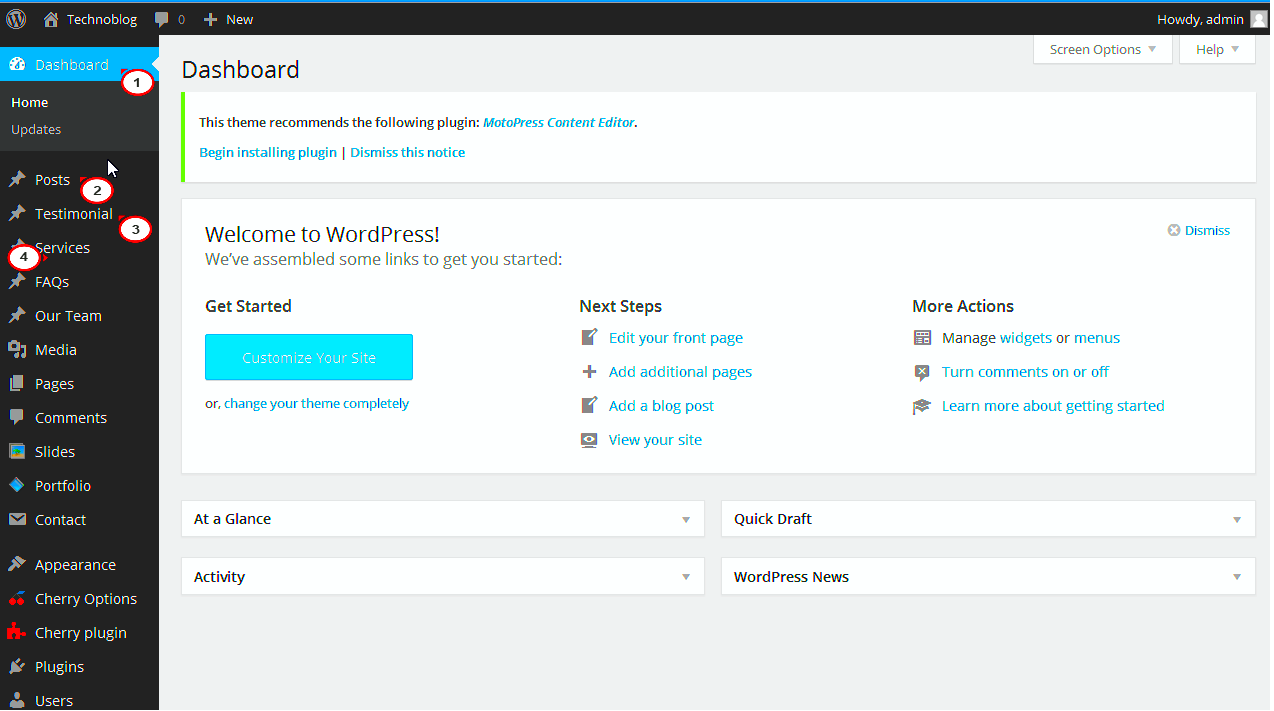
In WordPress, the admin submenu is the set of links that appear under the main menu items in the WordPress dashboard. These submenu items help you manage different sections of your site, like settings, plugins, or themes. Sometimes, you may want to customize the order or even add, remove, or modify these items to make navigation easier or more relevant for your needs. In this post, we’ll explore how to change admin submenu items in
Understanding the Importance of Admin Submenu Items
Admin submenu items are a critical part of the WordPress backend, providing quick access to various settings, tools, and features. When you install a new plugin or theme, it often adds its own submenu items, which can clutter the dashboard. Organizing or removing unnecessary items can help streamline the interface, improve workflow, and reduce confusion for users. Understanding how to customize these items allows you to:
- Improve User Experience: A clean and organized menu makes it easier to find important features.
- Enhance Workflow: Customizing submenus can reduce the time spent navigating the dashboard.
- Improve Site Management: By removing unnecessary options, you focus only on what matters.
By customizing the admin submenu, you not only simplify your dashboard but also optimize it for your specific site needs. Whether you are a site administrator or a developer, having control over these items is an essential aspect of WordPress site management.
Steps to Change Admin Submenu Items in WordPress
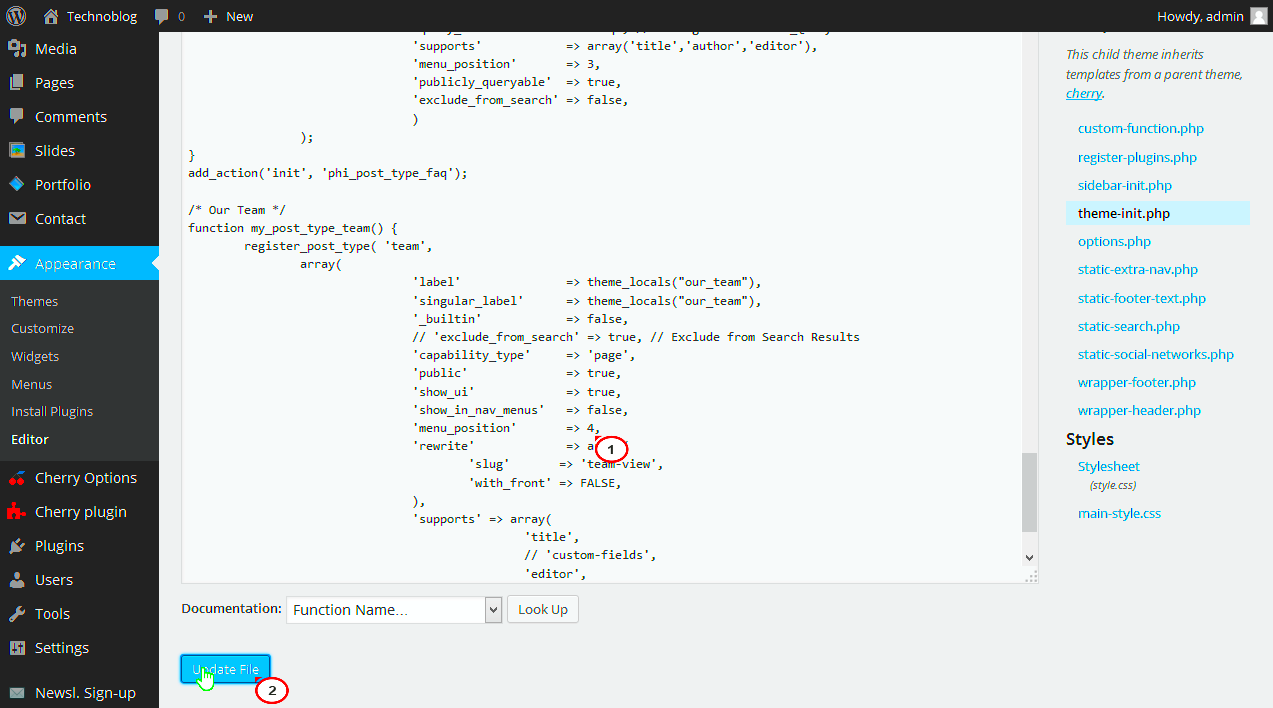
Changing the admin submenu items in WordPress can be done using a few simple steps, most of which require modifying your site’s functions.php file or using a custom plugin. Here’s a step-by-step guide to help you make those changes:
- Access your functions.php file: You can find this file in your theme folder. You’ll need to access it via FTP or through the WordPress dashboard under Appearance > Theme Editor.
- Use the
remove_submenu_pagefunction: This function allows you to remove submenu items. For example, if you want to remove the “Comments” submenu, you would use:
remove_submenu_page('edit-comments.php', 'edit-comments.php');
add_submenu_page: You can also add custom submenu items by using the add_submenu_page function. Here’s an example:
add_submenu_page('tools.php', 'My Custom Page', 'My Custom Submenu', 'manage_options', 'my-custom-page', 'my_custom_page_callback');
menu_order parameter in the add_menu_page and add_submenu_page functions.With these simple steps, you can take full control over your WordPress admin menu and submenu items, ensuring that only relevant options are visible and easily accessible.
How to Add New Admin Submenu Items
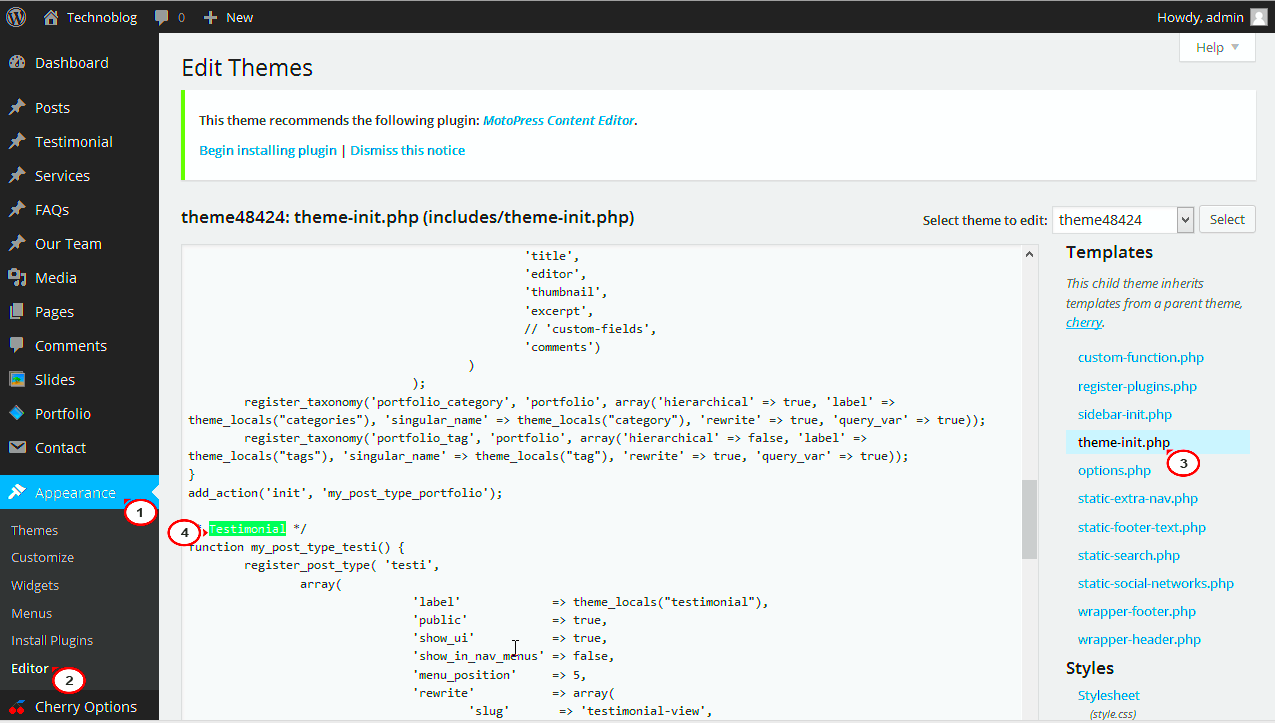
Adding new submenu items to the WordPress admin panel can help you integrate custom pages or settings into your dashboard. This is especially useful when you build custom plugins or themes that require additional admin pages. Adding submenu items is straightforward using WordPress hooks and functions like add_submenu_page(). Let’s dive into how you can do this.
Follow these steps to add a new submenu item:
- Hook into the admin menu: You’ll need to use the
admin_menuaction hook to ensure that WordPress loads your submenu item at the right time. - Define your submenu item: Use the
add_submenu_page()function to define your submenu. You can add this code to your theme’sfunctions.phpfile or a custom plugin. Here’s an example:
add_submenu_page(
    'tools.php',              // Parent menu slug
    'My Custom Page',         // Page title
    'My Custom Submenu',      // Menu title
    'manage_options',         // Capability required
    'my-custom-page',         // Submenu slug
    'my_custom_page_callback' // Function to display the page
);
my_custom_page_callback) will render the content of your custom page when the submenu is clicked.manage_options capability can be changed based on who should be able to access the submenu. For instance, you might use administrator or editor.By following these simple steps, you can add custom submenu items that will help organize your admin dashboard and improve user experience.
How to Remove Unwanted Admin Submenu Items
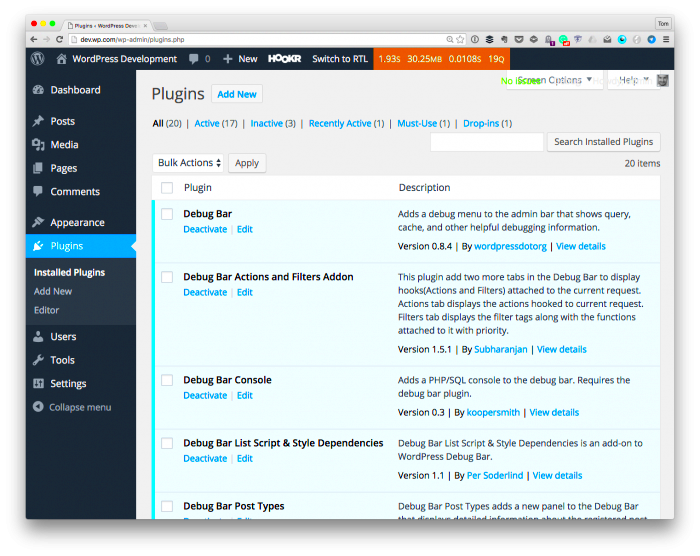
Sometimes, your WordPress admin panel can get cluttered with submenu items that you don’t need. Removing unnecessary submenu items can streamline the user interface and make it easier to navigate. Luckily, WordPress provides an easy way to remove these items using the remove_submenu_page() function.
Here’s how to remove unwanted submenu items:
- Identify the submenu item to remove: Before you remove a submenu item, you need to know the parent menu and submenu slug. For instance, if you want to remove the “Comments” submenu under the “Dashboard” menu, the slug would be
edit-comments.php. - Use
remove_submenu_page(): Add this function to your theme’sfunctions.phpfile or a custom plugin. Example:
remove_submenu_page('index.php', 'edit-comments.php');
remove_submenu_page() is the parent menu slug. In this case, index.php refers to the “Dashboard” menu. The second parameter is the submenu slug you want to remove.remove_submenu_page() function inside an if statement that checks those conditions.Removing unnecessary submenu items helps keep the admin interface clean and improves navigation for both administrators and site managers.
Customizing the Order of Admin Submenu Items
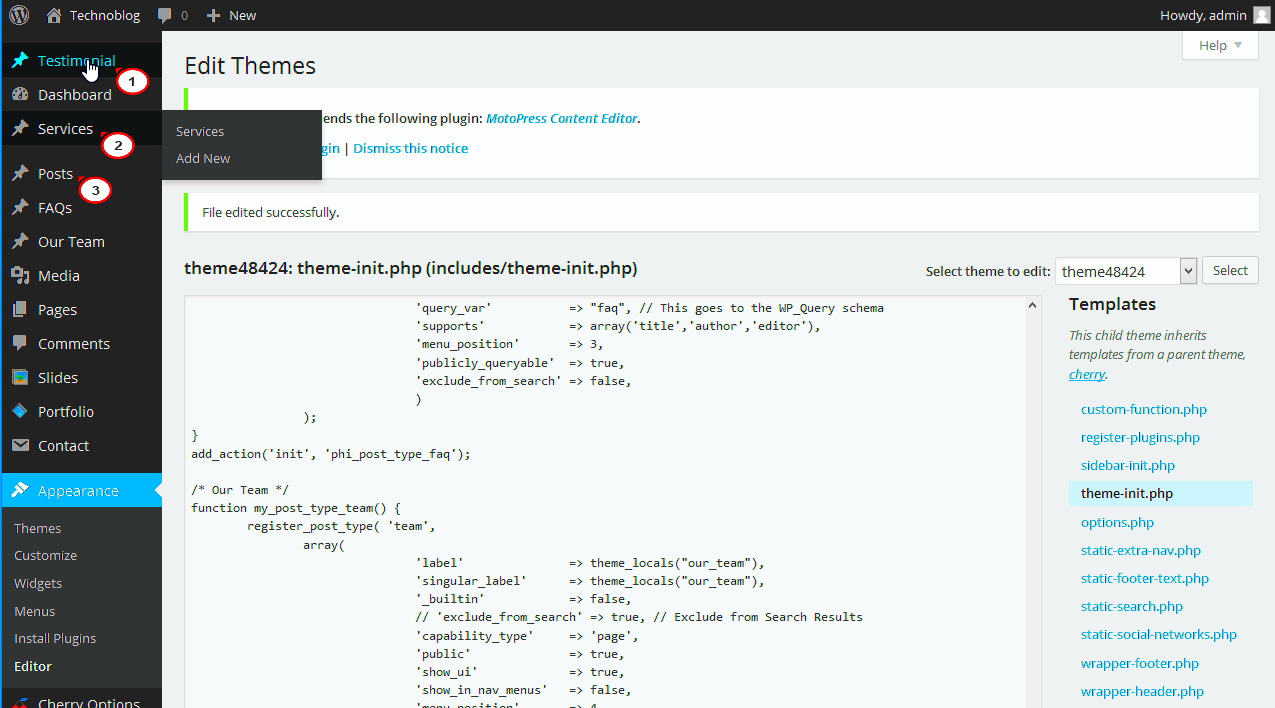
Changing the order of admin submenu items can be a useful way to organize your WordPress dashboard, especially when there are many plugins or custom items. By default, WordPress orders submenu items based on their creation order, but you can customize the sequence to suit your preferences.
Here’s how to change the order of submenu items:
- Use the
menu_orderparameter: WordPress allows you to control the order of menu items using themenu_orderparameter in functions likeadd_submenu_page(). You can assign numeric values to determine the sequence. - Example of customizing submenu order: Here’s how you can change the order of submenu items:
add_submenu_page(
    'tools.php',              // Parent menu slug
    'Custom Page',            // Page title
    'Custom Submenu',         // Menu title
    'manage_options',         // Capability
    'custom-page',            // Submenu slug
    'custom_page_callback',   // Function callback
    20                        // Menu order (lower number = higher position)
);
menu_order parameter. Lower values push the item higher in the list, and higher values push the item further down.Customizing the order of your admin submenu items can help you create a more intuitive and organized WordPress dashboard. With this simple trick, you can arrange items in a way that suits your workflow and makes it easier to manage your website.
Testing and Troubleshooting Changes to Admin Submenu Items
Once you’ve made changes to your WordPress admin submenu items, it’s crucial to test and troubleshoot to ensure everything works as expected. Sometimes, errors or unexpected results can occur, and it’s important to fix them before using the dashboard regularly. Here are some tips to help you test and troubleshoot your changes effectively.
Follow these steps to test your admin submenu item changes:
- Clear your browser cache: Sometimes, your browser might cache old data. Clearing the cache ensures you’re viewing the latest version of your admin dashboard.
- Check for conflicts with plugins or themes: If submenu items aren’t appearing or behaving correctly, check if any recently installed plugins or themes are conflicting. Disable them temporarily to see if the issue resolves.
- Test different user roles: Ensure that submenu items are accessible only to the appropriate user roles. Use different user accounts to confirm that access control works correctly.
- Debugging mode: If you encounter issues, enable WordPress debugging mode. This will provide more detailed error messages that can help pinpoint the problem.
- Check for syntax errors: If you’ve edited the functions.php file or a custom plugin, syntax errors can break your changes. Use an online PHP syntax checker or check the error logs in your WordPress dashboard.
- Revert changes if necessary: If something goes wrong and you can’t find the problem, don’t hesitate to revert your changes and try again. Always back up your site before making significant changes.
By following these troubleshooting tips, you can ensure your admin submenu changes are functioning correctly and improve the user experience for your site’s admins.
FAQs
Here are some frequently asked questions about changing and customizing admin submenu items in WordPress:
| Question | Answer |
|---|---|
| Can I add a submenu item to a custom plugin? | Yes, you can add submenu items to any custom plugin by using the add_submenu_page() function within the plugin’s main file. |
| How do I remove a submenu item I added? | To remove a submenu item, use the remove_submenu_page() function in your theme’s functions.php file or in your custom plugin. |
| Can I reorder the submenu items created by plugins? | Yes, you can reorder submenu items, even those created by plugins, by adjusting the menu_order parameter in the add_submenu_page() function. |
| What if my submenu item doesn’t show up? | If your submenu item doesn’t appear, ensure that you are hooking into the admin_menu action correctly, and check if any other plugins or theme conflicts are causing issues. |
These FAQs should address some of the most common concerns when working with admin submenu items in WordPress. If you have additional questions, feel free to explore the WordPress documentation or ask in the community forums.
Conclusion
Customizing admin submenu items in WordPress is a great way to optimize your site’s backend for better usability and efficiency. Whether you’re adding, removing, or reordering submenu items, WordPress gives you the flexibility to tailor the dashboard to meet your specific needs. By following the steps outlined in this guide, you can create a streamlined and organized admin panel that helps you manage your site more effectively.
Remember to always test your changes and troubleshoot any issues that arise. With a little bit of patience and attention to detail, you can create a user-friendly environment for managing your WordPress site. If you’re ever unsure, don’t hesitate to refer to the WordPress community or documentation for additional support. Happy customizing!

