Securing your WordPress login page is crucial to protect your site from malicious activity and unauthorized access. One effective method is blocking specific IP addresses that might be attempting to brute-force login credentials or perform other harmful actions. In this post, we will explore how you can block unwanted IPs for WordPress login using Nginx configuration. This method provides an additional layer of security and helps maintain the integrity of your website without relying solely on plugins.
Why It’s Important to Block Unwanted IP Addresses
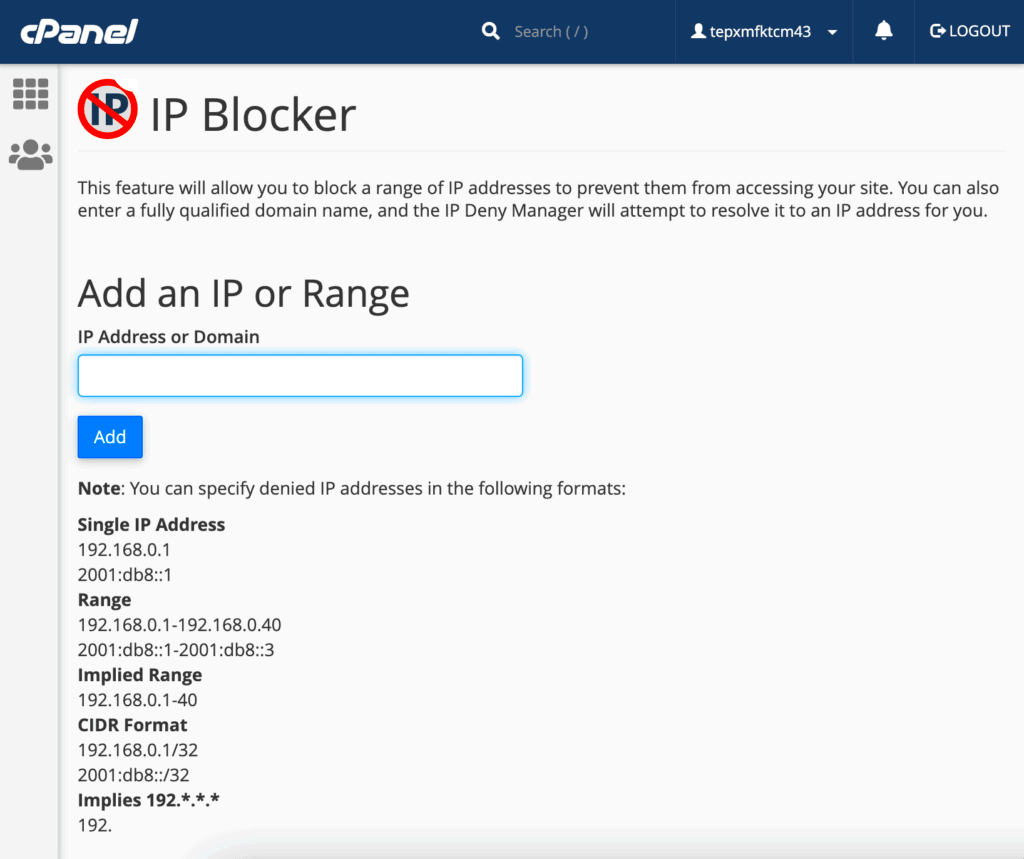
Blocking unwanted IP addresses is essential for several reasons, particularly in maintaining the security of your WordPress site. Here are some key reasons why it’s important:
- Prevent Brute Force Attacks: Hackers often attempt to gain access to your site by trying multiple username and password combinations. By blocking IP addresses that exhibit suspicious behavior, you can stop these attacks before they succeed.
- Reduce Spam and Bot Traffic: Many bots target WordPress login pages to spam comments or create fake accounts. Blocking IPs that are known to send bot traffic can help eliminate this issue.
- Limit Resource Overload: Malicious users may try to overload your server by making multiple login attempts. Blocking IPs that repeatedly try to access the login page can prevent server slowdowns or crashes.
- Enhance Site Performance: Blocking unwanted IPs ensures that only legitimate traffic is allowed, making your site more responsive and secure.
How Nginx Configuration Helps in Blocking IP Addresses
Nginx is a powerful web server that is widely used for its high performance and ability to handle large amounts of traffic. Configuring Nginx to block specific IP addresses can help protect your WordPress login page effectively. Here’s how Nginx configuration can help:
- High Performance: Nginx is known for its efficiency, especially when handling numerous requests. By blocking IP addresses directly in the Nginx configuration, you can prevent harmful traffic from even reaching your WordPress site.
- Customizable Rules: Nginx allows you to create custom rules that block IP addresses based on patterns, such as multiple failed login attempts. This flexibility enables you to tailor security to your specific needs.
- Easy to Implement: Nginx makes it easy to implement IP blocking with just a few lines of code. You don’t need complex plugins or additional tools, which means less overhead and faster performance for your site.
- Works Seamlessly with WordPress: Nginx can be easily integrated with WordPress, ensuring that your website’s security isn’t compromised while you block unwanted IPs. You don’t need to worry about compatibility issues.
By using Nginx configuration, you can effectively block malicious IP addresses and enhance the security of your WordPress login page, ensuring that only legitimate users have access.
Step-by-Step Guide to Block IP Addresses Using Nginx
Blocking IP addresses in Nginx is straightforward. By editing the Nginx configuration file, you can quickly block access to your WordPress login page. Here’s a simple step-by-step guide to help you set this up:
- Step 1: Access Your Server – First, you need to log in to your server via SSH. You can use a terminal or a tool like PuTTY to access your server if you are using Linux or Windows, respectively.
- Step 2: Locate the Nginx Configuration File – The default Nginx configuration file is usually found at
/etc/nginx/nginx.confor in the/etc/nginx/sites-available/directory. Use a text editor likenanoorvimto open this file. - Step 3: Add IP Blocking Rules – To block an IP address, add the following code inside the server block:
deny IP_ADDRESS;
Replace IP_ADDRESS with the actual IP you want to block. You can also block multiple IPs by adding additional
denylines. - Step 4: Save the Changes – After adding the IP addresses you want to block, save and close the configuration file.
- Step 5: Test Nginx Configuration – Before applying changes, it’s essential to test the configuration for errors. Run the following command:
sudo nginx -t
If no errors are found, proceed to the next step.
- Step 6: Restart Nginx – Finally, restart Nginx to apply the changes:
sudo systemctl restart nginx
This will block the specified IP addresses from accessing your site.
That’s it! You’ve successfully blocked IP addresses using Nginx. This simple configuration can help improve your site’s security and protect it from unwanted traffic.
Best Practices for Blocking IP Addresses in Nginx
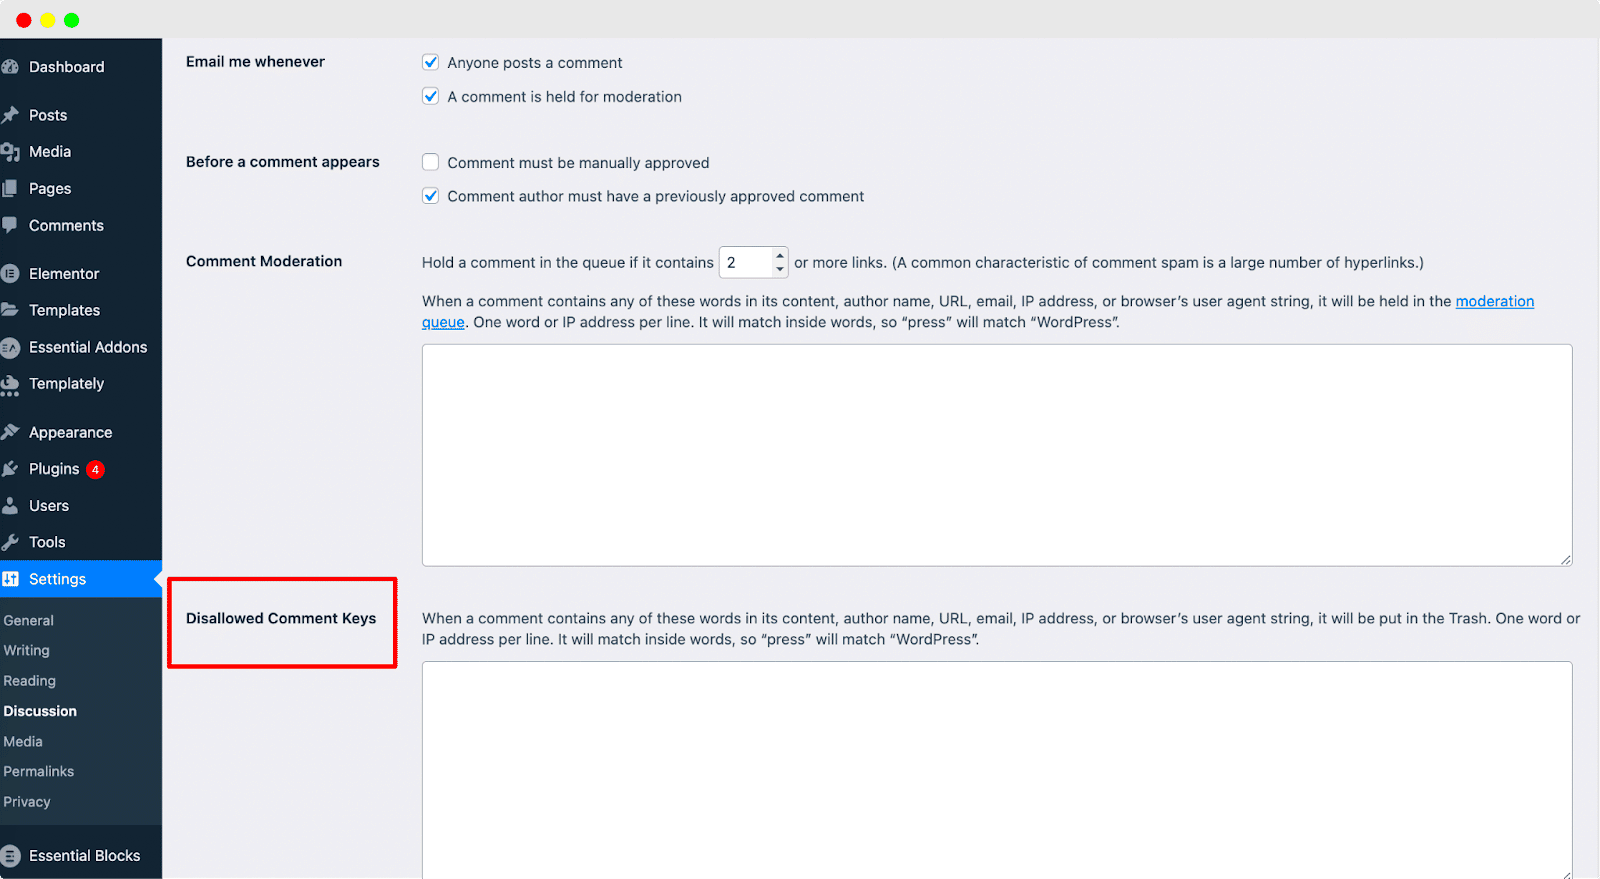
Blocking IP addresses in Nginx is a powerful security measure, but it’s important to follow best practices to avoid any potential issues. Here are some recommendations:
- Limit the Number of Blocked IPs: Blocking too many IP addresses can slow down your Nginx server. Only block IPs that pose a real threat, such as those with repeated failed login attempts.
- Use IP Blocks Instead of Individual IPs: If you notice a pattern where multiple IP addresses from the same region or range are causing trouble, it’s better to block the entire IP range. For example, instead of blocking a single IP, you can block an entire range like this:
deny 192.168.1.0/24;
- Regularly Monitor and Update IP Blocks: Malicious IPs change frequently, so it’s essential to periodically review your IP block list. Remove any addresses that are no longer relevant to avoid unnecessary blocks.
- Use Rate Limiting in Combination: Along with blocking IP addresses, use Nginx’s rate limiting to prevent brute-force attacks. This can help reduce the number of requests made by malicious IPs before they get blocked.
- Backup Configuration Files: Before making changes to your Nginx configuration, always back up your original configuration files. This will allow you to quickly restore settings if something goes wrong.
By following these best practices, you can enhance the effectiveness of your Nginx-based IP blocking and ensure your WordPress site remains secure.
Testing the Nginx Configuration Changes
After configuring Nginx to block specific IP addresses, testing your changes is essential to ensure everything is working correctly. Here’s how you can test:
- Step 1: Check Nginx Configuration Syntax – Before restarting Nginx, always verify that there are no syntax errors in your configuration. Run the following command:
sudo nginx -t
If the syntax is correct, you will see a message saying “syntax is okay” and “test is successful.”
- Step 2: Access Your Website from a Blocked IP – To verify that a specific IP is indeed blocked, try accessing your site from that IP address. You can either use a VPN or ask someone from the blocked IP range to test it for you. If everything is configured correctly, they should be denied access to the login page.
- Step 3: Use Online Tools to Test IP Blocking – You can also use online tools like YouGetSignal or IP Location to check if your IP blocking is effective. These tools allow you to simulate access from a specific IP.
- Step 4: Check Nginx Logs – Nginx logs can provide valuable information about blocked access attempts. Check the access logs and error logs to ensure that requests from blocked IPs are being denied:
sudo tail -f /var/log/nginx/access.log
- Step 5: Monitor Server Performance – After making changes, keep an eye on your server’s performance to ensure there are no unintended effects. You can monitor server stats using tools like
htoportopto track any changes in server load.
Testing ensures that your changes are working as expected and that your site remains secure. If there are any issues, reviewing the logs and configuration files will help you troubleshoot and make necessary adjustments.
Common Issues and How to Resolve Them
When configuring Nginx to block IP addresses, you might run into a few common issues. These problems can typically be resolved by adjusting the configuration or troubleshooting a few simple steps. Here are some common problems and how to fix them:
- Incorrect Syntax in Configuration: One of the most common issues is a syntax error in the Nginx configuration file. Even a small typo can cause Nginx to fail to restart. To resolve this, double-check the syntax by running:
sudo nginx -t
This command will tell you if there are any errors, allowing you to fix them before restarting Nginx.
- Blocking the Wrong IP Range: Sometimes, you may accidentally block a larger range of IP addresses than intended. This can happen if you block an entire subnet instead of a specific IP. To fix this, review your IP blocking rules and ensure they target the correct IPs or ranges.
- Changes Not Taking Effect: After modifying the Nginx configuration, some users may experience issues where the changes don’t seem to apply. This can happen if the configuration hasn’t been reloaded. Always restart Nginx after making changes by running:
sudo systemctl restart nginx
- Overloading Nginx with Too Many IP Blocks: Blocking a large number of IP addresses can slow down the server or cause Nginx to become unresponsive. It’s important to limit the number of IPs blocked and regularly update the block list. Consider using rate limiting or firewall rules in combination with IP blocking.
- Access Denied to Legitimate Users: In some cases, you might accidentally block legitimate users, especially if their IPs are similar to a malicious IP range. You can resolve this by reviewing the Nginx logs or using tools like IP Location to identify and whitelist legitimate IPs.
These issues are relatively easy to solve by following the appropriate steps, ensuring that your Nginx IP blocking setup runs smoothly without interfering with legitimate users or your server’s performance.
Conclusion
Blocking IP addresses using Nginx configuration is an effective and straightforward method to enhance the security of your WordPress site. By preventing malicious users from accessing the login page, you reduce the risk of brute-force attacks, spam, and other security threats. Additionally, Nginx’s high performance and customizable rules make it an excellent choice for this purpose.
However, it’s essential to follow best practices, regularly monitor your IP block list, and test your configuration to ensure everything is functioning correctly. By doing so, you will maintain a secure and efficient WordPress site while minimizing the risk of attacks.
Whether you’re a beginner or an experienced administrator, using Nginx to block unwanted IP addresses can provide your site with an extra layer of defense against common security threats. Keep your configuration up to date and follow the troubleshooting steps outlined in this post to avoid common issues. Stay proactive with your website’s security!
FAQ
Q1: How can I block an entire range of IP addresses?
A1: To block an entire IP range in Nginx, you can use CIDR notation. For example, to block all IP addresses in the range 192.168.1.0 to 192.168.1.255, use the following rule:
deny 192.168.1.0/24;
This will block all IPs in that range.
Q2: Can I block IPs for specific pages on my WordPress site?
A2: Yes, you can block IPs for specific pages by modifying the Nginx configuration to target those URLs. In your configuration, place the IP blocking rules within the location block for the specific page:
location /wp-login.php {
        deny 192.168.1.100;
    }
This will block the IP from accessing just the WordPress login page.
Q3: Will blocking IP addresses slow down my site?
A3: Blocking a few IP addresses will not have a noticeable effect on your site’s performance. However, blocking a large number of IPs can slow down the Nginx server. To minimize this, limit the number of IPs you block and use other security measures, such as rate limiting.
Q4: How do I unblock an IP address?
A4: To unblock an IP address, simply remove the corresponding deny rule from your Nginx configuration file, save the changes, and restart Nginx:
sudo systemctl restart nginx
The IP will no longer be blocked after this.
Q5: Can I use plugins to block IP addresses instead of Nginx?
A5: Yes, there are several WordPress plugins available that can block IP addresses. However, blocking IPs at the server level using Nginx is typically more efficient and resource-friendly. Plugins can introduce additional overhead, so server-side solutions like Nginx are generally preferred for performance reasons.

