Have you ever faced issues with plugin compatibility in WordPress? It’s a common scenario that can lead to unexpected errors or even site crashes. One solution to keep your site running smoothly lies in automatically deactivating a plugin when another one is deactivated. This nifty trick ensures that your site doesn’t suffer from the hang-ups that can occur when certain plugins rely on one another. In this blog post, we’ll explore why this method is beneficial and how you can implement it effectively.
Understanding the Need for Automatic Deactivation
Every WordPress site is unique, often built with a specific set of plugins to meet various needs. However, these plugins can sometimes create conflicts, leading to functionality issues or, worse, site downtime. Here’s why automatic deactivation is essential:
- Reduced Errors: When a primary plugin is deactivated, its dependencies may also cease to work properly. Automatically deactivating dependent plugins helps prevent errors that arise from these dependencies.
- Improved Site Performance: Unused plugins can slow down your site. By ensuring that inactive plugins are deactivated promptly, you maintain optimal performance and keep your site speedy.
- Enhanced User Experience: A seamless user experience is key. Automatic deactivation avoids situations where users encounter broken features due to conflicting plugins.
- Streamlined Maintenance: When updating or deactivating plugins, you won’t have to worry about manually switching off interdependent plugins. This saves time and simplifies maintenance.
In short, automating the deactivation of plugins enhances your site’s reliability, enriches user experience, and makes maintenance a breeze. It’s a proactive approach that every WordPress user should consider.
How WordPress Handles Plugins
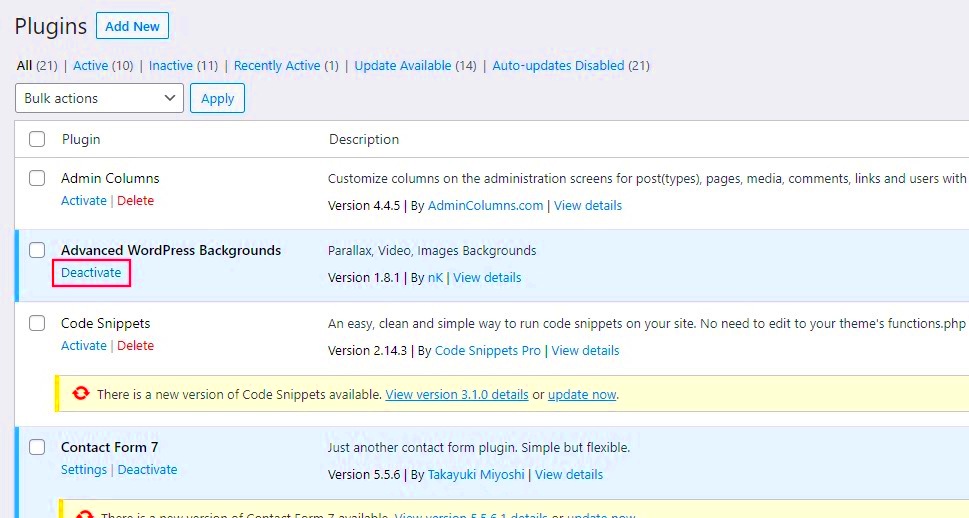
WordPress is designed around a flexible architecture that allows developers to extend its core functionality through plugins. Each plugin is essentially a collection of code packaged in a specific way, making it easy to add features without altering the core files of WordPress itself.
When you activate a plugin, WordPress runs a series of hooks and triggers that load the plugin’s files, allowing it to add its functionality to your site. This process starts with the wp-includes/plugin.php file, responsible for recognizing all plugins present in the wp-content/plugins directory.
Here’s how it works:
- Loading Plugins: WordPress loads all active plugins on every page load. This happens at runtime, meaning any activated plugin interacts with the themes and other plugins directly.
- Activation and Deactivation: When a plugin is activated, it can perform certain actions, such as creating database tables or setting up options. Conversely, when it’s deactivated, it’s expected to clean up and stop its processes.
- Plugin Dependencies: Sometimes plugins depend on each other’s presence. If Plugin A requires Plugin B to function, and Plugin B is deactivated, Plugin A may break or lose functionality.
Understanding this lifecycle is crucial when you want to create automatic deactivation features, because you need to hook into the appropriate WordPress actions to ensure everything works smoothly.
Creating a Custom Plugin for Automatic Deactivation
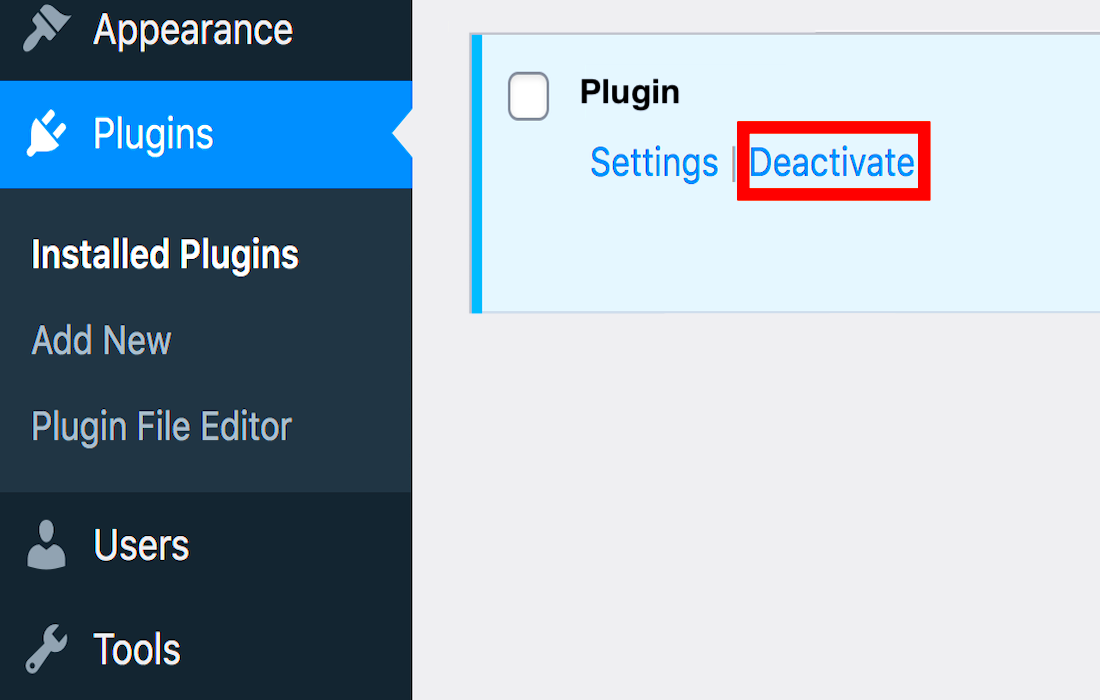
If you want to add functionality that automatically deactivates one plugin when another is deactivated, you’ll need to create a custom WordPress plugin. Don’t worry if you’re new to this; the process is straightforward! Let’s go through it step-by-step.
- Create a New Plugin Folder: Navigate to your wp-content/plugins directory and create a new folder named auto-deactivate-plugin.
- Create a PHP File: Inside that folder, create a file named auto-deactivate-plugin.php. This file will contain your plugin’s code.
- Define the Plugin Header: Include a header comment at the top of your PHP file. For example:
/*Plugin Name: Auto Deactivate PluginDescription: Automatically deactivates Plugin B when Plugin A is deactivated.Version: 1.0Author: Your Name*/
Now, let’s dive into the code needed for the automatic deactivation feature:
function auto_deactivate_plugin($plugin) { if ($plugin === 'plugin-a/plugin-a.php') { deactivate_plugins('plugin-b/plugin-b.php'); }}add_action('deactivate_plugin-a/plugin-a.php', 'auto_deactivate_plugin');
In this snippet:
- We declare a function auto_deactivate_plugin that checks if Plugin A is being deactivated.
- If it is, we call deactivate_plugins to deactivate Plugin B automatically.
After saving the file, go to your WordPress admin panel, navigate to the Plugins page, and activate your custom plugin. From now on, whenever you deactivate Plugin A, Plugin B will seamlessly be deactivated as well.
And there you have it! With just a few simple steps, you’ve created a WordPress plugin that enhances the management of your site’s capabilities. Happy coding!
5. Step-by-Step Guide to Implementing Automatic Deactivation
So, you’re ready to dive into the nitty-gritty of automatically deactivating a plugin when another plugin is deactivated. Don’t worry, it’s simpler than it sounds! Just follow these straightforward steps:
- Set Up Your Plugin Environment:
Before anything else, make sure your WordPress development environment is up and running. If you don’t have one set up, consider using a local server like XAMPP or MAMP. - Create or Locate Your Plugin:
If you’re developing a new plugin, create a new folder in `wp-content/plugins/` and add the necessary files. If you’re modifying an existing plugin, navigate to the relevant folder. - Hook into Plugin Deactivation:
You’ll use the `register_deactivation_hook` function to tie your deactivation function to the other plugin’s status. Here’s a quick example: - Write Your Custom Function:
In this function, you’ll specify the logic for what happens when the target plugin is deactivated. For instance, you might want to decline certain features or alert the user. Example: - Test Your Functionality:
It’s critical to ensure your code runs smoothly. We’ll discuss how to test your code in the next section.
register_deactivation_hook('plugin_folder/plugin_file.php', 'my_custom_deactivation');function my_custom_deactivation() { deactivate_plugins('your-plugin/your-plugin.php'); }And there you have it! By following these steps, you’ll successfully set up automatic deactivation for your plugin. It’s all about making sure that everything works in tandem without any hitches!
6. Testing Your Code
Testing your code is a crucial step in the development process. It ensures that everything is functioning as designed. Here’s how you can effectively test if the automatic deactivation feature is working:
- Activate Both Plugins:
First, make sure both the plugin you want to deactivate and the dependent plugin are activated in your WordPress dashboard. - Deactivate the Target Plugin:
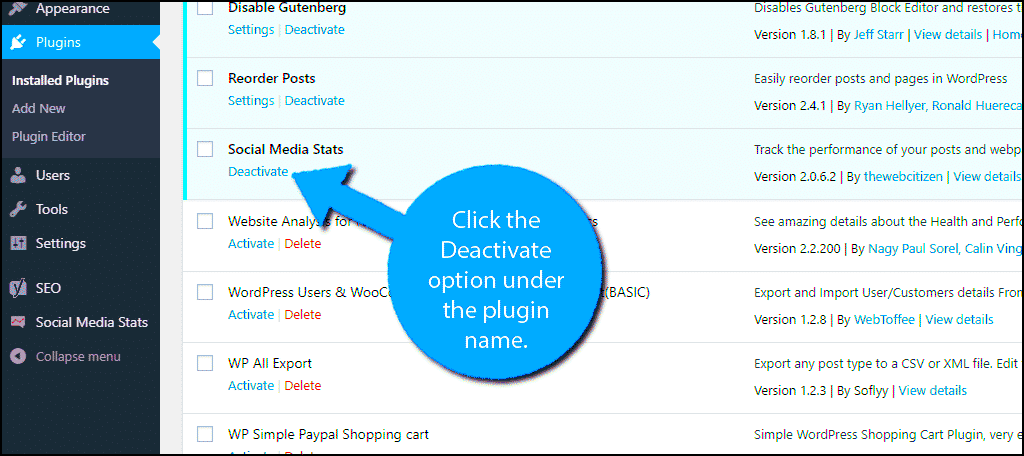
Go ahead and deactivate the main plugin. This can be done from the Plugins menu in WordPress. Make sure to observe what happens to the other plugin—should it automatically deactivate as intended! - Check for Errors:
After the deactivation, look through your website to check for any errors or warnings. Use the WordPress debug mode if necessary to catch anything that might pop up. You can enable it by adding the following lines to your `wp-config.php`: - Test Different Scenarios:
Try activating and deactivating in various sequences. What happens if you activate another plugin in between? These tests will help you ensure your code is robust. - User Feedback:
If feasible, gather user feedback during testing—especially if you’re releasing the plugin publicly. Their insights can help spot unexpected issues.
define('WP_DEBUG', true);define('WP_DEBUG_LOG', true);After thoroughly testing your code, you’ll be confident that your plugin works seamlessly with others. Just remember, the debugging phase is just as important as writing the code itself!
Best Practices for Plugin Management
Managing plugins can sometimes feel like juggling flaming torches; it can get chaotic pretty quickly! However, following a few best practices can make your plugin management experience smoother. Here’s a rundown on how to keep those plugins in line:
- Keep Plugins Updated: Regularly check for updates and install them. Developers often release updates that fix bugs, improve performance, and patch security vulnerabilities.
- Limit Plugin Usage: Only install plugins that you truly need. Each additional plugin is another opportunity for conflicts and performance issues. Aim for quality over quantity!
- Test in a Staging Environment: Always test new plugins in a staging environment first. This practice helps you catch any potential issues without affecting your live site.
- Read Reviews and Ratings: Before installing a new plugin, take a moment to read user reviews. This can provide valuable insights into compatibility and reliability.
- Backup Your Site: Regular backups are essential. If something goes wrong after a plugin update or installation, you can easily restore your site to its previous state.
- Delete Unused Plugins: Remove any plugins that you aren’t using. Even inactive plugins can pose security risks and slow down your site.
By following these best practices, you’ll not only streamline your plugin management process but also enhance your website’s performance and security!
Potential Issues and Troubleshooting
Even with best practices, things can go awry with plugins. Don’t worry! Here’s how to tackle common issues and troubleshoot effectively:
| Issue | Potential Solution |
|---|---|
| Plugin Conflicts | Deactivate all plugins and reactivate them one by one to identify the problematic plugin. |
| Site Performance Issues | Check for plugins that might be causing slow load times. Consider using a performance optimization plugin. |
| Security Vulnerabilities | Ensure all plugins are updated regularly. Use security plugins to identify and mitigate vulnerabilities. |
| Compatibility Issues | Before updating core WordPress, ensure your plugins are compatible with the latest version. |
| Error Messages | Check your site’s error logs for specific error messages that can guide your troubleshooting. |
Stay proactive by monitoring your plugins’ performance and security regularly. The more you know about what’s happening under the hood, the quicker you’ll be to diagnose and resolve any issues that arise!
Conclusion
In summary, the ability to automatically deactivate a plugin when another plugin is deactivated can greatly enhance the management and functionality of your WordPress site. Here are some key points to consider:
- Efficiency: Automating plugin deactivation saves time and minimizes errors associated with manual processes.
- Dependency Management: This approach ensures that your site’s performance remains optimal by not having unnecessary plugins activated.
- Improved User Experience: By managing plugins intelligently, site visitors will benefit from faster loading times and fewer conflicts.
- Code Snippet Implementation: Simple code snippets can be easily added to your theme’s functions.php file to implement this feature quickly.
For developers and website administrators, understanding how to control plugin behavior effectively is crucial for maintaining a well-functioning WordPress environment. Whether for security reasons, performance improvements, or user experience enhancements, automating plugin deactivation when others are deactivated is a small adjustment that can yield significant benefits.

