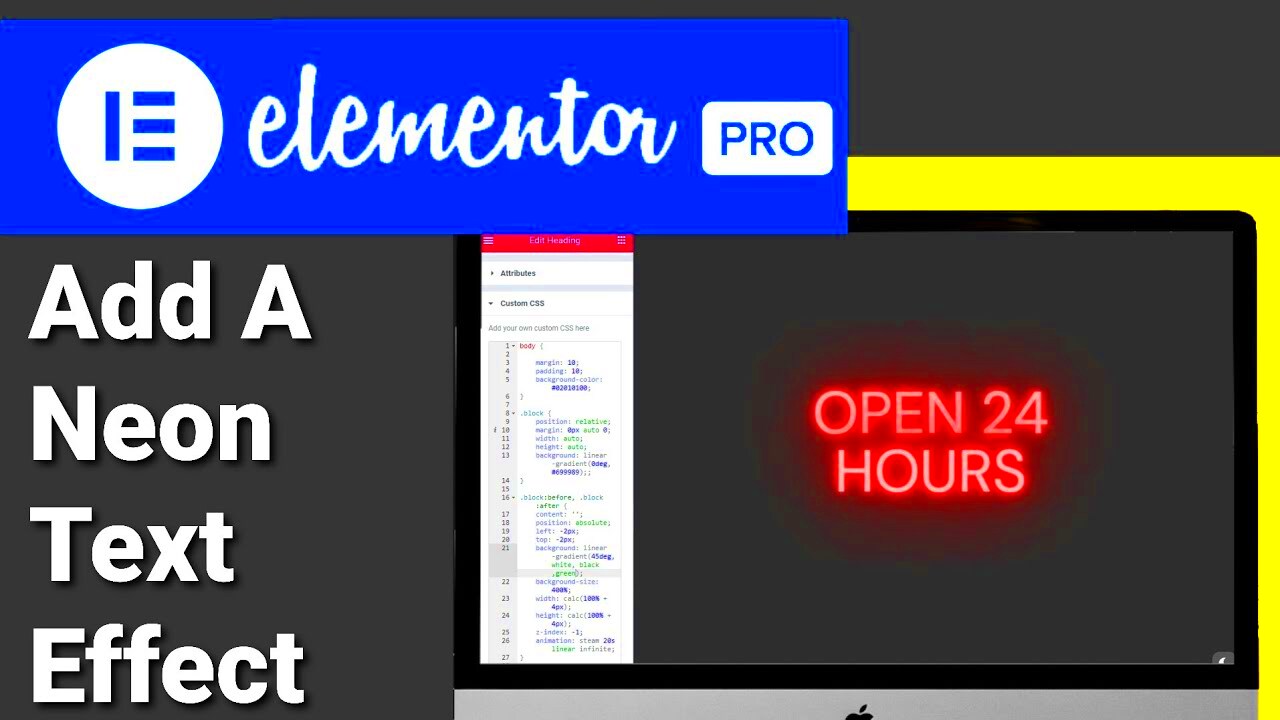
Hey there! If you’re diving into the beautiful world of web design, you’ve probably come across CSS text effects. They can add that extra flair to your website, making it stand out from the crowd. In this section, we’ll explore what CSS text effects are, how they work, and why they matter. Whether you want to create stunning fonts, eye-catching animations, or interactive text, this is where your creativity can shine!
Why Use CSS Text Effects in Elementor?
Elementor is a fantastic tool for building websites, and when combined with CSS text effects, it becomes a powerhouse for design. Let’s break down why integrating CSS text effects in Elementor is a game changer for your web projects.
- Customization: CSS text effects allow for a high level of customization. You can tweak colors, shadows, and animations, giving your text a unique touch that aligns with your brand.
- Enhanced Engagement: Eye-catching text can draw visitors in. By using effects like hover animations, you encourage users to interact with your content, keeping them on your page longer.
- Improved Readability: Effects like shadows and outlines can help improve text visibility against varied backgrounds, ensuring that your message is clear and easy to read.
- Brand Identity: Consistent text effects can reinforce your brand identity. Custom typography that reflects your brand’s personality makes a lasting impression.
Using CSS text effects in Elementor not only beautifies your web pages but also enhances the user experience. By mastering these design techniques, you can elevate your projects to new heights. So, are you ready to get started?
Getting Started with Elementor
If you’re looking to elevate your web design game, Elementor is a fantastic choice. This powerful page builder for WordPress is user-friendly, feature-rich, and versatile, making it the go-to tool for many designers and developers. First things first, let’s get you set up!
To begin using Elementor, follow these steps:
- Install Elementor: Head over to your WordPress dashboard, navigate to the “Plugins” section, and click on “Add New”. Search for “Elementor”, install, and activate it. It’s that simple!
- Create a New Page: Go to “Pages” > “Add New”. You’ll see the option to edit with Elementor. Click the button to launch the Elementor editor.
- Familiarize Yourself with the Interface: The Elementor interface consists of a panel on the left and a live preview section on the right. You can drag and drop widgets from the panel to your design area. Explore various elements like headings, text, images, and buttons.
- Save Your Work: As you build your page, don’t forget to hit the “Save” button frequently. It ensures you don’t lose any progress!
With Elementor, the possibilities are endless. Once you’re comfortable with the basics, you can dive into more advanced features like dynamic content or custom animations. The beauty of Elementor lies in its ability to cater to both beginners and seasoned pros alike!
Basic CSS Text Effects to Enhance Your Typography
Typography is a crucial aspect of web design, and using CSS text effects can make your content not only more visually appealing but also more engaging. Let’s explore some basic CSS text effects you can easily apply in Elementor!
Here are a few notable text effects you can implement:
- Text Shadow: Add a subtle or bold shadow to your text for depth. A simple code snippet like
text-shadow: 2px 2px 5px rgba(0,0,0,0.3);can do wonders. - Gradient Text: Using a gradient for your text can make it stand out. You can use CSS such as
background: linear-gradient(45deg, #ff0066, #ffcc00); -webkit-background-clip: text; color: transparent;to achieve this effect. - Letter Spacing: Adjusting letter spacing can lead to improved readability or stylistic effects. Simply use
letter-spacing: 2px;to create more space between letters. - Text Transformations: Change the casing of your text. Using
text-transform: uppercase;gives your text a bold and authoritative look. - Hover Effects: Adding a hover effect can make your text interactive. For example,
:hover { color: #ff0066; transform: scale(1.1); }creates an engaging hover effect.
Implementing these effects in Elementor is easy! Just navigate to the “Advanced” tab within the text widget, and add your custom CSS in the Custom CSS field (available in Elementor Pro). These simple techniques can really help your typography shine and keep your visitors hooked on your content.
5. Step-by-Step Guide to Adding Text Effects in Elementor
Are you ready to spice up your text using Elementor? Well, buckle up, because we’re diving into a simple step-by-step guide that will have your text looking snazzy in no time!
First things first, let’s get started with the basics:
- Open Your Elementor Editor: Start by navigating to the page or post where you want to apply the text effects. Click “Edit with Elementor” to enter the editing environment.
- Add a Text Widget: Locate the text widget from the left panel. You can drag and drop it onto your page. This is where the magic begins!
- Edit Your Text: Click on the text widget and enter your desired content. Here, you can also format the text as needed, choosing font, size, and color.
- Access the Advanced Tab: Once you’ve set your text, head to the “Advanced” tab in the left panel. This is where you will find options for animations, margins, padding, and more!
- Add Custom CSS: In the “Custom CSS” section (available in Elementor Pro), you can start adding your CSS effects. For instance:
| Effect | CSS Code |
|---|---|
| Text Shadow | text-shadow: 2px 2px 4px #000000; |
| Color Change on Hover | .elementor-text:hover { |
Once you’ve added your desired CSS, don’t forget to save your changes! Click the green “Update” button on the bottom left. Voila! Your text has come to life with those fabulous effects!
6. Advanced CSS Text Effects Techniques
Now that you’ve got the hang of the basics, let’s take things up a notch! Advanced CSS text effects can truly transform your website and capture your audience’s attention. Here are some exciting techniques you can implement:
- Text Gradients: Add multi-color gradients to your text. Here’s a quick example:
- 3D Text Effect: Give your text some depth by layering shadows. A snippet would be:
- Pulsating Text: A trendy way to draw attention. You can use keyframes for this:
- Text Animation on Scroll: With a bit of JavaScript and CSS, you can create stunning animations that only trigger when the text comes into view.
.gradient-text {
        background: linear-gradient(to right, #ff7e5f, #feb47b);
        -webkit-background-clip: text;
        -webkit-text-fill-color: transparent;
    }
        .three-d-text {
            text-shadow:
            2px 2px #ff0000,
            4px 4px #a30000;
        }
        @keyframes pulse {
            0% { transform: scale(1); }
            50% { transform: scale(1.1); }
            100% { transform: scale(1); }
        }
        .pulsate {
            animation: pulse 1s infinite;
        }
Experimenting with these advanced techniques can lead you to create impressive designs that will engage visitors like never before. So, go ahead and get creative! After all, your website is a canvas, and it’s time to paint it with spectacular text effects.
Previewing and Testing Your Text Effects
Before you finalize your design in Elementor, it’s vital to preview and test your CSS text effects. This ensures that your effects not only look good but also function seamlessly across different devices. Let’s explore how to effectively preview and test your text effects:
- Use Elementor’s Preview Mode: Elementor provides a built-in preview mode that allows you to see your changes in real-time. This is the first step to ensure everything looks just the way you want.
- Check Across Devices: Use the responsive mode in Elementor to switch between desktop, tablet, and mobile views. This helps you understand how your text effects behave on various screen sizes.
- Take Advantage of the Browser Preview: After saving your changes in Elementor, open the page in different browsers to see if the effects render correctly. Be consistent in your testing, as different browsers may interpret CSS differently.
- Test for Load Times: CSS text effects can sometimes slow down load times. Use tools like Google PageSpeed Insights to check your site’s performance.
- Gather Feedback: Don’t hesitate to share your design with friends or colleagues. Their fresh perspective can help you pinpoint any issues you might have missed.
Remember, the goal is to create an engaging experience for visitors. By thoroughly previewing and testing your text effects, you can ensure your designs shine across all platforms and devices.
Common Issues and Troubleshooting CSS Text Effects
When working with CSS text effects in Elementor, you might encounter a few hiccups along the way. Understanding these common issues can help you troubleshoot effectively and enhance your design skills. Here are some frequent problems and their solutions:
| Issue | Possible Solutions |
|---|---|
| Text Effects Not Displaying: |
|
| Effects Overlapping or Being Cut Off: |
|
| Slow Page Load: |
|
| Cross-Browser Compatibility Issues: |
|
By being aware of these common issues and their solutions, you will be better equipped to quickly resolve any problems that arise while applying CSS text effects with Elementor. Happy designing!
9. Conclusion: Elevating Design with CSS Text Effects
As we wrap up our exploration of CSS text effects within Elementor, it’s clear that these techniques are more than just fancy visual tweaks—they’re essential tools for enhancing user engagement and brand identity. By incorporating CSS text effects, you can breathe new life into your website, making text not just readable, but also memorable.
The beauty of using CSS text effects lies in their versatility. You can create everything from subtle shadows to eye-catching animations with just a sprinkle of code. This means you don’t need to be a coding guru to elevate your site’s aesthetic; even a novice can achieve stunning results with a little guidance.
Moreover, when you harmonize these text effects with your overall design, you add an exciting layer of depth and dimension. Visitors to your site are more likely to stay engaged and explore further when faced with visually appealing content. Ultimately, it’s about creating a seamless experience that entices users to interact with your website.
So whether you’re a small business owner looking to stand out or a creative professional aiming to showcase your work, implementing CSS text effects in Elementor is a savvy move. Remember, a well-designed site isn’t only about aesthetics; it’s about crafting a narrative that resonates with your audience. So go ahead, play with those text styles, and watch your web design soar to new heights!
10. Additional Resources for Elementor and CSS
Diving deeper into the world of CSS text effects and Elementor can be a rewarding journey. Fortunately, there’s a plethora of resources available to help you enhance your skills and knowledge. Here are some valuable resources that you can refer to:
- Official Elementor Documentation: The best starting point, packed with tutorials and guides.
- CSS Tricks: An excellent resource for learning CSS fundamentals and advanced techniques.
- MDN Web Docs: Comprehensive documentation on web standards, including in-depth guides on CSS properties.
- CodePen: A social development environment where you can see live examples of CSS text effects and share your creations.
- YouTube Tutorials: Channels like “Elementor Tutorials” or “CSS Tricks” offer step-by-step videos on creating specific text effects.
Additionally, some practical tips:
| Type | Resource | Description |
|---|---|---|
| Documentation | Elementor Help Center | Official guides on using Elementor features. |
| Tutorials | YouTube | Video tutorials for visual learners. |
| Community | Elementor Community Group | Connect with other Elementor users to share tips and tricks. |
By tapping into these resources, you’ll not only improve your text styling ideas but also build a solid foundation for future web design projects. Happy designing!


