Hey there! If you’re looking to enhance your website’s lead generation capabilities, you’ve landed in the right place. In this post, we’re diving into the world of HubSpot forms and how to seamlessly integrate them with your WordPress user data. Imagine having forms that automatically fill in user details, making it easier for your visitors to engage with your content. It’s a win-win! Let’s get started and explore the essentials.
What are HubSpot Forms?

HubSpot forms are web forms designed to capture user information like names, email addresses, and other data necessary for your marketing efforts. They are part of the HubSpot CRM (Customer Relationship Management) platform, which is renowned for streamlining sales and marketing tasks.
Here’s what makes HubSpot forms stand out:
- User-Friendly Interface: HubSpot provides an intuitive drag-and-drop interface that makes it easy to create custom forms without any coding skills.
- Customizable Fields: You can tailor each form with various field types, such as text fields, checkboxes, dropdowns, and more.
- Integration Capabilities: HubSpot forms easily integrate with your existing tools, including WordPress, allowing for efficient data management.
- Built-in Analytics: Track submissions, conversions, and user behavior with HubSpot’s robust analytics features.
Additionally, HubSpot forms are versatile and can be used for:
| Use Case | Description |
|---|---|
| Lead Generation | Collect potential customer information to grow your email list. |
| Event Registrations | Gather details for webinars, live events, or workshops. |
| Surveys and Feedback | Gain insights into customer satisfaction and preferences. |
In summary, HubSpot forms are powerful tools for businesses looking to enhance their online interactions. And when paired with your WordPress user data, they become even more effective! Stay tuned to learn how to set up auto-populated forms that can save you and your visitors valuable time.
Benefits of Using HubSpot Forms with WordPress
Integrating HubSpot forms with your WordPress site brings a multitude of advantages that can significantly enhance your user engagement and streamline your marketing efforts. Let’s dive into some of the standout benefits:
- Seamless User Experience: HubSpot forms can auto-populate with information from your WordPress user database. This means returning visitors enjoy a smoother experience without needing to re-enter their details. Who doesn’t love a little convenience?
- Enhanced Data Collection: With HubSpot’s robust CRM capabilities, collecting and managing your leads becomes a breeze. You can collect detailed information that helps tailor your marketing strategies effectively.
- Improved Lead Nurturing: HubSpot forms can be tied directly to your marketing workflows. This means when a user fills out a form, they can immediately enter into a nurturing process that sends them targeted emails, making them feel valued and engaged.
- Better Analytics: Integrating HubSpot with WordPress allows you to track and analyze form submissions effortlessly. You’ll be able to measure conversion rates and gather insights on user behavior, which can inform future campaigns.
- Customization and Branding: HubSpot forms can be styled to match your website’s branding. This helps maintain a consistent look and feel, enhancing the overall user experience and building trust with your audience.
In summary, the synergy between HubSpot forms and your WordPress site can elevate your business operations, improve user satisfaction, and ultimately drive better results for your marketing campaigns.
Prerequisites for Integration
Before you embark on integrating HubSpot forms with your WordPress website, there are a few prerequisites that you should keep in mind. Being prepared will save you time and ensure a smoother integration process. Here are the essentials:
| Prerequisite | Description |
|---|---|
| WordPress Website | Your website must be running on WordPress. Ensure you have the latest version for compatibility and security. |
| HubSpot Account | You’ll need a HubSpot account. Whether it’s free or a paid plan, ensure you’re logged in and familiar with the platform. |
| API Access | To leverage auto-population features, API access must be enabled in your HubSpot account. Check your API key and permissions. |
| WordPress Plugin | Install the HubSpot WordPress plugin. This plugin simplifies the integration process and provides necessary tools for form creation. |
| Analytics Tools | Set up analytics tools (like Google Analytics) on your WordPress site to measure the effectiveness of the forms you create. |
By ensuring you meet these prerequisites, you’ll pave the way for a successful integration between HubSpot forms and your WordPress site. Preparation is key to reaping the fantastic benefits of this powerful combination!
5. Step-by-Step Guide to Integrate HubSpot Forms with WordPress User Data
Integrating HubSpot forms with your WordPress site can streamline your data collection and enhance user experience significantly. Follow these easy steps to set up this integration:
- Create a HubSpot Account: If you don’t already have a HubSpot account, head over to HubSpot’s website to sign up. The free version is sufficient for basic needs.
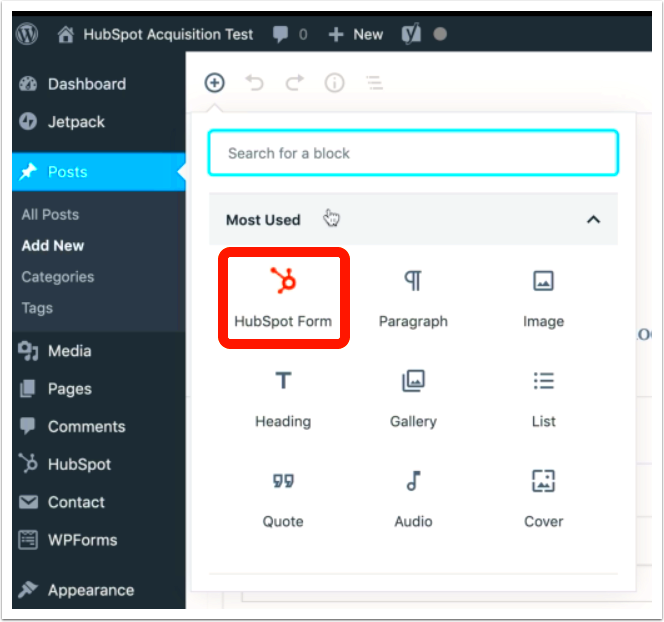
- Install a Plugin: To connect HubSpot and WordPress, installing a plugin is essential. A popular choice is the HubSpot plugin for WordPress. You can find this in your WordPress dashboard under Plugins > Add New. Search for ‘HubSpot’, install, and activate it.
- Connect HubSpot to WordPress: After activation, navigate to the HubSpot settings in your WordPress dashboard. You will need to log in to your HubSpot account to establish a connection between your WordPress site and HubSpot.
- Create a New Form in HubSpot: Go to your HubSpot account, click on Marketing > Lead Capture > Forms, and then create a new form. Customize it according to your needs – add fields, adjust styles, and set up notifications.
- Embed the Form in WordPress: After creating the form, you’ll be provided with an embed code. Copy this code and paste it into a post, page, or widget in your WordPress site where you want the form to appear.
- Test the Integration: It’s crucial to test if the form is working correctly. Submit a test entry to see if the data is correctly captured in HubSpot.
And there you go! Just by following these steps, you have successfully integrated HubSpot forms with your WordPress user data!
6. How to Enable Auto-Population of User Data in HubSpot Forms
Auto-population of user data in HubSpot forms can enhance user experience by making the submission process faster and smoother. Here’s how you can enable this nifty feature:
- Set Up User Registration: First, ensure your WordPress site allows user registration. Go to Settings > General in your WordPress dashboard and enable Anyone Can Register.
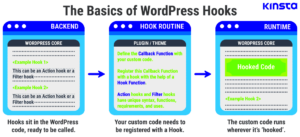
- Gather User Data: You’ll need to collect user data like name, email, and any other relevant information at the point of registration. Utilize WordPress hooks to capture this data when users sign up.
- Use HubSpot API: To push user data into HubSpot forms, leverage the HubSpot API. Make sure you have your HubSpot API key handy. Use the API to send user details directly to the form fields.
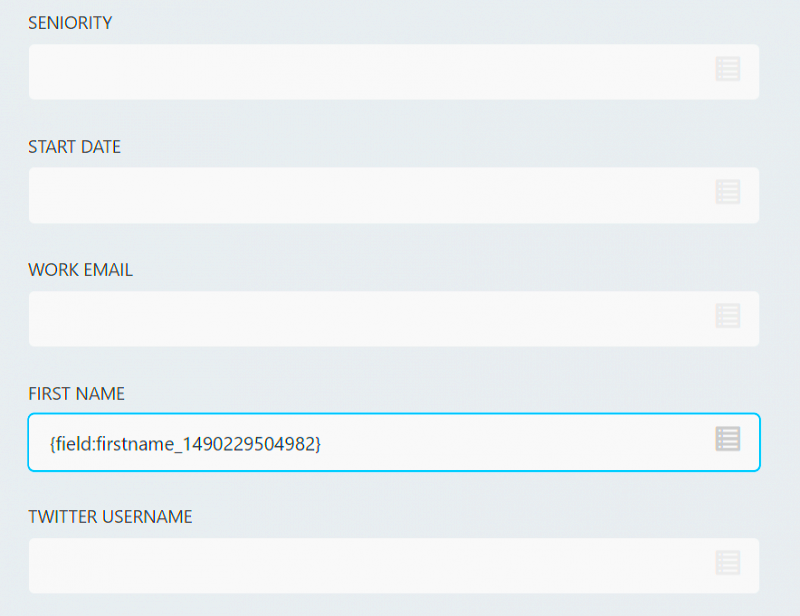
- JavaScript for Auto-Population: Implement JavaScript on your WordPress site to pull the logged-in user’s data using the `wp_get_current_user()` function. Populate the HubSpot form fields with this data automatically.
- Test Auto-Population: After implementing, always test the functionality. Log in as a user and check if the fields on your HubSpot form auto-fill with the right information.
Once you have everything set up, you’ll notice that your users will appreciate the convenience, making them more likely to fill out the forms!
7. Testing Your HubSpot Forms with Auto-Populated Data
Once you’ve set up your HubSpot forms to be auto-populated with WordPress user data, the next crucial step is testing to ensure everything is working as intended. Nobody wants to launch a feature that’s buggy or doesn’t provide the expected experience, right? So, let’s walk through the testing process together!
To effectively test your forms, follow these steps:
- Simulate User Scenarios: Before you get into the nitty-gritty, think about the different scenarios a user might face. Create several test user accounts on your WordPress site to represent various demographics and data points.
- Check Auto-Population: Log in with these test accounts, navigate to the page containing the HubSpot form, and see if the fields populate automatically. Pay attention to fields like name, email, and any custom attributes you’ve included.
- Test Different Browsers: Always check your forms on multiple web browsers (Chrome, Firefox, Safari, etc.) to catch any inconsistencies or issues that may arise across platforms.
- Validate Data Submission: Complete the form and submit it as a test. Verify directly in your HubSpot dashboard that the data is received correctly and reflects the inputs from your test user accounts.
- Check for Errors: Review the form for any JavaScript errors in the console. Debugging any minor issues early can save you from major headaches later!
By following this process, you can confidently ensure that your HubSpot forms with auto-populated WordPress user data operate seamlessly, enhancing user experience while collecting valuable information!
8. Troubleshooting Common Issues
Even the best-laid plans can go awry, and that’s perfectly okay! If you encounter issues with your HubSpot forms and WordPress user data, don’t panic. Let’s roll up our sleeves and troubleshoot some common hiccups you might face.
Here’s a handy guide to help you figure things out:
| Issue | Possible Causes | Solutions |
|---|---|---|
| Auto-populated fields are empty |
|
|
| Data not sent to HubSpot |
|
|
| JavaScript errors affecting the form |
|
|
Remember, most challenges have a solution. Don’t hesitate to consult HubSpot’s documentation or reach out to their support if you’re still stuck. By proactively addressing these issues, you can ensure a smooth experience for your users!
9. Conclusion
In today’s digital landscape, optimizing user experience is paramount, and one of the most effective ways to do this is through the use of auto-populated forms. HubSpot forms, when integrated with your WordPress user data, can significantly streamline the process for your visitors. Not only does this approach eliminate the hassle of entering repetitive information, but it also increases the chances of conversion. By automatically filling in fields like name, email, and other relevant details, you create a smoother flow for users, encouraging them to engage with your content or sign up for your services.
Implementing auto-populated forms requires some setup, particularly in syncing your WordPress database with HubSpot. However, the benefits far outweigh the initial effort. You can collect lead information effectively while simultaneously enhancing the user experience on your site. With better forms, you’ll likely see higher submission rates and quality leads, translating into a more successful marketing strategy overall.
So, as you look to refine your website’s interface, consider the power of HubSpot forms and WordPress integration. The tools are readily available, and with a bit of technical know-how, you can create a frictionless experience that’s sure to delight your visitors. Remember, every step you take toward simplification can make a big impact on your audience’s perception and engagement.
10. Additional Resources
As you embark on implementing auto-populated HubSpot forms in your WordPress site, you might want to explore various resources that can help you along the way. Below is a curated list of helpful articles, tutorials, and tools that can support your journey:
- HubSpot Forms Guide: A comprehensive resource detailing all aspects of creating and managing forms in HubSpot.
- WP HubSpot Plugin: Instructions on installing and configuring the WP HubSpot plugin for your WordPress site.
- WPBeginner HubSpot Setup: Step-by-step guidelines on setting up HubSpot in WordPress.
- HubSpot Demo: Schedule a demo to see how HubSpot can work for your business.
In addition to these resources, consider joining relevant forums or communities where individuals share their experiences and insights on HubSpot and WordPress integration. Engaging with others in this space can provide you with fresh ideas and solutions to common challenges. Happy integrating!


