Elementor is a powerful and versatile page builder for WordPress, designed to make the web design process easier and more intuitive. It allows users to create stunning, professional-looking websites without any coding knowledge. With its drag-and-drop interface, you can easily customize layouts, add elements, and style your pages in real-time. Since its launch, Elementor has gained immense popularity among developers and non-developers alike for its user-friendly approach and extensive features. Whether you’re building a simple blog or a complex e-commerce site,
Why Use Headers and Footers?
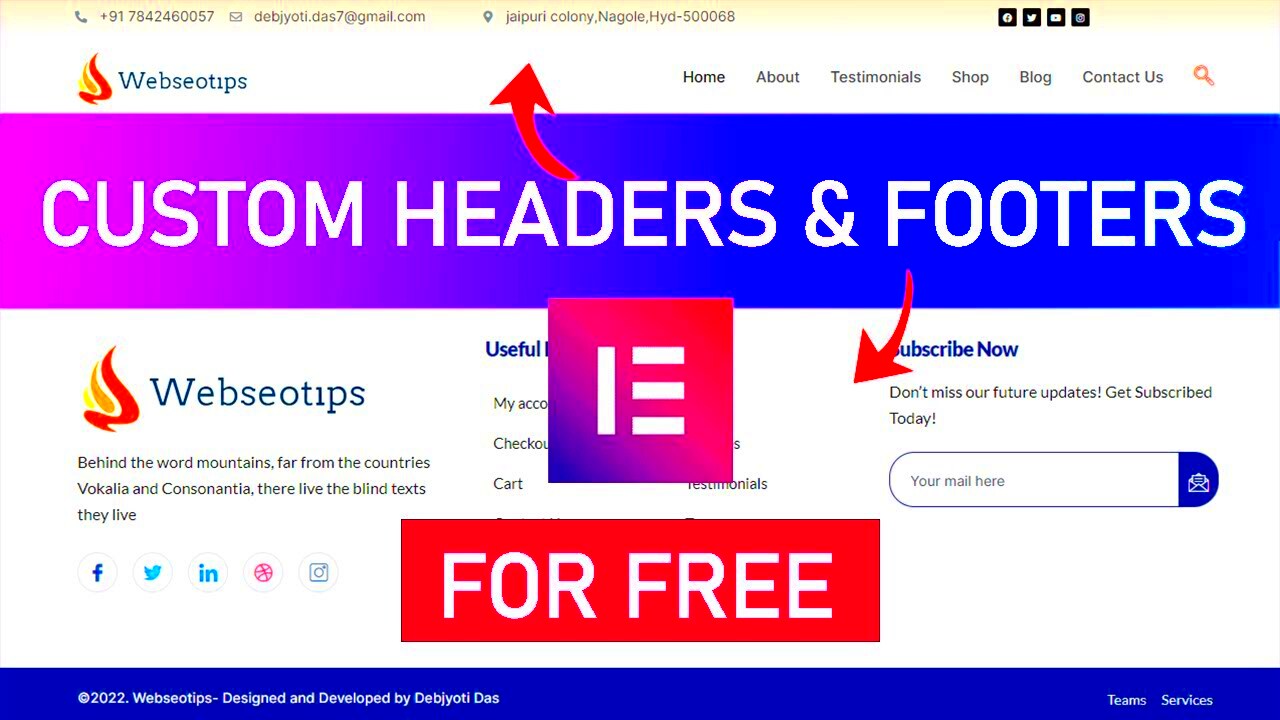
Now that you have a brief overview of Elementor, let’s discuss the importance of headers and footers on your website. These vital components serve several purposes and can significantly impact user experience as well as site aesthetics. Here are some reasons to consider using headers and footers:
- Navigation: Headers typically contain your primary navigation menus, making it easy for visitors to find their way around your site.
- Branding: Your header often includes your logo, helping to establish brand identity and create a lasting impression.
- Contact Information: Footers are a great place to display your contact information, including phone numbers and email addresses, ensuring visitors can quickly reach you.
- Links to Important Pages: You can use footers to link to your privacy policy, terms of service, or other important pages, which can enhance user trust.
- Social Media Icons: Including social media links in your footer helps promote your online presence across platforms.
In summary, headers and footers are not just decorative elements; they are essential for guiding users, reinforcing branding, and providing crucial information. So, when using Elementor, make sure to leverage these components effectively to enhance your website’s functionality and appeal.
Setting Up Your Elementor Environment
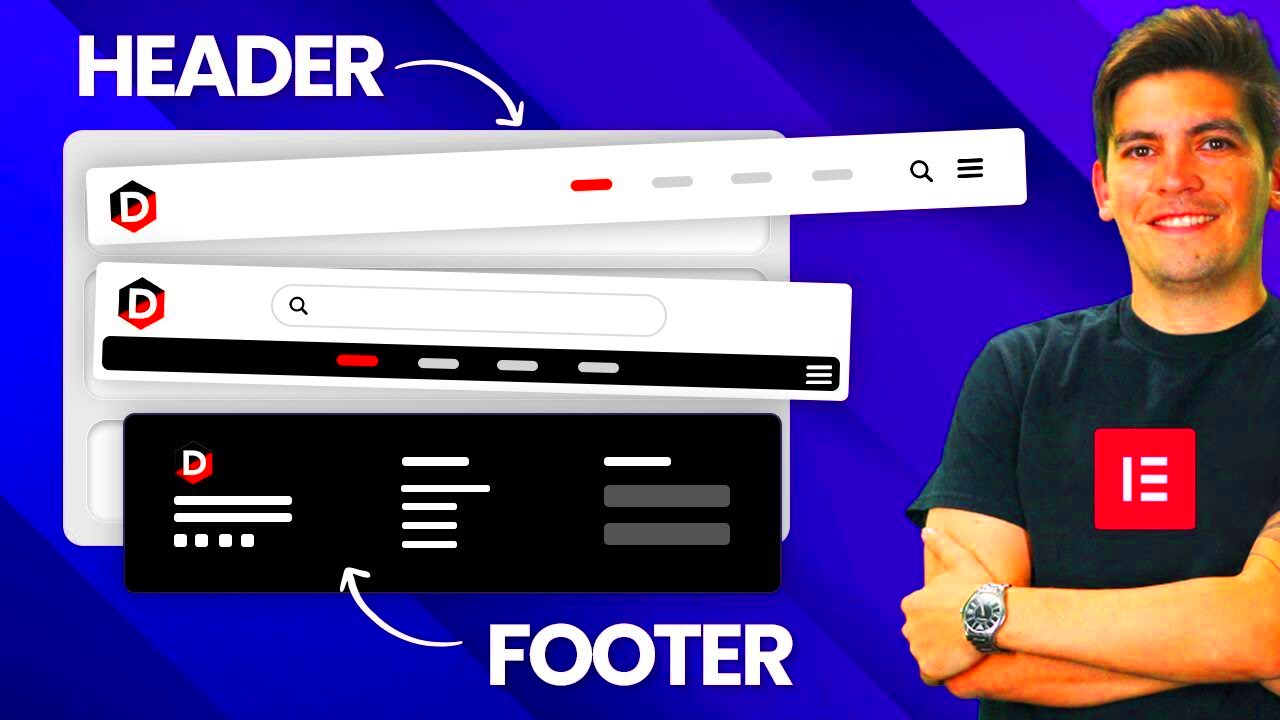
Getting your Elementor environment set up is like laying the foundation for a house; it’s crucial for everything that follows. To ensure a smooth design experience, let’s walk through the steps you need to get started.
- Install Elementor: First things first, if you haven’t installed the Elementor plugin yet, head over to your WordPress admin dashboard. Navigate to Plugins > Add New, and search for “Elementor.” Click Install Now, and then activate it. Easy as pie!
- Choose the Right Theme: Elementor works best with well-optimized WordPress themes. Popular choices include Astra, OceanWP, and GeneratePress. Make sure the theme you select is compatible to avoid any design hiccups.
- Need for Templates: Elementor offers a range of pre-built templates that can speed up your workflow. Don’t hesitate to browse through the library; you might find something that sparks your creativity!
- Setting Up Global Settings: Before diving into design, head to Elementor > Settings to adjust your global settings. Choose your default layout, typography, and colors so that you create a coherent website aesthetic from the get-go.
- Enable Maintenance Mode if Needed: If you’re still in the design phase and want to keep your work hidden from visitors, enable the maintenance mode plugin. This way, you can work on your site without interruptions.
After completing these steps, your Elementor environment is all set up and ready for action. You’re now in a great position to start designing your custom headers and footers, taking your web design to the next level!
Creating a Custom Header
Creating a custom header in Elementor is like putting a cherry on top of your website. It not only enhances the overall look but also provides vital navigation for users. Let’s dive into the steps to create a stunning header!
Follow these steps to craft a custom header:
- Go to Theme Builder: Navigate to Templates > Theme Builder in the WordPress dashboard. This section allows you to manage all the templates, including headers.
- Select Header: Click on Add New and select Header. You’ll be prompted to give it a name, which can be anything you prefer, like “Main Header.”
- Choose a Template: Elementor provides numerous header templates, which you can customize. Pick one that resonates with your website theme, or start from scratch if you’re feeling adventurous!
- Edit Your Header: Once you’ve selected your template, you’ll be taken into the Elementor editor. Here you can drag and drop different elements like logos, menus, social icons, and more.
- Styling the Header: Customize colors, fonts, and spacing in the style tab. Don’t forget to make your header responsive, so it looks good on all devices!
- Set Visibility Conditions: After designing your header, you need to choose where it will appear. Click on the Publish button, and set the conditions, such as ‘Entire Site’ or specific pages.
And just like that, your custom header is ready to take the web world by storm! With a few clicks, you’ve made a big impact on your site’s user experience and aesthetics. Isn’t Elementor wonderful?
Styling Your Header
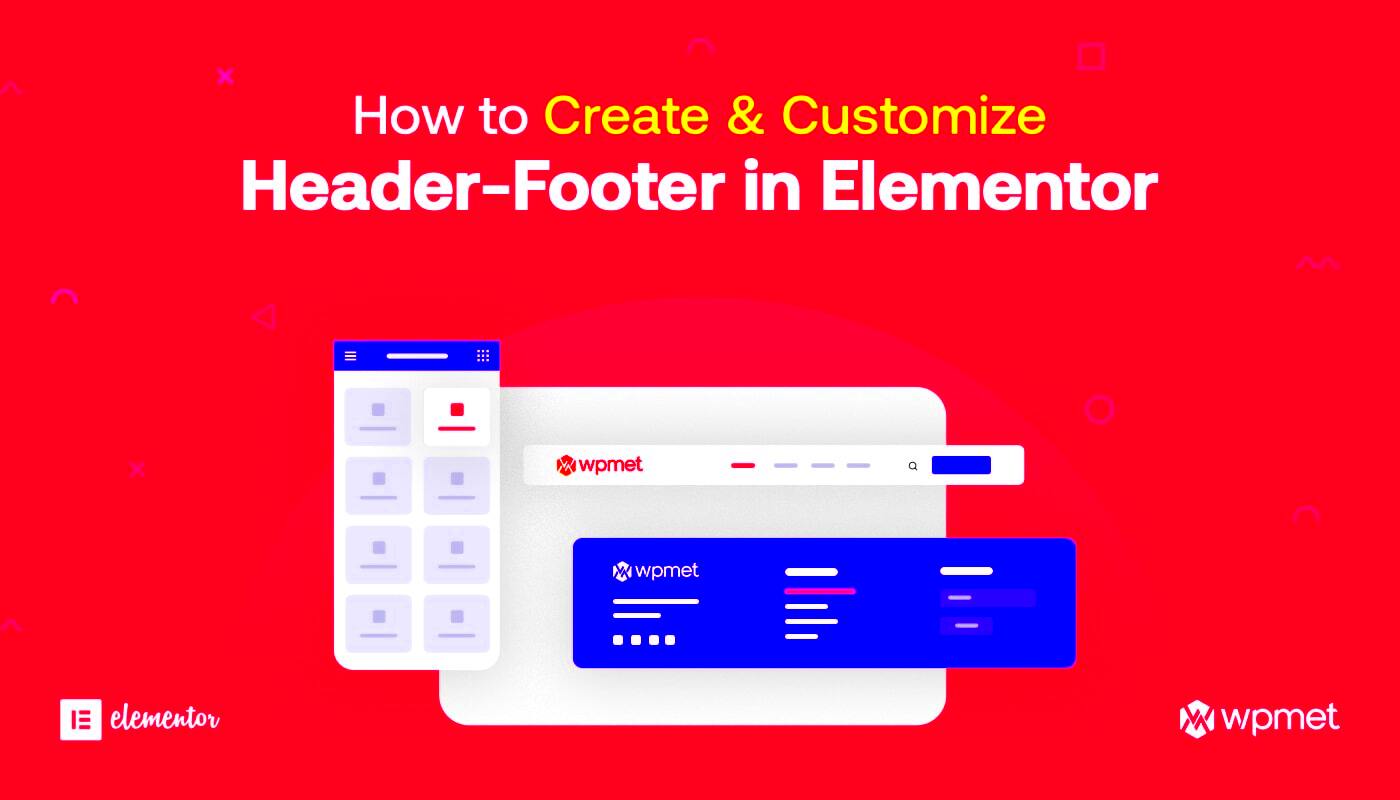
Creating a stunning header in Elementor is a fantastic way to make a lasting impression on your visitors. The header acts as the first point of interaction and can set the tone for your entire website. Let’s dive into how you can style your header effortlessly.
When you’re in the Elementor editor, you can customize your header in several ways:
- Background Color: Start by selecting a color that complements your website’s overall theme. You can opt for solid colors, gradients, or even an image as your background.
- Typography: Your header text should be not only catchy but also easy to read. Experiment with different fonts, sizes, and weights. Use contrasting colors for your text and background for better visibility.
- Spacing and Alignment: Proper spacing can enhance readability. Use the padding and margin settings to create well-aligned elements. Make sure your logo, navigation menu, and any other components flow naturally.
- Effects: Elementor provides creative options to add hover effects, animations, or parallax scrolling to your header elements, making them more dynamic. Just don’t overdo it!
- Responsive Design: Finally, make sure your header looks great on all devices. Use Elementor’s responsive settings to adjust the visibility, positioning, and arrangement of header components depending on whether your visitors are on desktop, tablet, or mobile.
With a little creativity and the right tools, you can create a header that not only looks good but also enhances user experience. Your header will resonate with your visitors and guide them through their journey on your site.
Creating a Custom Footer
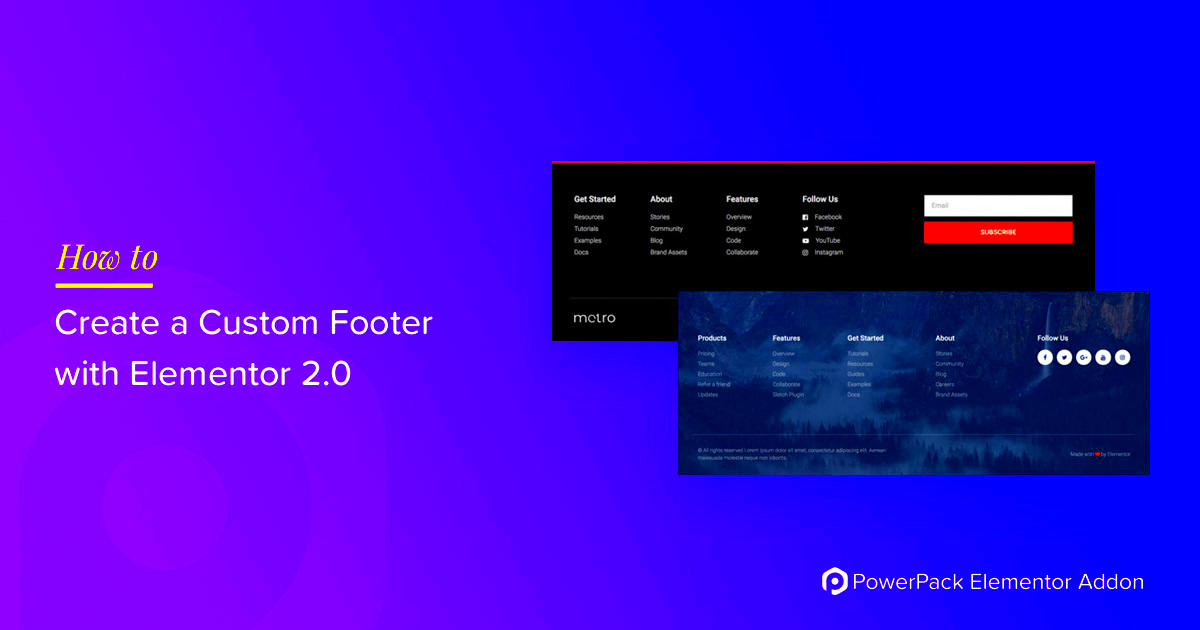
Now that your header is looking fabulous, let’s shift our focus to the footer. A custom footer serves multiple purposes: it provides useful information, increases credibility, and can also help with SEO. Here’s how you can design an impactful footer using Elementor.
To create a custom footer, follow these steps:
- Using Footer Templates: Elementor offers pre-designed footer templates that you can customize. Navigate to the Templates section and find footers that resonate with your style.
- Layout Configuration: Decide on the structure of your footer. You can have several columns to display various information such as contact details, social media links, or a newsletter signup form. Elementor makes it easy to adjust column widths and spacing based on your preference.
| Footer Element | Description |
|---|---|
| Contact Information | Make it easy for your visitors to reach you by adding phone numbers, email addresses, or a contact form. |
| Social Media Links | Encourage users to connect with you across platforms by adding recognizable social media icons. |
| Site Links | Include links to important pages such as Privacy Policy, Terms and Conditions, and About Us to improve site navigation. |
After you have added your desired elements, focus on styling them. Similar to your header, maintain a consistent color palette and typography in your footer. Play around with spacing to ensure clarity and organization. Once you’re satisfied, don’t forget to check how it looks on different devices!
With these tips, creating a custom footer can be a straightforward yet rewarding process. It can effectively integrate with your header to create a cohesive and user-friendly experience on your website.
Styling Your Footer
When it comes to your website, the footer is just as important as the header. It’s like the cherry on top of your delicious sundae! Styling your footer can enhance the overall look of your site while also providing valuable information to your visitors. Let’s explore how you can create a visually appealing and functional footer using Elementor.
First, consider what you want to include in your footer. Typically, you may want to add:
- Contact Information: Phone number, email address, or physical location.
- Social Media Links: Engage your visitors by linking to your social platforms.
- Navigation Links: Provide easy access to key sections of your site.
- Copyright Information: Protect your content with a copyright notice.
Now, let’s move on to actual styling. Elementor offers a plethora of options to tweak the appearance of your footer:
- Background Color: Choose a color that complements your site’s overall color scheme.
- Typography: Select fonts that are easy to read; contrast between text and background is key here.
- Spacing: Don’t forget about padding and margins! Proper spacing can make your footer look less cluttered.
- Widgets: Use Elementor’s widgets to customize your footer with forms, icons, and more.
Finally, preview your footer on different devices. After all, a stunning desktop footer should look just as good on mobile screens!
Using Templates for Headers and Footers
If you’re looking for a quicker and more efficient way to set up your headers and footers, templates are the way to go! Elementor provides a wide range of pre-designed templates that can save you a mountain of time while ensuring a polished, professional look.
To get started, follow these simple steps:
- Access Templates: Navigate to the Elementor dashboard and select “Templates.”
- Choose Header or Footer: Filter your options to find either header or footer templates.
- Preview and Insert: Hover over any template to get a sneak peek, and click “Insert” when you’ve found your favorite.
After inserting the template, you can customize it to fit your brand’s identity. Don’t hesitate to modify:
- Color Schemes: Tailor the colors to match your branding.
- Fonts: Change typography for compatibility with your overall site design.
- Content: Add your own links, logos, and call-to-action buttons.
Using templates is not only efficient but also ensures that your header and footer are fully functional and stylish. You can always adjust and adapt them as needed! Remember, a cohesive look across your site helps create a more professional and engaging user experience.
9. Previewing and Publishing Your Work
After putting in all that effort to design your headers and footers in Elementor, the next vital step is to preview and publish your masterpiece. This is where you’ll get to see how everything looks in a real browser setting.
To preview your work, simply click on the Preview Changes button located in the bottom panel of the Elementor editor. This allows you to see how your headers and footers will appear on the actual site without making any permanent changes yet. It’s a fantastic way to catch any elements that might need tweaking.
Here are some things to check during the preview:
- Responsiveness: Don’t forget to check how your headers and footers look on mobile and tablet devices. Use the responsive mode in Elementor to see how elements rearrange themselves.
- Content Accuracy: Make sure all text is correctly formatted and that hyperlinks work as intended.
- Aesthetic Appeal: Look at the color schemes, fonts, and spacing. They should align with your overall site branding.
Once you’re satisfied with your adjustments and everything looks perfect, it’s time to publish! Click the Publish button, and Elementor will prompt you with various options before making your headers and footers live.
In most cases, you’ll have options like:
| Option | Description |
|---|---|
| Entire Site | Use the header/footer on all pages of the website. |
| Specific Pages | Select certain pages or posts where this design should appear. |
After confirming your options, hit Publish once again, and voilà! Your headers and footers are live!
10. Troubleshooting Common Issues
Even the best of us encounter problems when designing with Elementor. But fear not! Most issues are easily fixable with just a few troubleshooting tips. Let’s take a look at some common hiccups you might face.
1. Header/Footer Not Showing: This is a frequent issue that can often be resolved by checking the display conditions you set when publishing your headers or footers. Make sure you’ve selected the right pages for display.
2. Responsive Issues: If your header or footer looks fine on a desktop but messy on mobile, check your responsive settings in Elementor. You can adjust elements specifically for mobile views, ensuring they look great on any device.
3. Misaligned Elements: Sometimes, elements might appear misaligned. This usually happens due to padding, margin, or positioning settings. Use the Advanced tab in Elementor to adjust these settings manually.
4. Sluggish Load Time: Heavy images or excessive use of effects can slow down your site. Optimize images and limit the use of animations to enhance loading times.
If none of these solutions work, consider:
- Clearing your website cache.
- Checking for conflicts with other plugins or themes.
- Updating Elementor and your theme to the latest version.
Diving into troubleshooting can feel daunting, but most issues in Elementor are manageable with a bit of patience and these handy tips. Happy designing!
Conclusion
In this post, we explored the essential process of adding headers and footers in Elementor, a popular page builder for WordPress. By leveraging Elementor’s user-friendly interface, users can create visually appealing and functional headers and footers that enhance the overall aesthetics and usability of their websites.
Here are the key steps you need to follow to add headers and footers in Elementor:
- Access Elementor Theme Builder: Navigate to the WordPress dashboard, click on “Templates,” and select “Theme Builder.” This will guide you to the area where you can customize your header and footer.
- Create a New Header/Footer: Click on either the “Add New” button, select “Header” or “Footer” from the dropdown menu, and give your template a name.
- Design Your Template: Use the Elementor drag-and-drop editor to add elements like logos, navigation menus, text blocks, social icons, and more to your header or footer.
- Set Display Conditions: After designing, set conditions for where the header/footer should appear across your site, whether on the entire site, specific pages, or categories.
- Preview and Publish: Always preview your designs to see how they look on various devices before hitting the publish button.
By following these steps, you can effectively create customized headers and footers that not only improve functionality but also align with your brand identity. Whether you are building a personal blog or a business website, great headers and footers can significantly elevate the user experience.

