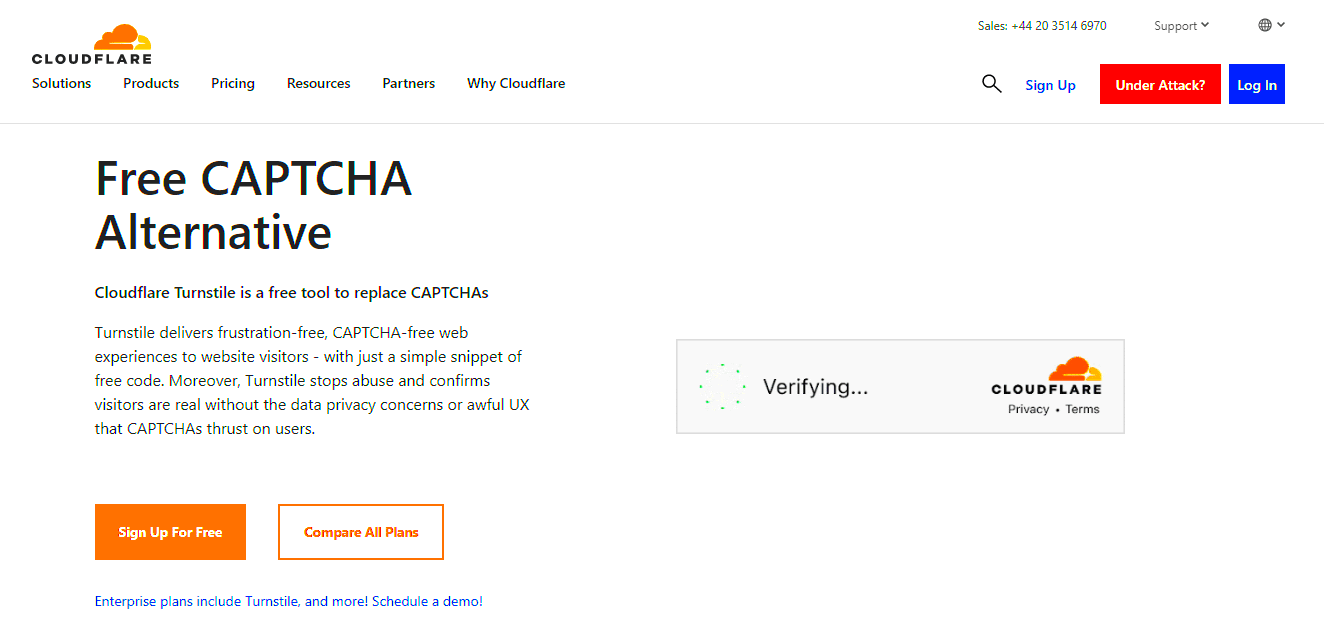
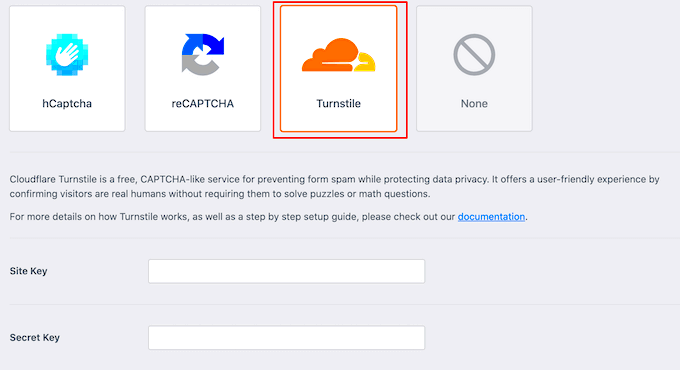
In the age of digital interactions, safeguarding your website from malicious bots and spam is more crucial than ever. Enter Cloudflare Captcha, a powerful tool designed to bolster your site’s security while also enhancing the user experience. By adding this layer of protection to your WordPress site, you can filter out harmful traffic, allowing genuine users to access your content with ease. This introduction will familiarize you with what Cloudflare Captcha is, how it functions, and why it should be a key consideration for every WordPress website owner.
Benefits of Using Cloudflare Captcha for WordPress

So, why should you consider integrating Cloudflare Captcha into your WordPress site? Let’s dive into the myriad benefits it offers:
- Enhanced Security: Cloudflare Captcha acts as a frontline defense against bots, spam, and automated attacks, ensuring that only real users can access your site.
- Improved User Experience: With features like invisible Captcha, legitimate users often won’t even notice it’s there, leading to a seamless browsing experience.
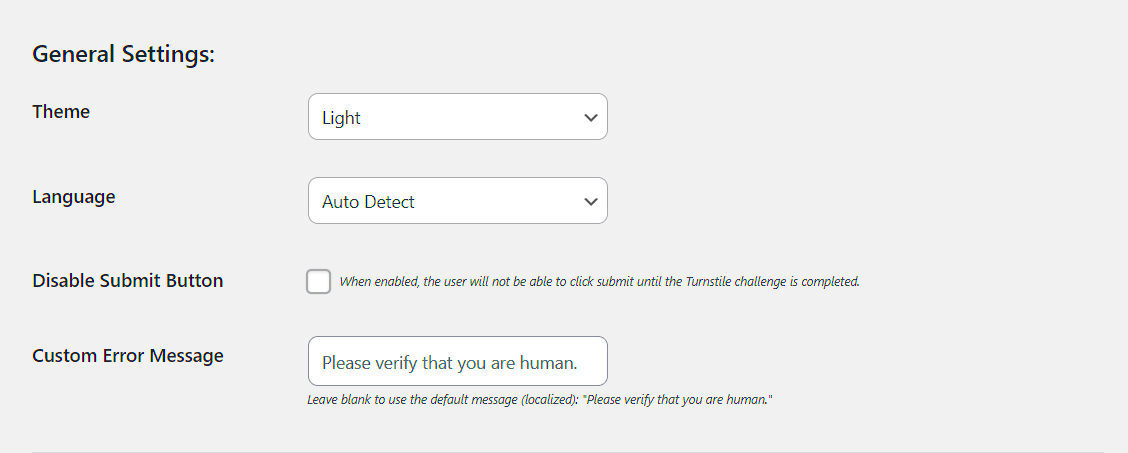
- Customizability: Cloudflare offers various options for customizing your Captcha preferences, allowing you to strike the right balance between security and usability.
- Reduced Server Load: By filtering out malicious traffic, you can decrease your server load, improving your site’s overall performance.
- Analytics and Insights: Cloudflare provides analytics that helps you monitor and understand traffic patterns. This data can inform future security decisions.
In conclusion, integrating Cloudflare Captcha into your WordPress site comes with a range of advantages. Not only does it enhance security, but it also contributes to a better overall experience for your genuine users. So why wait? Bolster your website’s defenses by adding this innovative tool today!
Prerequisites for Implementing Cloudflare Captcha

Before diving into the setup of Cloudflare Captcha on your WordPress site, it’s essential to ensure you have all the necessary prerequisites in place. This will help streamline the process and minimize hiccups along the way.
- Active Cloudflare Account: First and foremost, you need an active account with Cloudflare. If you haven’t signed up yet, you’ll need to head over to the Cloudflare website and select a plan that suits your website’s needs. The free plan is often a great starting point for many users.
- Cloudflare Nameservers: Your domain must be using Cloudflare’s nameservers. If you haven’t changed them yet, find your current nameservers through your domain registrar and update them to the ones provided by Cloudflare.
- WordPress Website: Obviously, this feature is intended for WordPress users. Make sure you have your WordPress site up and running smoothly before you proceed. An updated version of WordPress is always advisable.
- Plugin Compatibility: Check to see if your existing plugins are compatible with Cloudflare. While most should be, it’s worth verifying to avoid conflicts when you implement the Captcha.
- Basic Technical Knowledge: While implementing Cloudflare Captcha doesn’t require advanced technical skills, familiarity with your WordPress dashboard and some basic web concepts will make the process easier.
Having these prerequisites covered will not only simplify the setup process but also ensure that your website reaps the full benefits of enhanced security through Cloudflare Captcha.
Step-by-Step Guide to Setting Up Cloudflare Captcha
So, you’re ready to add an extra layer of security to your WordPress site using Cloudflare Captcha? Great choice! Let’s walk through this step-by-step process together.
- Log in to Your Cloudflare Account: Start by logging into your Cloudflare dashboard. Once you’re in, select your website from the account overview.
- Access Firewall Settings: In the website dashboard, navigate to the Firewall section. This is where all security-related configurations are made.
- Enable Bot Management: Look for the Bot Management option under Firewall settings. If you’re on a plan that supports it, enable this feature. This is crucial for automated traffic management.
- Scroll to Captcha Settings: Next, locate the Captcha section within the firewall settings. Here, you’ll find various options relating to challenges for suspected bots.
- Select Captcha Level: Choose your desired Captcha level. Cloudflare offers three levels:
- Low – Only when risk is suspected.
- Medium – More proactive challenges to likely bots.
- High – Best for sites experiencing serious threats, but may affect user experience.
- Configure Notifications: Configure how you’d like to receive notifications regarding Captcha challenges. This can help you stay informed about security issues.
- Save Your Settings: After making your selections, don’t forget to press that shiny Save button to keep your changes!
Once you’ve successfully completed these steps, you’ve officially set up Cloudflare Captcha on your WordPress site! This will help ward off unwanted bots and keep your site safer. Remember to periodically check your Cloudflare dashboard for updates and ongoing performance analysis.
Configuring Captcha Settings in Cloudflare
Once you’ve set up your Cloudflare account and linked your WordPress site, the next step is to fine-tune your Captcha settings. This is crucial for enhancing your website’s security while ensuring that genuine visitors aren’t inconvenienced.
Here’s how to configure Captcha settings:
- Log into Cloudflare: Start by accessing your Cloudflare dashboard. Select the website you want to configure.
- Go to the Firewall tab: In your Cloudflare dashboard, navigate to the Firewall section.
- Default Security Level: Adjust the Security Level setting to a level that balances security and usability. ‘High’ settings might trigger more Captcha verifications.
- Access Control: You can define which countries or regions can access your site. Be sure to whitelist trusted IPs.
- Bot Management: Enable Cloudflare’s Bot Management features. This helps in distinguishing between good bots and malicious ones.
- Captcha Challenge Settings: Navigate to the Settings subsection and tailor the Captcha challenge settings according to your needs:
- Choose how often to display Captcha challenges.
- Consider activating the Threat Score option, allowing for dynamic challenge settings based on user behavior.
These configurations will greatly enhance your website’s security without compromising user experience. Take your time to test different settings to find what works best for your audience.
Integrating Cloudflare Captcha with Your WordPress Site
Now that you’ve configured your Captcha settings in Cloudflare, the next step is integrating it with your WordPress site. This is a straightforward process, but it can have a significant impact on your site’s security.
Here’s how to do it:
- Install a Security Plugin: First, consider installing a security plugin such as Wordfence or iThemes Security. These plugins can help further enhance your security configuration.
- Enable Cloudflare Plugin: If you primarily want to manage settings from your WordPress dashboard, install the Cloudflare plugin. This allows for easier integration between Cloudflare and your site.
- Configure Plugin Settings: After activating the Cloudflare plugin, connect it using your Cloudflare API key. This will help synchronize your settings.
- Customizing Login Pages: You can enforce Captcha on your login pages. Navigate to the settings in your security plugin to enable Captcha challenges for login attempts and registration forms.
- Testing Captcha Functionality: Once everything is set, it’s essential to test the Captcha functionality. Try logging in from different devices and networks to ensure that the Captcha is working as expected.
By integrating Cloudflare Captcha with your WordPress site, you’re taking a significant step toward safeguarding it from unwanted intrusions while providing a seamless experience for legitimate users. Remember, continuous monitoring and adjustments will help keep your site secure!
Testing and Troubleshooting Cloudflare Captcha
Once you’ve integrated Cloudflare Captcha into your WordPress site, the next step is testing and troubleshooting to ensure everything is functioning as intended. This section is crucial because it helps you identify potential issues before they affect your visitors.
Here are a few steps to effectively test the Cloudflare Captcha:
- Access Your Site: Visit your website as a regular user. Pay attention to where the Captcha appears and whether it loads correctly.
- Complete the Captcha: Try interacting with the Captcha. Make sure it responds properly and allows you access to your site upon completion.
- Check Different Devices: Test the Captcha on various devices—desktop, mobile, and tablets—to ensure compatibility.
- Browser Testing: Use different browsers (Chrome, Firefox, Safari) to see if the Captcha consistently behaves the same way.
If you encounter any issues, troubleshooting becomes essential:
- Browser Console: Open your browser’s developer tools and check for any JavaScript errors.
- Conflict Check: Disable other plugins temporarily to see if there’s a conflict affecting Captcha functionality.
- Cloudflare Settings: Review your Cloudflare settings to ensure that Captcha is properly enabled for your domain.
If everything checks out, you’re all set! Be proactive and regularly revisit the functionality of Captcha to ensure continuous protection against spam and abuse.
Best Practices for Maintaining Security with Cloudflare Captcha
Integrating Cloudflare Captcha is just the beginning of enhancing the security of your WordPress site. To maintain and maximize this security feature, you need to follow some best practices.
- Regular Updates: Keep WordPress, along with your plugins and themes, updated. Security vulnerabilities in these components can expose your site, regardless of having Captcha enabled.
- Monitor Traffic Analytics: Utilize Cloudflare’s analytics to monitor traffic patterns. Sudden spikes in unusual traffic can signal potential attacks.
- Customize Captcha Settings: Tailor the Captcha settings based on your site’s specific needs. For example, you might want stricter options for form submissions or user registrations.
- Educate Your Users: Inform your site’s users or admins on the importance of Captcha and how to navigate it correctly to enhance engagement.
Furthermore, maintaining an optimal user experience is critical. If the Captcha system is too challenging, it may drive visitors away:
| Best Practices | Purpose |
|---|---|
| Regular Updates | Minimize vulnerabilities |
| Monitor Traffic | Detect potential attacks |
| Customize Settings | Tailor protection to your needs |
| User Education | Enhance user experience |
By proactively implementing these practices, you can significantly strengthen your site’s defenses against unwanted traffic and maintain a better environment for genuine visitors.
Conclusion and Final Thoughts
As we have explored, adding Cloudflare CAPTCHA to your WordPress site is an essential step in enhancing your security posture. By implementing CAPTCHA, you can effectively reduce the risk of spam attacks, automated bots, and malicious login attempts. This not only protects your sensitive data but also enhances user experience by ensuring that genuine users can navigate your site without interruption.
Here is a summary of the benefits of integrating Cloudflare CAPTCHA:
- Enhanced Security: Cloudflare CAPTCHA acts as a protective barrier against bots and other automated threats.
- Spam Reduction: It significantly minimizes unwanted spam submissions on forms, comments, and login pages.
- User Verification: Only genuine users can access your site, which increases the quality of interactions.
- Customizable: Cloudflare offers various options to customize CAPTCHA settings according to your site’s needs.
To successfully integrate Cloudflare CAPTCHA, follow these key steps:
- Sign up for a Cloudflare account.
- Add your WordPress website to Cloudflare.
- Configure your Cloudflare settings to enable CAPTCHA for specific pages.
- Test the implementation to ensure functionality and user experience.
In conclusion, leveraging Cloudflare CAPTCHA can significantly bolster your WordPress site’s defenses and ensure a safe and smooth experience for your users. By prioritizing security, you protect your data and build trust with your audience, allowing your website to grow securely.


