If you’ve ever wanted to add a personal touch to your WordPress website, custom fields might just be the perfect solution for you. They allow you to store additional metadata for your posts, pages, or custom post types, giving you flexibility in how you manage your content. In this article, we’ll go over how to add custom fields to a WordPress post type using PHP, and the best part? You won’t need any plugins! Let’s dive into the exciting world of WordPress development and customization.
Understanding Custom Fields in WordPress
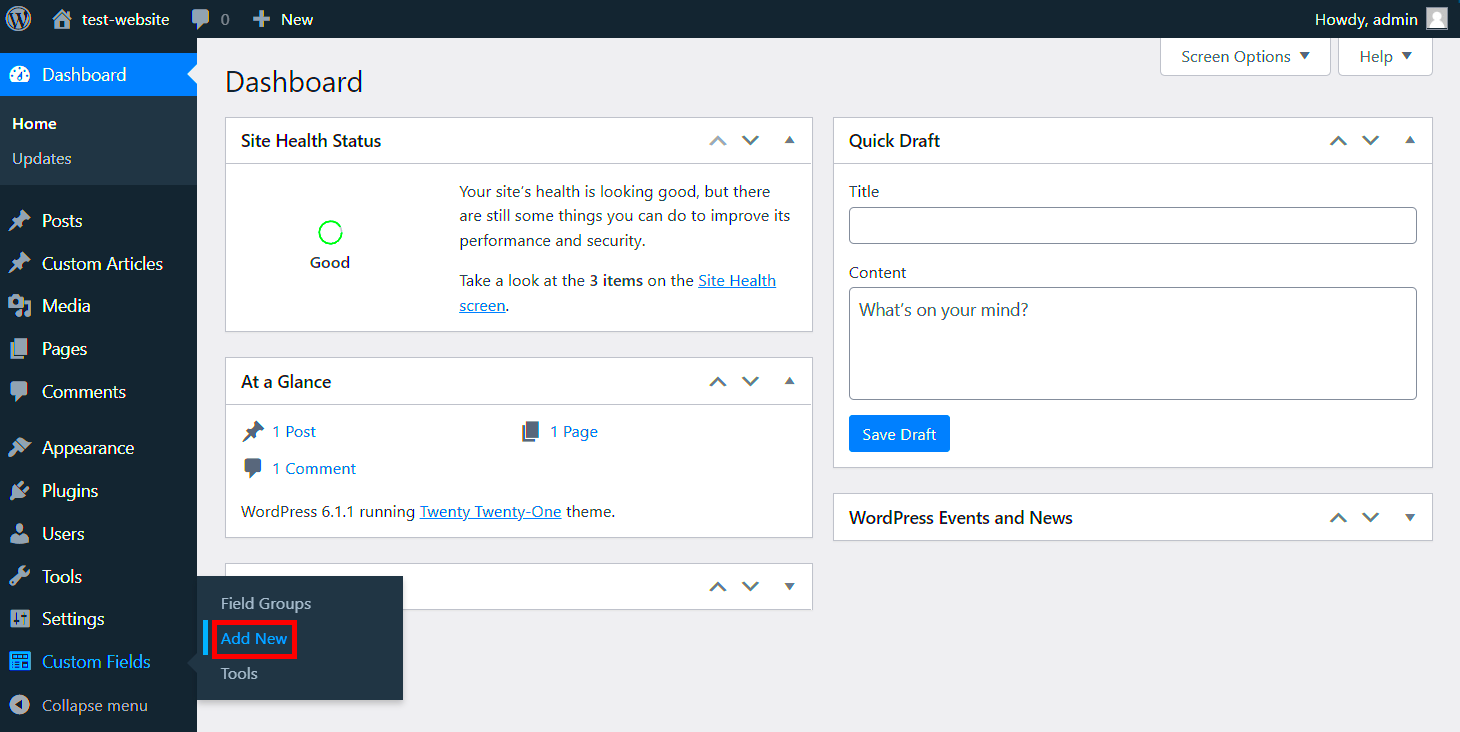
Before we jump into the coding part, let’s make sure we’re on the same page about what custom fields really are. Custom fields, also known as post meta, are powerful tools within WordPress that let you associate extra data with your posts.
Here are some key points to help clarify:
- Purpose: Custom fields extend the standard functionality of WordPress by allowing you to add more information that isn’t part of the default post content.
- Use Cases: Typical uses include adding a custom subtitle, extra images, video links, or even complex data like ratings and reviews.
- Accessing Custom Fields: Once custom fields are created, they can be accessed and displayed on your site using PHP functions.
To get more technical, custom fields are stored in the database as key-value pairs. This means you can have a custom field name (the key) and its corresponding value. For example, if you have a custom field called ‘Author Rating,’ the key is ‘author_rating’ and the value could be ‘4.5’.
So, now that we’ve established what custom fields are and how they can benefit your WordPress projects, let’s explore how to implement them manually through PHP without relying on any external plugins.
Preparing Your WordPress Environment
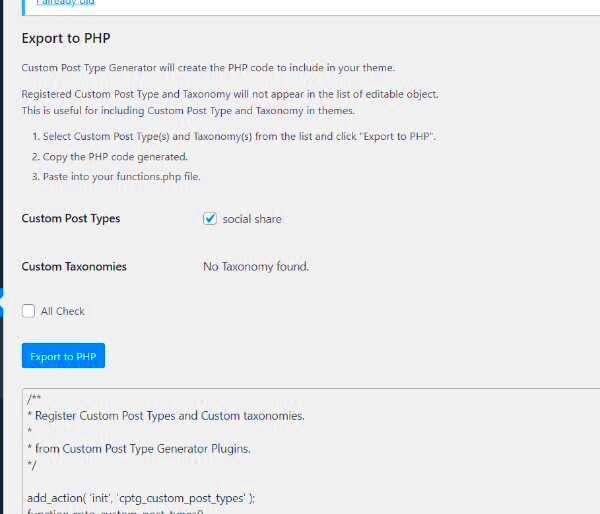
Before diving into how to add a custom field to your WordPress post type, it’s essential to prepare your WordPress environment. This preparation ensures that you have a smooth experience while making these adjustments. Here are some key steps to consider:
- Backup Your Site: Always start with a backup! Whether you’re working on a live site or a local development environment, use a plugin or your hosting provider’s tools to create a full backup. This way, you can easily restore your site if anything goes awry.
- Enable Debugging: It’s helpful to turn on debugging in WordPress to catch any potential errors during development. You can enable it by editing the
wp-config.phpfile and settingdefine('WP_DEBUG', true);. - Child Theme: If you’re working on a theme that you didn’t create, consider using a child theme. This prevents your custom code from being lost with theme updates. Simply create a child theme folder and add a
style.cssandfunctions.phpfile. - Familiarize With Your Theme: Understanding the structure of your current theme can make adding custom fields easier. Know where to place your custom functions and how the theme displays post types.
- Open Code Editor: Have your favorite code editor ready. It’s where you’ll be adding and modifying code snippets that handle custom fields.
Once you’ve taken these steps, you’ll feel more secure as you start adding custom fields. It’s all about creating a safe space for your transformations!
Step 1: Creating a Custom Field
Now that you’ve prepared your WordPress environment, let’s get into the nitty-gritty of creating a custom field. Custom fields allow you to add additional data to your posts, giving you flexibility and enhancing functionality. Here’s a straightforward guide to add a custom field:
- Open Your Functions File: Navigate to your theme’s
functions.phpfile. This is where you’ll place your PHP code. Remember to use your child theme if you’re working in one. - Add the Required Code: Use the following example code to add a custom field. This will create a simple text field for your posts:
function custom_post_type_meta() { add_meta_box( 'custom_field_id', 'Custom Field Title', 'custom_field_callback', 'post', // Change this to your desired post type 'normal', 'high' ); } add_action('add_meta_boxes', 'custom_post_type_meta'); function custom_field_callback($post) { $custom_field_value = get_post_meta($post->ID, '_custom_field_key', true); echo ''; } - Save Your Custom Field Data: You also need to save the data when the post is saved. Add the following code snippet to your
functions.php:function save_custom_field_data($post_id) { if (array_key_exists('custom_field_name', $_POST)) { update_post_meta( $post_id, '_custom_field_key', $_POST['custom_field_name'] ); } } add_action('save_post', 'save_custom_field_data');
After completing these steps, you’ll have a custom field in your chosen post type. You can easily update this field when editing your posts, granting you extra flexibility in managing content!
Step 2: Adding the Custom Field to a Post Type
Now that we’ve set the stage by registering our custom field, it’s time to actually add it to our specific post type. To do this, we’ll be utilizing WordPress’s built-in functions to create a meta box in the post edit screen. A meta box allows us to input data for our custom field easily.
Here’s a simple breakdown of what we need to do:
- Create a Meta Box: This is the section that will appear in your post edit screen.
- Save the Custom Field Data: When the post is saved, we need to ensure that our custom field data is saved correctly.
Here’s some sample PHP code to get you started:
function custom_meta_box() { add_meta_box( 'my_custom_field', 'My Custom Field', 'custom_field_callback', 'post', 'normal', 'high' );}function custom_field_callback($post) { $value = get_post_meta($post->ID, '_my_custom_field_key', true); echo '';}function save_custom_field($post_id) { if (array_key_exists('my_custom_field', $_POST)) { update_post_meta( $post_id, '_my_custom_field_key', sanitize_text_field($_POST['my_custom_field']) ); }}add_action('add_meta_boxes', 'custom_meta_box');add_action('save_post', 'save_custom_field');In this code, we first create a meta box that allows us to enter our custom field data. When saving the post, we check if our field is set, then update the post meta accordingly. It’s that simple!
Step 3: Displaying the Custom Field on the Frontend
After successfully adding our custom field to the post type, the next step is to display that information on the frontend of our WordPress site. This part is crucial because what’s the use of having a custom field if no one can see it, right?
To display the custom field, you’ll typically use the the_meta() function or the get_post_meta() function within the loop of your template file. The template file for a single post is usually single.php or a custom template if you’re using one.
Here’s how you can easily show your custom field:
if (is_single()) { $custom_field_value = get_post_meta(get_the_ID(), '_my_custom_field_key', true); if ($custom_field_value) { echo ''; echo 'My Custom Field: ' . esc_html($custom_field_value); echo ''; }}This snippet checks if you’re viewing a single post, retrieves the value of your custom field, and then displays it nicely formatted on the frontend. Just make sure to wrap this code inside the WordPress Loop!
With just these steps, your custom field will be added, saved, and displayed on your WordPress posts without the need for any plugins. Talk about keeping it simple!
Step 4: Saving the Custom Field Data
Alright, we’ve set up our custom field, and now it’s time to dive into saving the data. This step is crucial because if we don’t save the data correctly, you might end up with a fancy field that doesn’t do anything. No one wants that, right?
To save the custom field data, we will hook into the WordPress save process using the save_post action. This will ensure that whenever you save or update your post, your custom field data is properly recorded in the database.
Here’s how to do it:
- Open your theme’s functions.php file.
- Add the following code:
function save_custom_field_data($post_id) { // Check if our custom field is set if (isset($_POST['my_custom_field'])) { // Sanitize user input $custom_field_value = sanitize_text_field($_POST['my_custom_field']); // Update the custom field in the database update_post_meta($post_id, '_my_custom_field', $custom_field_value); }}add_action('save_post', 'save_custom_field_data');Here’s a quick breakdown:
- save_post: This action is triggered whenever a post is saved, allowing us to hook our function.
- sanitize_text_field: It’s essential to sanitize the user input for security reasons.
- update_post_meta: This function saves or updates the custom field value in the database.
There you have it! Now, every time you save or update a post, your custom field data will also be saved seamlessly.
Testing Your Custom Field
Now that everything is set up and the data is being saved, it’s time to test your custom field. This step is all about making sure your hard work pays off. Trust me, checking to see if everything functions as expected is always a good idea!
Here’s how to test your custom field:
- Go to your WordPress Admin dashboard.
- Click on Posts and select Add New or edit an existing post.
Once you are in the post editor:
- Locate the custom field you added. It should be visible in the editor.
- Fill in some content in your custom field area.
- Hit the Publish or Update button.
After saving:
- Check the Post to see if your value appears where you intended it to.
- You can also view the post in the front end of your site to see how it looks live.
If everything looks good, congratulations! You’ve successfully added and saved a custom field to your WordPress post type using PHP without a plugin. If not, double-check the code for any typos or discrepancies.
Troubleshooting Common Issues
When adding custom fields to a WordPress post type using PHP, you might encounter a few hiccups along the way. Don’t worry; many users face similar challenges, and most can be resolved with some troubleshooting techniques. Let’s break down some common issues and how you can tackle them.
- Custom Field Not Saving: If you find that your custom field is not saving data, first ensure that you’re using the correct meta key in your code. It’s easy to make a typo! Also, check that you are properly handling the data with the `update_post_meta()` function.
- Custom Field Not Displaying: If you can’t see the data on the front end, double-check the retrieval code. Ensure you’re using the correct post ID and meta key in the `get_post_meta()` function. Sometimes, caching plugins might also prevent the latest changes from showing up, so clear your cache.
- Syntax Errors: PHP is pretty sensitive to syntax. If you’re getting blank screens or error messages, inspect your code for missing semicolons, parentheses, or unclosed tags. A small misplaced character can disrupt the entire script.
- Permissions Issues: When working with user roles and capabilities, ensure that your current user roles have the necessary permissions to view or edit the custom fields. Use the `current_user_can()` function effectively to handle permissions.
- Conflicts with Themes or Other Scripts: Sometimes, issues can arise if your theme has conflicting code or scripts. Try switching to a default theme like Twenty Twenty-One and see if the problem persists. If it resolves, the issue likely lies in your theme.
Conclusion
Adding custom fields to a WordPress post type using PHP can significantly enhance your site’s functionality without relying on heavy plugins. It allows for a tailored approach, giving you control over how your data is structured and displayed. But it doesn’t come without its quirks and challenges.
Throughout this guide, we’ve explored how to smoothly integrate custom fields into your WordPress site, but remember, the process may take a bit of practice. Here’s a quick recap of what you have accomplished:
| Step | Description |
|---|---|
| 1 | Registering your custom fields using the `add_meta_box()` function. |
| 2 | Saving the input data with `save_post()` to ensure your custom fields remain persistent. |
| 3 | Displaying the custom field data on the front end with `get_post_meta()`. |
If you run into any issues, remember to refer back to our troubleshooting section. With a little patience and persistence, you’ll be a pro at managing custom fields in no time. Happy coding, and enjoy customizing your WordPress experience!

