When working with WordPress, you might want to add a personal touch to the admin interface. One of the easiest ways to do this is by modifying the admin menu Dashicons. Dashicons are the default icons used by WordPress to visually represent different sections of the admin menu. However, you can customize these icons to better suit your website’s branding or make navigation easier for users.
Modifying Dashicons can help improve user experience, especially for websites with custom post types, plugins, or specialized content. In this guide, we’ll walk you through the steps of customizing these icons in a few simple ways.
What Are Dashicons in WordPress Admin Menu
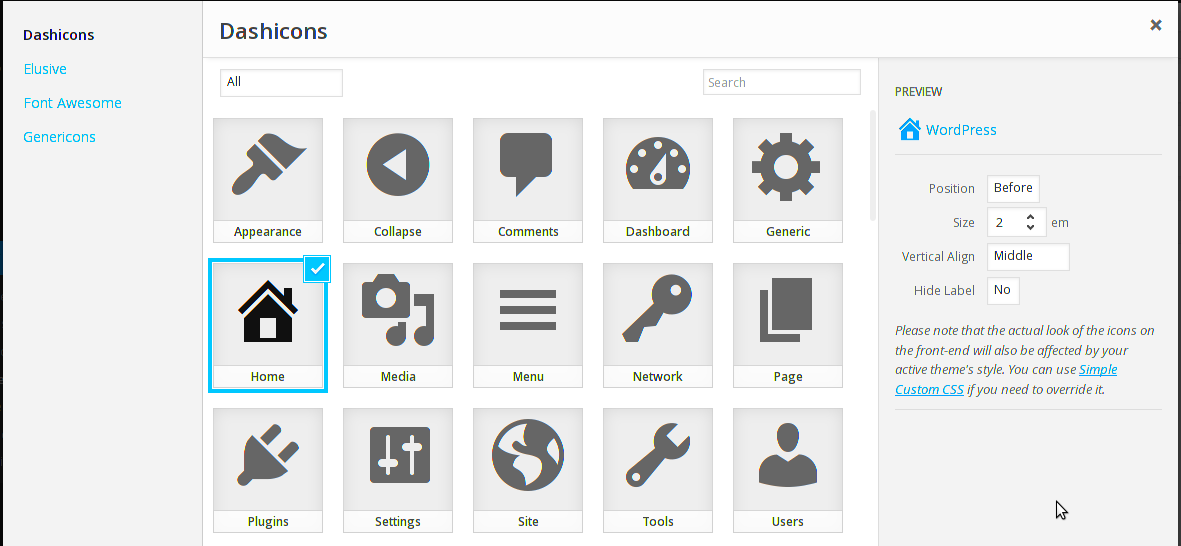
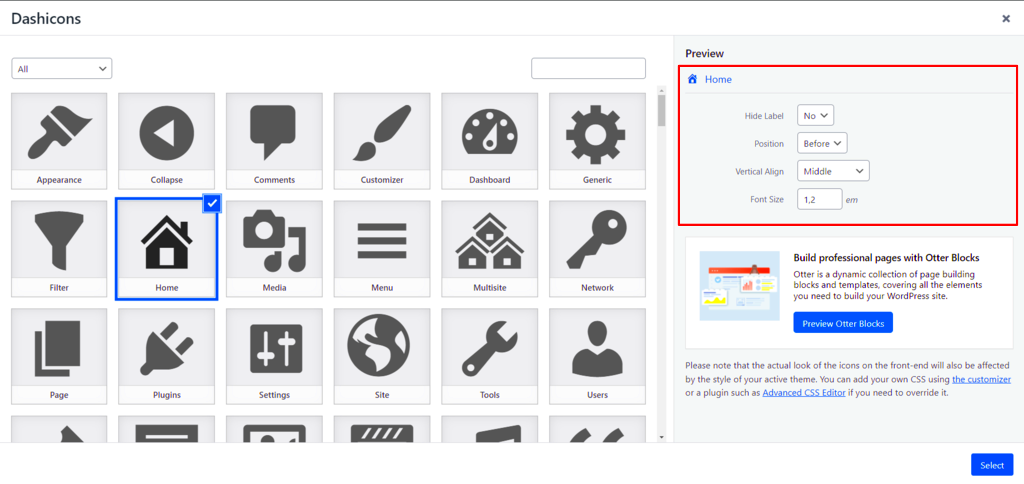
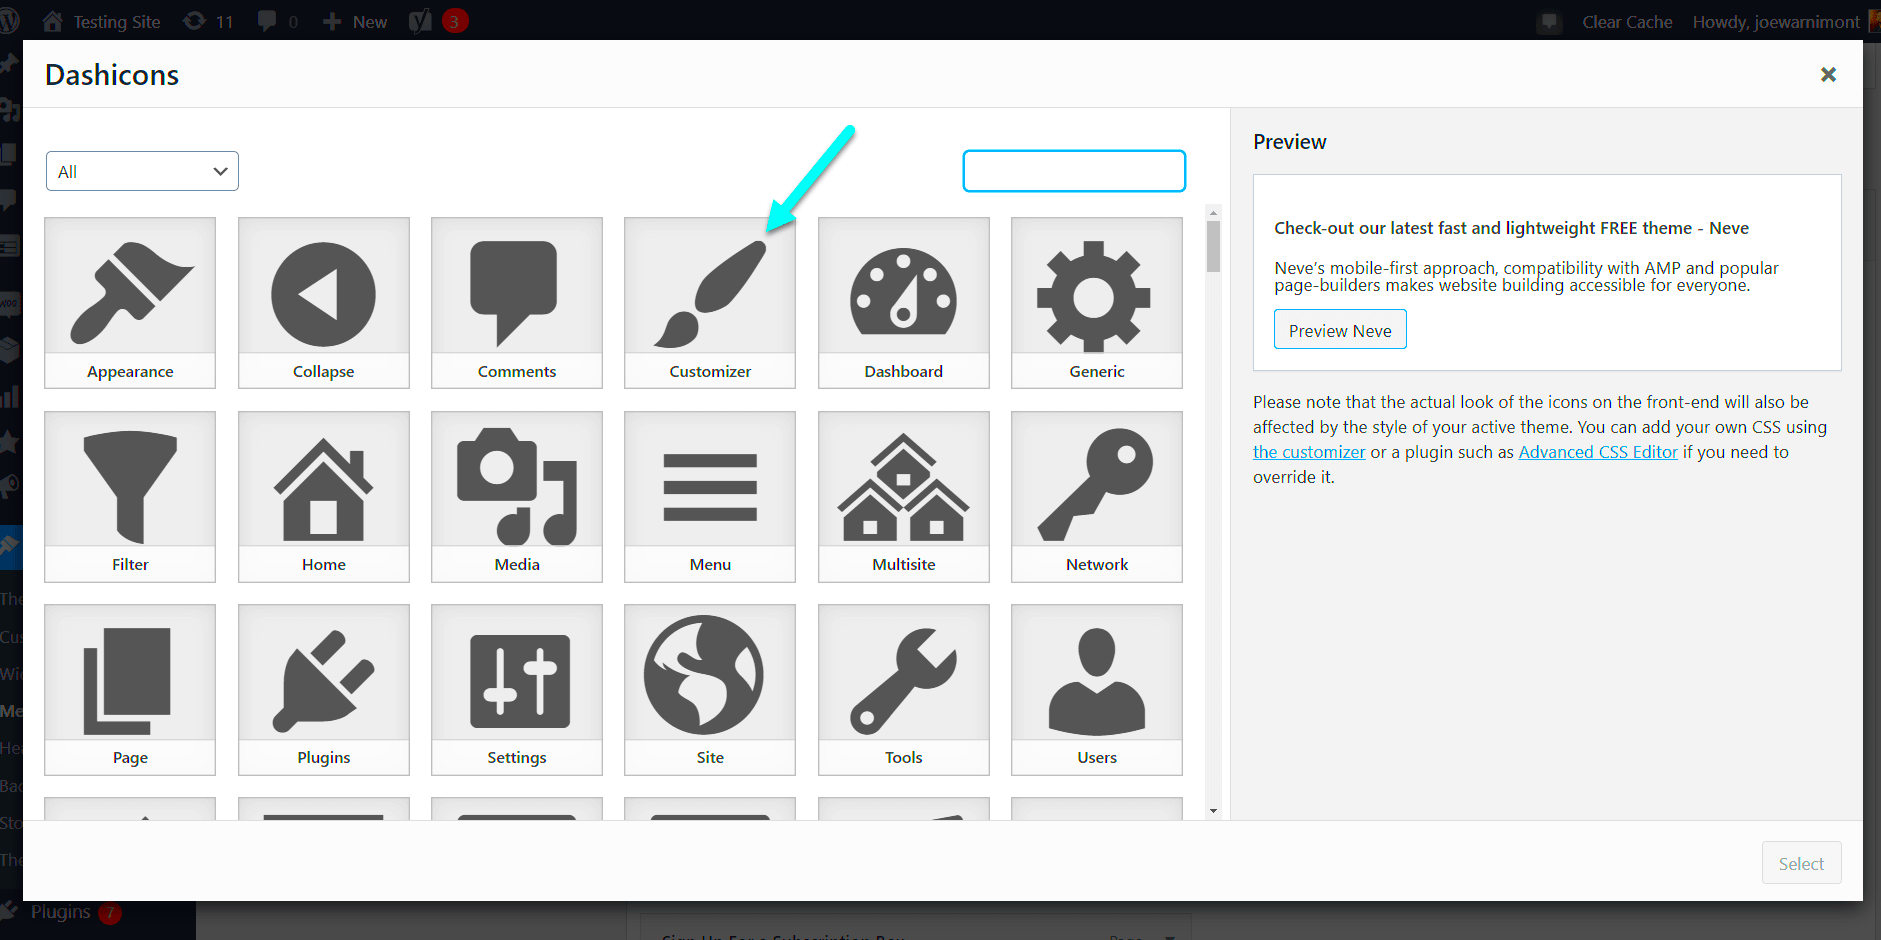
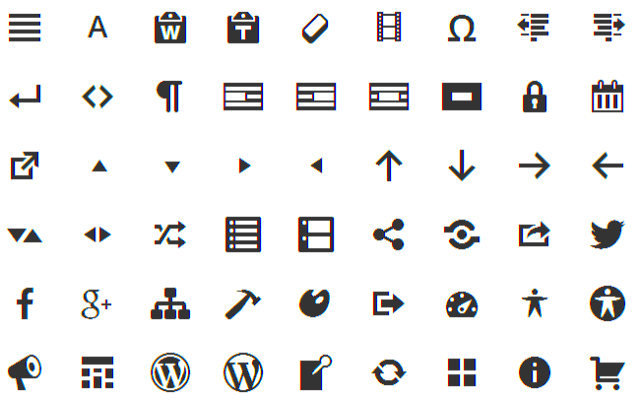
Dashicons are a set of scalable vector icons included with WordPress. These icons are used throughout the WordPress dashboard to visually represent various sections such as posts, pages, media, and settings.
They’re also fully customizable, allowing you to replace the default icons with your own, which can enhance the visual appeal or simply reflect your site’s branding better.
Here’s a quick breakdown of where Dashicons are typically used:
- Posts: Represented by a page icon.
- Pages: Represented by a page with lines icon.
- Media: Represented by a camera icon.
- Settings: Represented by a gear icon.
- Plugins: Represented by a plug icon.
These icons are built into WordPress by default, and modifying them can be a great way to customize your dashboard to fit your needs.
Why Modify Dashicons for Your Admin Menu
Modifying the Dashicons in your WordPress admin menu can serve several purposes, depending on the unique needs of your website. Here are a few reasons why you might consider making changes:
- Branding: Custom icons can help reinforce your website’s branding by aligning the admin interface with your brand’s color palette or style.
- Improved Usability: Custom icons can make it easier for users to find what they’re looking for in the admin menu, especially if you have a lot of custom post types or plugins installed.
- Better Visual Organization: You can use different icons to distinguish between similar sections or group related features together.
- Personalization: Personalizing the admin menu helps create a more cohesive and engaging experience for site administrators and users alike.
Whether you’re running a single-site blog or a complex multi-site network, modifying Dashicons can make your WordPress dashboard more functional and visually appealing.
Steps to Modify Admin Menu Dashicons in WordPress
Modifying the admin menu Dashicons in WordPress may seem like a challenging task, but it’s easier than you might think. By following a few simple steps, you can customize the icons to suit your needs. Here’s a basic overview of how to modify Dashicons:
- Step 1: Access the Theme’s Functions File
You will need to edit the functions.php file of your WordPress theme or child theme. This file is where you’ll add the necessary code to modify the admin menu icons. - Step 2: Use the ‘admin_menu’ Hook
To modify the admin menu, use the WordPress ‘admin_menu’ hook. This hook allows you to add, remove, or modify items in the admin menu. - Step 3: Modify the Icon
You can modify the existing Dashicons by targeting the menu item using CSS. Add the desired Dashicon class to the menu item, or you can replace it with a custom icon by using the ‘dashicons’ CSS class. - Step 4: Add Custom CSS for Styling
After updating the icon, you might need to add some custom CSS to properly display and position the icon in the admin menu. You can add this CSS to your theme’s stylesheet or use the customizer.
Once these steps are complete, refresh your admin dashboard, and you should see the updated Dashicons. If you’ve used custom icons, make sure they are properly loaded and visible in the admin menu.
Customizing Dashicons with Your Own Icons
WordPress allows you to replace the default Dashicons with your own custom icons. Whether you’re using an SVG, PNG, or another format, replacing Dashicons with custom icons can help personalize the admin menu. Here’s how to do it:
- Step 1: Upload Your Custom Icons
First, upload your custom icons to the WordPress media library or to your theme’s assets folder. For SVGs, ensure that WordPress allows SVG uploads (you may need a plugin for this). - Step 2: Edit the Admin Menu Item
Use the ‘admin_menu’ action to add or modify the admin menu item. You can use a custom icon URL (from the media library) or specify the path to your icon within the theme’s directory. - Step 3: Replace the Dashicon with Your Custom Icon
You can now replace the Dashicon class with an ‘img’ tag in your code, pointing to the uploaded custom icon. Here’s an example:add_action('admin_menu', 'modify_admin_menu_icons'); function modify_admin_menu_icons() { global $menu; $menu[5][0] = '%20.%20'/images/my-icon.png'%20)%20.%20') ';
}
';
} - Step 4: Style the Custom Icon
You may need to adjust the size or positioning of your custom icon. This can be done with CSS to ensure the icon looks great in the admin menu.
By following these steps, you can completely replace the default Dashicons with any custom icon you want, creating a more personalized admin experience.
Using Dashicon Classes in the Admin Menu
Dashicons are a convenient way to add visual appeal to the WordPress admin menu. You can easily use Dashicon classes to add different icons to the menu. Here’s how to do it:
- Step 1: Identify the Dashicon Class
First, you need to find the Dashicon class that you want to use. WordPress includes a complete list of Dashicons that you can use. You can find these classes in the official WordPress Dashicon library. Each icon is associated with a unique class name, such as ‘dashicons-admin-post’ for posts or ‘dashicons-admin-plugins’ for plugins. - Step 2: Add the Dashicon Class to Your Admin Menu
After selecting your Dashicon, you can add it to the admin menu using the ‘admin_menu’ hook. You’ll target a specific menu item and assign the Dashicon class to it. Here’s a basic example:add_action('admin_menu', 'add_custom_dashicon'); function add_custom_dashicon() { global $menu; $menu[5][0] = '' . $menu[5][0]; } - Step 3: Customize the Icon
You can modify the appearance of Dashicons with CSS to change the size, color, or other properties. For example:/* Change Dashicon color */ .dashicons-admin-post { color: #FF6347; } - Step 4: Test Your Admin Menu
After adding your Dashicon class and styling it, refresh the admin dashboard to see the changes. If everything is set up correctly, you should now see the updated icon in the admin menu.
Using Dashicon classes is a quick and easy way to modify the icons in your admin menu, making it more intuitive and visually appealing for users.
Common Issues and Solutions When Modifying Dashicons
While modifying Dashicons in the WordPress admin menu can be a simple task, it’s not without its challenges. Here are some common issues you may encounter and the solutions to resolve them:
- Issue 1: Custom Icons Not Displaying
This can happen if the custom icon URL is incorrect or the icon format is unsupported by WordPress. Make sure your icons are uploaded to the media library and that the URL path is correct. For SVG files, ensure that your site allows SVG uploads, as WordPress doesn’t support them by default. - Issue 2: Icon Alignment Problems
Sometimes, custom icons may not align properly in the admin menu. This is usually due to CSS styling conflicts. You can adjust the alignment by targeting the specific icon with custom CSS:.custom-icon { vertical-align: middle; margin-left: 10px; } - Issue 3: Icons Overlapping Text
Icons overlapping the menu text is another common issue. This happens when the icon is too large or the spacing is insufficient. To fix this, adjust the size of the icon using CSS:.dashicons { font-size: 16px; margin-right: 8px; } - Issue 4: Dashicons Not Showing After Refresh
If your changes don’t appear after a page refresh, try clearing the browser cache or disabling caching plugins temporarily. Sometimes, caching issues can prevent new changes from displaying.
By addressing these common issues with simple troubleshooting, you can ensure that your Dashicon modifications work smoothly and as expected.
FAQ on Modifying Admin Menu Dashicons
Here are some frequently asked questions about modifying Dashicons in the WordPress admin menu:
- Q1: Can I use custom icons in place of Dashicons?
Yes, you can use any image format, like PNG or SVG, instead of Dashicons. Simply upload your icon to the media library and reference it in your admin menu customization code. - Q2: Will modifying Dashicons affect the WordPress core?
No, modifying Dashicons only affects the admin interface for your WordPress site. It does not change the core functionality or the public-facing site. - Q3: How do I add multiple custom icons to different menu items?
You can add multiple custom icons by targeting specific menu items using their unique menu slugs. Use the ‘admin_menu’ hook to modify each menu item and assign a unique icon class or image. - Q4: Can I change the default Dashicon color?
Yes, you can change the Dashicon color with custom CSS. For example, you can target the Dashicon class and change its color using:.dashicons { color: #FF6347; } - Q5: Is it possible to remove Dashicons from the admin menu?
Yes, if you want to remove Dashicons from a menu item, you can use CSS to hide them or remove the icon altogether using the `remove_menu_page()` function.
Conclusion and Best Practices for Customizing Dashicons
Modifying Dashicons can be a fun and useful way to personalize your WordPress admin dashboard. Whether you want to improve the visual appeal of the admin menu or make it easier to navigate, customizing Dashicons allows you to achieve that. Here are some best practices to keep in mind:
- Keep it Simple: While custom icons can be great, avoid cluttering the admin menu with too many icons. Use them strategically to enhance navigation.
- Test on Multiple Devices: Make sure that your icons look good across different devices and screen sizes. Ensure that they are responsive and adjust accordingly.
- Optimize Icons: Use appropriately sized icons and compress them if needed. Large image files can slow down the loading time of your admin dashboard.
- Consistency is Key: Use icons that are consistent with the overall design of your website. This will make the dashboard more cohesive and user-friendly.
- Backup Your Changes: Before making any modifications, always back up your WordPress site. This will protect you from any issues that may arise during the customization process.
In conclusion, customizing Dashicons is a great way to tailor your WordPress admin menu to your needs. By following best practices and keeping your customizations simple and clean, you can create a more intuitive and visually appealing admin interface.

