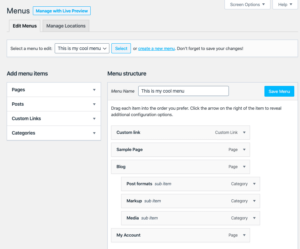
WordPress has evolved over the years, offering a more user-friendly and flexible platform for website building. One of the key updates in recent versions is the Gutenberg editor, which allows users to build content using blocks. Custom Gutenberg blocks, however, take things a step further by enabling developers to create tailor-made blocks that suit specific needs. These blocks can be used to display unique content, offer enhanced design options, and improve user interaction. With the ability to create custom blocks, WordPress users have more control over their content’s layout and structure.
Understanding the Importance of Taxonomy Posts in WordPress
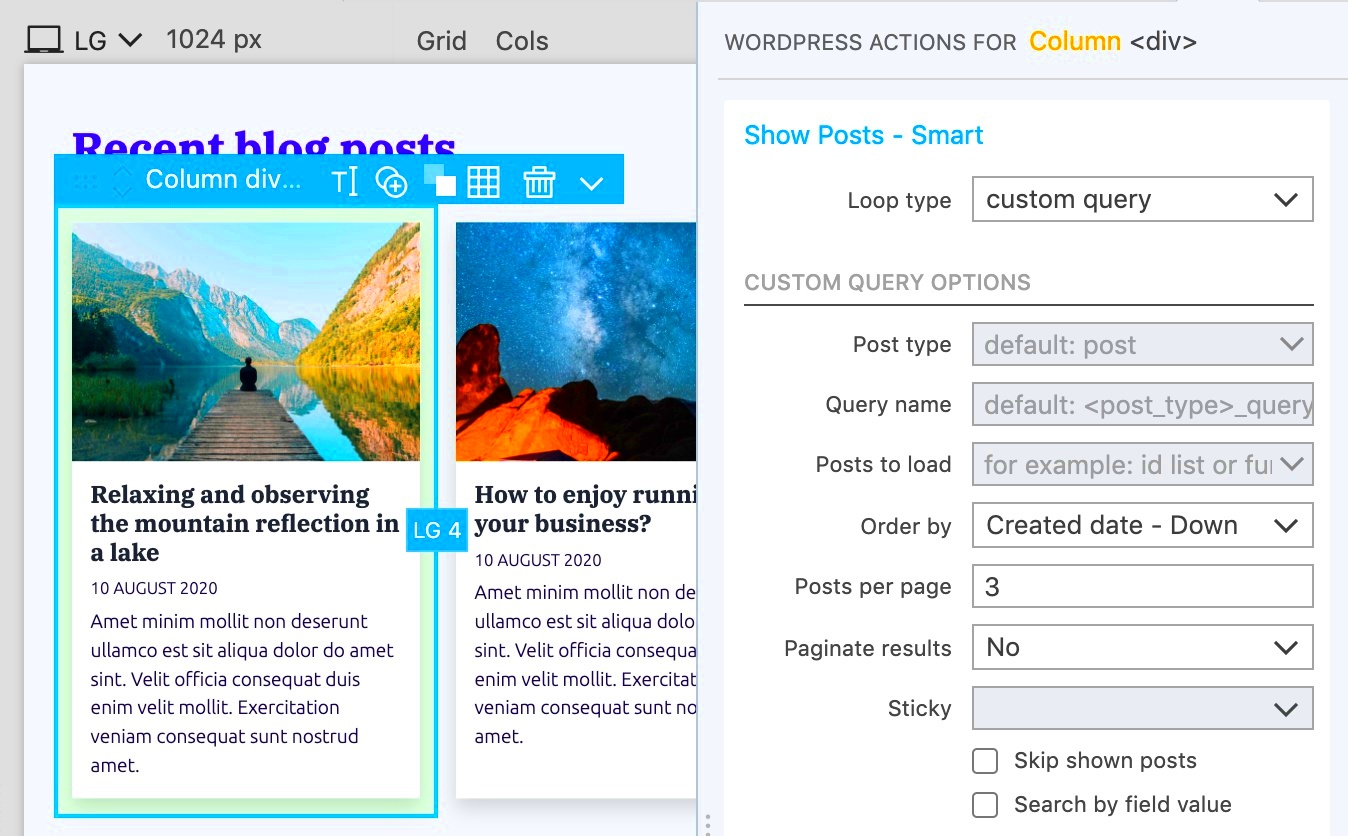
Taxonomies in WordPress are a powerful way to organize and categorize content. They help group related posts, pages, or custom post types together, making it easier for both website administrators and visitors to find relevant content. There are two main types of taxonomies in WordPress: categories and tags. Custom taxonomies can also be created for specific needs.
Taxonomy posts are essential because:
- Organization: They provide a logical structure for your content, allowing users to navigate easily.
- SEO Benefits: Well-organized taxonomies can improve your site’s search engine optimization by making it easier for search engines to crawl and index related content.
- User Experience: Taxonomies enhance the user experience by grouping similar content, helping visitors find what they’re looking for quickly.
Incorporating taxonomy posts properly can improve website functionality, increase traffic, and keep users engaged with your content.
How Custom Gutenberg Blocks Help Display Taxonomy Posts
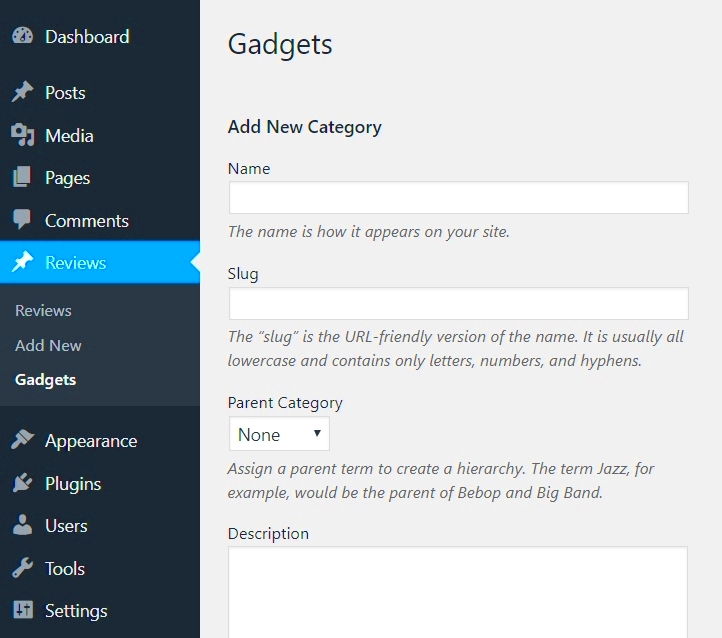
Custom Gutenberg blocks provide a dynamic way to display taxonomy posts on your WordPress site. Instead of using standard layouts, custom blocks allow you to design and showcase taxonomy content in more creative and personalized ways. For example, you could create a block that displays a list of posts from a particular category or custom taxonomy, with filtering options for users to narrow down their search.
Here are a few ways custom Gutenberg blocks enhance the display of taxonomy posts:
- Visual Customization: Custom blocks give you control over how taxonomy posts are displayed, such as adjusting grid layouts, adding images, and more.
- Improved User Interaction: You can create interactive elements within your custom blocks, such as filters, sorting options, and pagination, to help users find taxonomy posts that interest them.
- Consistency: Custom blocks maintain design consistency across your site while displaying taxonomy posts in a visually appealing format.
- Advanced Functionality: Developers can add custom functionality to blocks, such as displaying posts based on multiple taxonomies, including custom fields or metadata, for a more advanced user experience.
By leveraging custom Gutenberg blocks, WordPress website owners and developers can offer users a more seamless and personalized experience while showcasing taxonomy posts in a meaningful way.
Steps to Create Custom Gutenberg Blocks for Taxonomy Posts
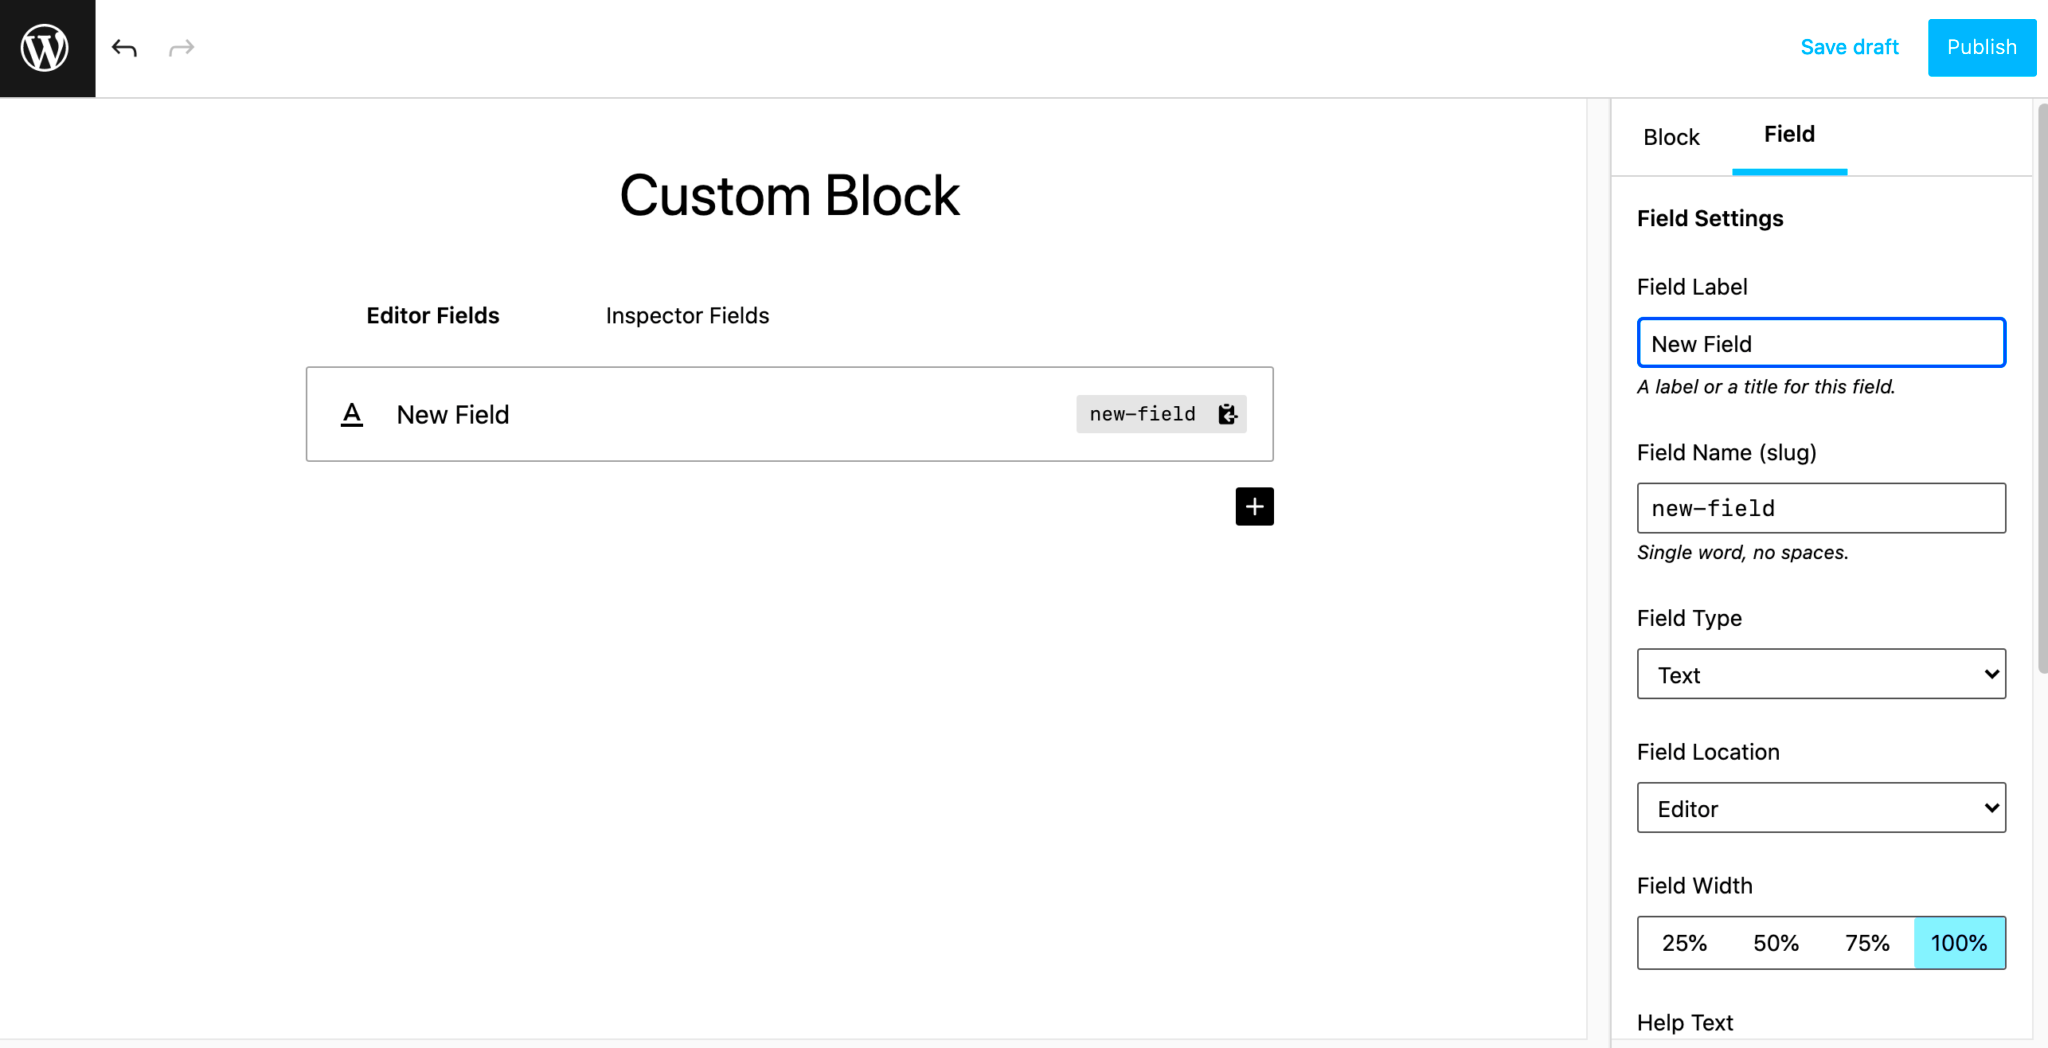
Creating custom Gutenberg blocks for taxonomy posts is an efficient way to enhance the functionality of your WordPress site. The process involves several steps, from setting up the necessary environment to writing the code that defines the block. Let’s break it down into manageable steps:
- Install and Set Up a Local Development Environment: Before diving into custom block creation, it’s essential to set up a local development environment. You can use tools like Local by Flywheel, MAMP, or XAMPP to simulate a WordPress environment on your computer.
- Create a Plugin for the Block: To keep your custom block separate from your theme, it’s a good practice to create a plugin. This makes your block portable and allows you to reuse it across different themes.
- Register the Block: The first step in coding is to register the block. You’ll use the
registerBlockTypefunction to define your block’s settings, including its name, title, description, and attributes. - Write JavaScript Code: The block’s behavior is controlled by JavaScript. You’ll use React (which is part of the Gutenberg framework) to write the front-end functionality for your block. Here, you’ll define how the taxonomy posts are displayed and how the block interacts with the WordPress editor.
- Display Taxonomy Posts: Using the WordPress REST API, you can fetch taxonomy posts based on the selected category or custom taxonomy. This data will then be displayed inside your custom block.
- Style the Block: Use CSS to style the block and make sure it matches the design of your site. You can define how the block looks both in the editor and on the front-end of the site.
- Test the Block: After you’ve created the block, it’s time to test it. Ensure the block works well in the WordPress editor and displays the taxonomy posts correctly on the site.
By following these steps, you can create custom Gutenberg blocks that will help you display taxonomy posts in a unique and organized way, improving the user experience on your WordPress site.
Setting Up the Environment for Custom Gutenberg Blocks
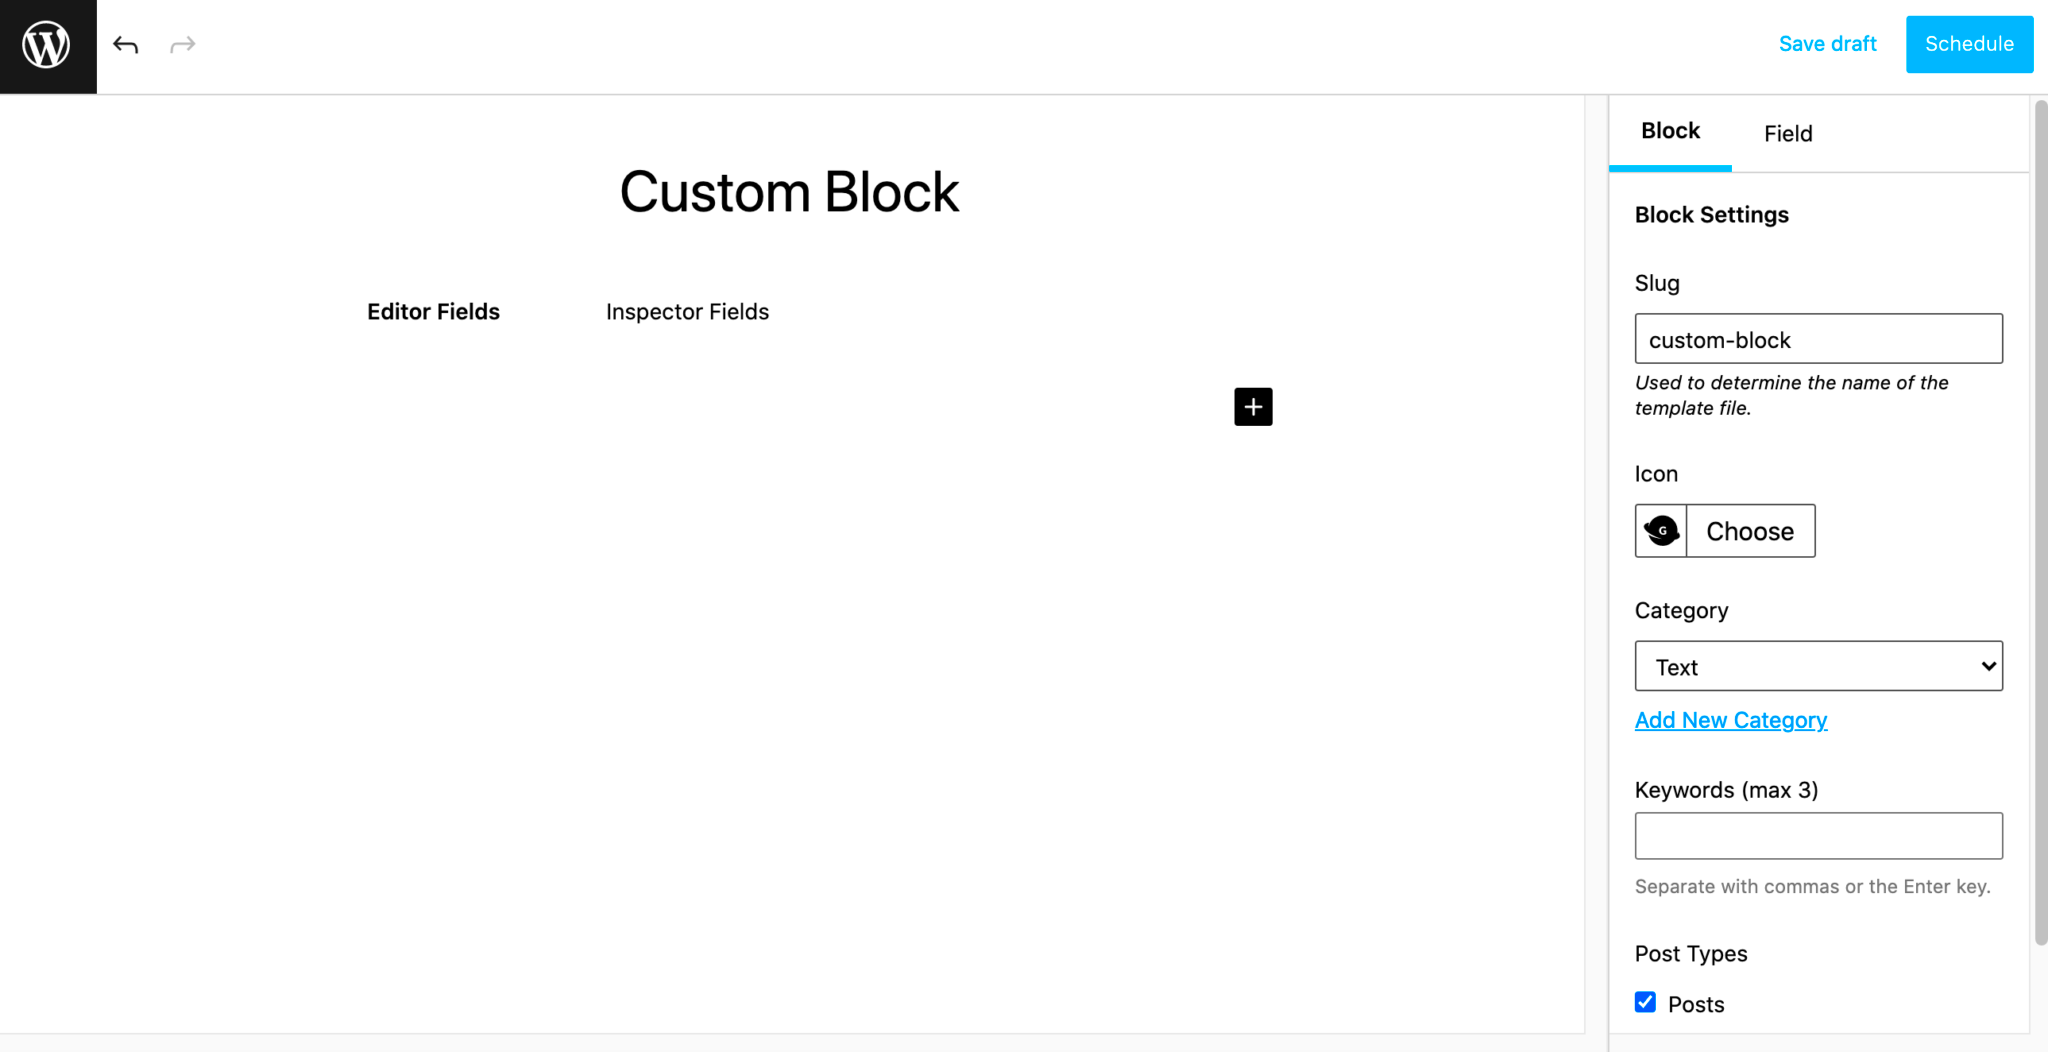
Setting up the right environment is crucial to successfully building and testing your custom Gutenberg blocks. Here’s a simple guide to get you started:
- WordPress Installation: Make sure you have a local WordPress installation running. You can use tools like Local by Flywheel, MAMP, or XAMPP to create a local server for WordPress development.
- Install Node.js and npm: WordPress blocks use JavaScript and React, so you’ll need Node.js and npm (Node Package Manager) to manage dependencies and run build tools. You can download them from the official Node.js website.
- Install @wordpress/scripts: The WordPress development team provides a package called
@wordpress/scripts, which includes a set of tools for block development. Install it via npm to streamline your build process. - Create a Plugin: For the block, create a new folder in the
wp-content/pluginsdirectory. Inside this folder, create the necessary files for your block. A basic block needs an entry JavaScript file (e.g.,block.js) and a PHP file for registration (e.g.,plugin.php). - Enable Block Editor: Make sure the WordPress Block Editor is enabled in your installation. If you’re using the classic editor, you’ll need to switch to Gutenberg to begin creating blocks.
Once your environment is set up, you can start developing and testing your custom Gutenberg blocks. This setup ensures that your blocks will work both in the editor and on the front end of the website.
Designing and Implementing the Custom Block
Designing and implementing your custom Gutenberg block requires both creative and technical skills. Here’s how you can approach the process:
1. Define the Purpose and Functionality of the Block:
First, understand what your custom block is meant to do. In this case, it’s designed to display taxonomy posts. Consider what features are necessary, such as:
- Which taxonomy will be used (e.g., categories, tags, or custom taxonomies)?
- How will posts be displayed (e.g., list view, grid view)?
- What level of interactivity do you want (e.g., filtering, pagination)?
2. Develop the Block Using JavaScript and React:
With a clear purpose in mind, it’s time to dive into code. Use React components to define the block structure. For instance, use the InspectorControls component to allow users to select a taxonomy or category. Then, fetch taxonomy posts using the WordPress REST API and display them within your block.
3. Style the Block:
Once the block’s functionality is in place, it’s time to style it. Use CSS (or SASS if you’re comfortable) to ensure the block fits well within your theme’s design. You can style it differently for both the editor view and the front-end view, ensuring consistency and usability.
4. Add Custom Controls and Features:
To make your block more dynamic, consider adding custom controls such as dropdowns for taxonomy selection, checkboxes for filtering, or sliders for pagination. These controls can help users narrow down their search results for taxonomy posts.
5. Test and Refine:
Once you have your block functional and styled, it’s time to test it thoroughly. Ensure that it displays taxonomy posts correctly, both in the WordPress editor and on the front-end. Check for responsiveness and make sure the block works across different screen sizes and devices.
By following these steps, you can create a custom Gutenberg block that not only enhances your website’s content display but also provides a unique and user-friendly experience for your visitors.
Testing and Troubleshooting Custom Gutenberg Blocks
Testing and troubleshooting your custom Gutenberg blocks is a critical step in ensuring that everything works as expected. It helps you catch issues before your block goes live on the website, ensuring a smooth user experience. Here’s how you can approach the testing and debugging process:
1. Test the Block in the Editor:
Start by testing the block within the WordPress editor. Ensure that it’s registered correctly and that it appears in the block toolbar. Check if the block’s interface (like input fields, dropdowns, or buttons) functions as intended.
2. Validate the Block’s Display:
Once you have added the block to a page or post, make sure it displays the taxonomy posts correctly. Verify that the data is pulled from the right taxonomy and that it’s presented properly on the front end. Pay close attention to elements like pagination, sorting, and filtering, ensuring they work smoothly.
3. Debugging JavaScript Errors:
Use browser developer tools (F12 in Chrome) to check for any JavaScript errors. Common issues might include broken API calls, missing data, or issues with React components. Look for error messages in the console and use the debugging tools to isolate the problem.
4. Check Compatibility:
Test your block across different WordPress themes and ensure that it integrates well. Some themes might have CSS or JavaScript conflicts, so check the block’s appearance and behavior in different environments.
5. Mobile and Browser Testing:
Test your block on various screen sizes and browsers to make sure it’s responsive and works across platforms. Consider using tools like BrowserStack for cross-browser testing and responsive design checkers.
By thoroughly testing and troubleshooting your block, you can ensure it functions smoothly and provides an optimal experience for your website users.
Frequently Asked Questions (FAQ)
Here are some of the most common questions people have when creating custom Gutenberg blocks for taxonomy posts:
- What is a custom Gutenberg block?
A custom Gutenberg block is a user-defined block in the WordPress editor that allows you to add and display content in a way that is unique to your site. It can include specific features like displaying taxonomy posts or other custom content. - Do I need coding knowledge to create a custom block?
Yes, creating a custom Gutenberg block typically requires some knowledge of JavaScript, React, and WordPress development. However, there are plenty of resources and tutorials available to guide you through the process. - Can I display posts from multiple taxonomies in a single block?
Yes, you can configure your custom Gutenberg block to display posts from multiple taxonomies. This might involve modifying the REST API call to fetch posts based on different taxonomy terms and combining them within your block. - How do I style my custom Gutenberg block?
You can style your custom Gutenberg block using CSS or SASS. Make sure the block is styled for both the editor view and the front-end display, so it maintains consistency across the site. - Can I reuse my custom block across different WordPress sites?
Absolutely! If you create a custom Gutenberg block within a plugin, it can be exported and reused across different WordPress sites without any issues. - Are there any performance concerns with custom Gutenberg blocks?
Custom blocks can impact performance if not optimized properly, especially when pulling large amounts of data via the REST API. Be mindful of how much content you’re displaying and implement pagination or lazy loading to enhance performance.
Conclusion and Best Practices for Custom Gutenberg Blocks
Creating custom Gutenberg blocks for displaying taxonomy posts can significantly enhance the functionality of your WordPress site. By following the steps outlined earlier, you can develop blocks that not only improve content organization but also provide a more interactive and engaging user experience.
Here are some best practices to keep in mind when working with custom Gutenberg blocks:
- Keep It Simple: While custom blocks offer flexibility, it’s essential to keep them simple and easy to use. Avoid overwhelming users with too many options or complex layouts.
- Focus on Performance: Optimize your block’s performance by limiting the amount of data you fetch from the database. Use pagination, lazy loading, or caching techniques to improve load times.
- Ensure Compatibility: Test your blocks on different WordPress themes to ensure they work well across various environments. Cross-browser and mobile testing are also important to provide a seamless experience for all users.
- Write Clean Code: Follow best coding practices and ensure your JavaScript and PHP code is clean, well-documented, and maintainable. This will make it easier to troubleshoot and update your blocks in the future.
- Consider User Experience: Think about the end-users when designing your block. Make sure it’s intuitive, visually appealing, and easy to interact with.
By implementing these best practices, you can create custom Gutenberg blocks that not only meet your site’s functional requirements but also provide a great experience for your visitors. Happy coding!


