Introduction to Adobe Stock and Photoshop Integration
 Adobe Stock offers a vast collection of high-quality images that can be seamlessly integrated with Adobe Photoshop for editing. This powerful combination allows users to create stunning visuals while maintaining the original quality of the stock images. By leveraging Photoshop’s robust editing tools, you can enhance, modify, and customize stock photos to better fit your project needs. Whether you’re a professional designer or a hobbyist, understanding how to effectively integrate these two platforms can elevate your creative work.
Understanding the Basics of Editing Stock Images
 Editing stock images in Adobe Photoshop involves a series of steps that cater to the unique aspects of each image. Here are some fundamental concepts to consider:
- Importing the Image: Start by downloading your desired image from Adobe Stock and importing it into Photoshop.
- Basic Adjustments: Use tools like Brightness/Contrast, Levels, and Curves to enhance the image’s overall appearance.
- Layer Management: Work with layers to maintain the original image while applying various effects, ensuring adjustments can be modified later.
- Masking Techniques: Utilize layer masks to isolate specific areas of an image for targeted editing without affecting the entire composition.
- Filters and Effects: Apply filters to stylize images, adding depth or artistic flair to the final visual.
Understanding these basics opens the door to more advanced techniques, allowing for creative possibilities that align with your vision.
Steps to Download Adobe Stock Images
 Downloading images from Adobe Stock is a straightforward process, but there are some essential steps to ensure you get the images you want in the best possible way. Here’s how to do it:
- Create an Adobe Account: If you haven’t already, sign up for an Adobe account. You’ll need this to access Adobe Stock and download images.
- Browse or Search for Images: Use the search bar at the top of the Adobe Stock homepage to find images. You can enter keywords related to your project. Utilize filters like orientation, color, and categories to narrow your search.
- Select Your Image: Once you find an image you like, click on it to view more details. Make sure to check the licensing options, such as standard or extended licenses.
- Add to Cart: If you’re ready to proceed, click on the “Add to Cart” button. You can download a preview version for free, but remember, this will have a watermark.
- Checkout: Go to your cart, review your selections, and then proceed to checkout. You can pay per image or use subscription credits, depending on your Adobe Stock plan.
- Download Your Image: After completing the purchase, you’ll receive an option to download the image. Save it to a location on your computer where you can easily find it later.
And there you have it! In just a few simple steps, you can download high-quality stock images from Adobe Stock ready for editing in Photoshop.
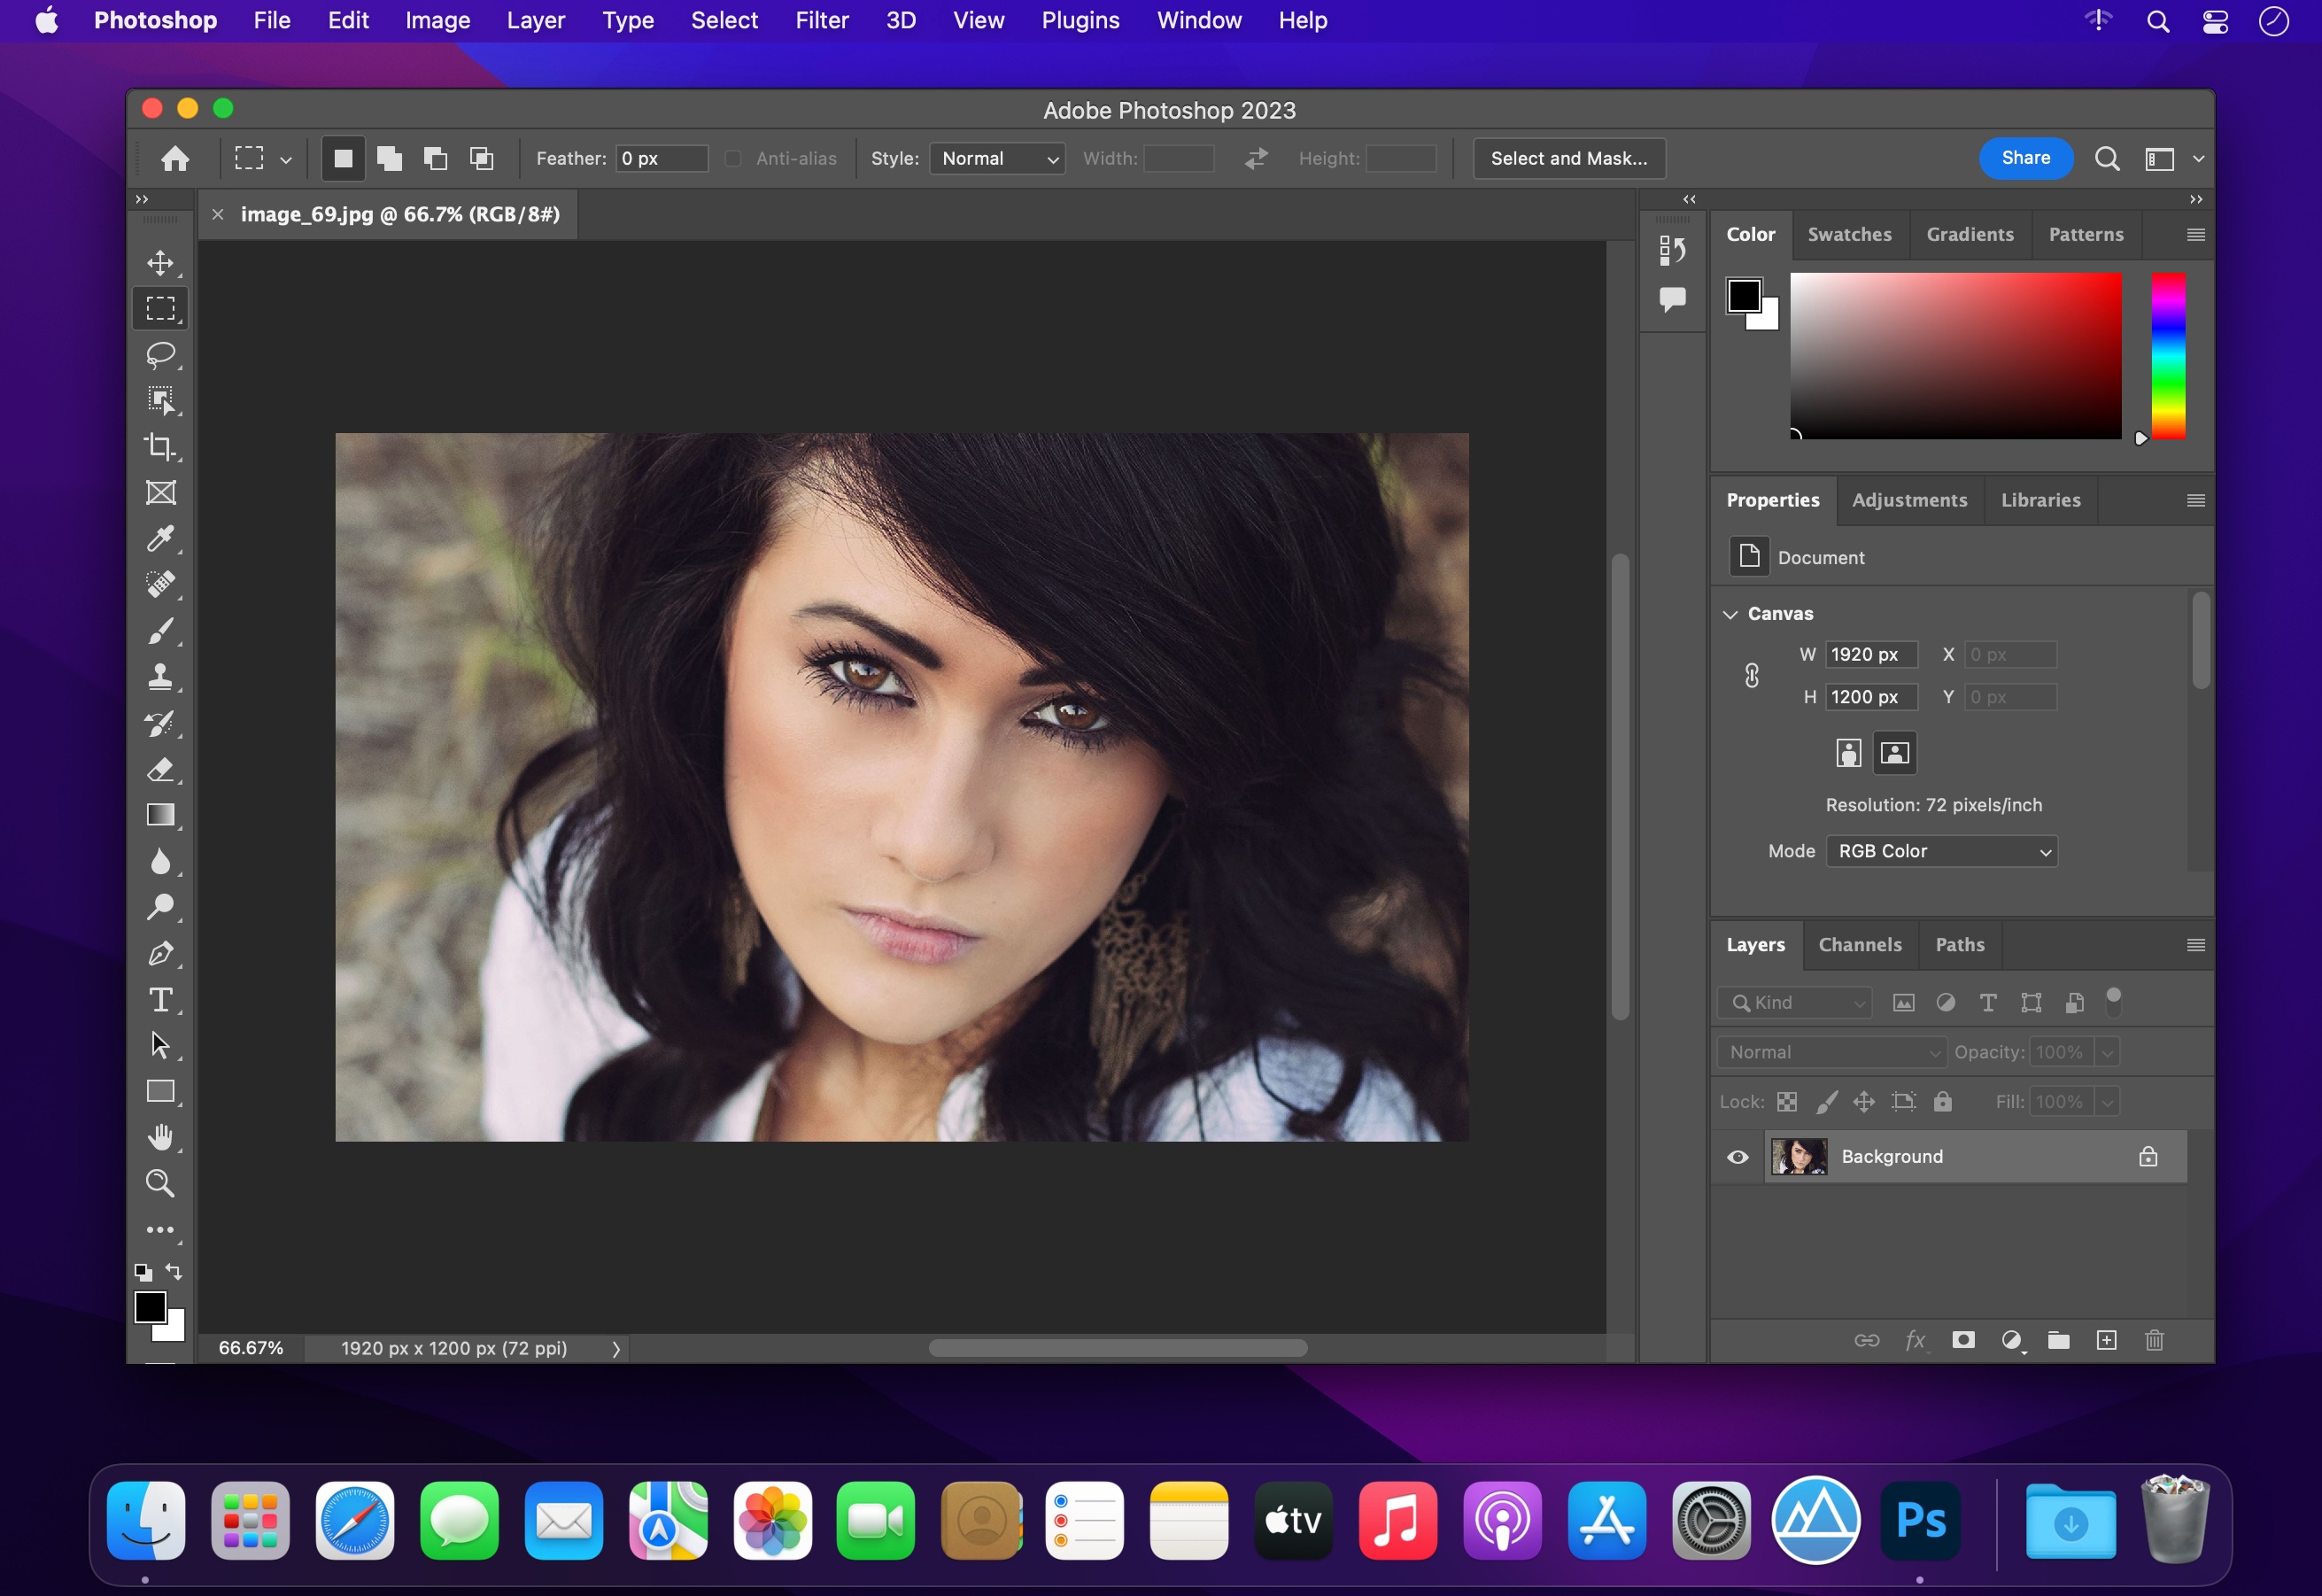
Setting Up Your Workspace in Adobe Photoshop
 Before diving into editing your Adobe Stock images, it’s crucial to set up your workspace in Adobe Photoshop for maximum efficiency. A well-organized workspace allows you to focus on your creativity without distractions. Here’s how to do that:
- Open Adobe Photoshop: Launch the application and prepare to start a new project.
- Choose Your Workspace: Go to Window > Workspace to select a predefined layout that suits your style. Options like Essentials, Photography, or Graphic and Web are great starting points.
- Customize the Interface: Drag and drop panels to arrange them to your liking. Common panels include Layers, Adjustments, and Brushes, which you might use frequently.
- Setup Shortcuts: If you have specific tools or features you use often, consider setting up keyboard shortcuts. Go to Edit > Keyboard Shortcuts to modify them to speed up your workflow.
- Save Your Workspace: Once you’re satisfied with your setup, save your workspace by going to Window > Workspace > New Workspace. This way, you can quickly access your customized layout anytime you open Photoshop.
By taking the time to set up your workspace, you’ll find editing your Adobe Stock images much more enjoyable and productive—so go ahead, create an environment that inspires you!
Essential Editing Tools in Adobe Photoshop
When it comes to editing Adobe Stock images in Photoshop, familiarity with the essential tools can make all the difference. Whether you’re aiming to fine-tune a photo or create something entirely new, here are the key tools you should know:
- Crop Tool: Perfect for trimming images to focus on the subject or adjust the composition. You can also use it to change the aspect ratio.
- Clone Stamp Tool: This tool allows you to duplicate a part of your image. It’s great for removing unwanted objects or blemishes.
- Healing Brush Tool: Similar to the Clone Stamp, but it blends the cloned area with the surrounding pixels for a more natural look.
- Adjustment Layers: These are non-destructive, allowing you to adjust brightness, contrast, saturation, and more without altering the original image directly.
- Layers Panel: A vital component for organizing your edits. Use layers to separate different elements of your image, making it easier to manage complex compositions.
- Text Tool: If your stock image needs a caption or title, this tool will help you add and style text to complement your visuals.
Understanding how to navigate and effectively use these tools will not only enhance your editing experience but also elevate the overall quality of your images. So, take some time to experiment with each tool!
Techniques for Enhancing Stock Images
Once you’re familiar with the essential tools in Adobe Photoshop, it’s time to dive into some fantastic techniques for enhancing your stock images. Here are a few approaches that can take your images from good to great:
- Adjust Lighting: Use adjustment layers like Curves or Levels to brighten up dark images or add contrast to enhance details.
- Color Correction: Tweak the colors using Hue/Saturation adjustments to make them pop or to achieve a specific mood. Consider using Color Balance for a more nuanced control.
- Sharpening: After finalizing your edits, apply a subtle sharpening effect to bring out details. Use the Unsharp Mask or High Pass filter for precise control.
- Adding Filters: Explore Photoshop’s built-in filters to add stylistic effects, like blurs or textures, to give your images a unique touch.
- Creating Depth: Use the Gaussian Blur on background elements to create a depth-of-field effect, making your subject stand out even more!
These techniques will not only enhance the aesthetics of your stock images but also help you convey the desired story or emotion. Remember, the goal is to enhance, not overpower, so subtlety is often key!
Saving and Exporting Your Edited Images
Once you’ve completed your edits on Adobe Stock images in Photoshop, it’s crucial to save and export your work correctly. Here are some steps to ensure your images are saved in the best format and quality:
- Use Save As: To avoid overwriting your original file, choose File > Save As. This lets you create a new version of your edited image.
- Select the Right Format: Depending on how you plan to use the image, choosing the right file type is essential. Common formats include:
- JPEG: Ideal for photographs and images with gradients, but loses some quality due to compression.
- PNG: Great for images with text or transparency, as it retains quality and detail.
- TIFF: Best for high-quality prints, maintaining layers and comprehensive image detail.
- Adjust Quality Settings: When saving as JPEG, you can set the quality level from 0 to 12. Aim for around 8 to 10 for a good balance between quality and file size.
- Export for Web: If you’re sharing your image online, use File > Export > Save for Web (Legacy). This allows you to adjust settings like resolution and format to optimize loading times without sacrificing too much detail.
Finally, always keep a working copy in Photoshop’s native format (.PSD) if you anticipate future edits. This way, you can reopen the file and access all your layers and adjustments!
Tips for Maintaining Quality in Stock Image Edits
Editing stock images can sometimes lead to quality loss if you’re not careful. Here are some tips to help you maintain the integrity and quality of your images throughout the editing process:
- Start with High-Resolution Images: Always select high-resolution stock images as your starting point. Higher resolution provides more detail and flexibility for edits.
- Avoid Over-Editing: Simple adjustments, such as color correction and light enhancement, can significantly improve an image. Overdoing it with filters or effects can create an unnatural look.
- Use Adjustment Layers: Instead of making permanent changes to the original image, use adjustment layers. This method allows for non-destructive editing, where you can tweak or revert back to your original settings easily.
- Check Image Resolution: Ensure that your final output maintains a resolution of at least 300 DPI for print or 72 DPI for web use. You can check this in Image > Image Size in Photoshop.
- Sharpen Carefully: When you’re preparing your image for final export, apply sharpening judiciously. Too much sharpening can cause artifacts, so use the Unsharp Mask or Smart Sharpen options lightly.
By keeping these tips in mind, you’ll not only enhance your stock images but also preserve their quality, ensuring they shine whether they’re used for digital platforms or print media!
Common Mistakes to Avoid When Editing Stock Images
Editing stock images can be a rewarding experience, but there are several pitfalls that can lead to less-than-desirable outcomes. Here are some common mistakes to steer clear of:
- Over-Editing: It’s easy to get carried away with filters and effects. Remember, the goal is to enhance the image, not transform it into something unrecognizable. Aim for a natural look, especially for stock images intended for commercial use.
- Ignoring the Original Quality: Always start with high-resolution images. Editing low-quality stock images can result in more noticeable defects and pixelation.
- Neglecting Color Calibration: Ensure your monitor is properly calibrated. What looks good on your screen may not appear the same on others. Using tools like a color checker can help maintain consistency.
- Failing to Understand Licensing: Each stock image has its own licensing agreement. Always check the terms to avoid using an image in a way that could get you into trouble.
- Not Backing Up Your Edits: Before you start editing, duplicate the original layers or save a version of the file to avoid losing your initial image. It’s easier to revert back than to start from scratch.
- Ignoring the Target Audience: Keep in mind who will be using the images. Different demographics may respond to different styles of editing and composition.
By being aware of these common mistakes, you can streamline your editing process and enhance the quality of your stock images, making them more appealing for potential buyers.
Conclusion and Further Resources
Editing Adobe Stock images with Adobe Photoshop can open up a world of creativity and professionalism. By learning the nuances of both platforms, you’ll significantly improve your image editing skills and produce stunning visuals. Here’s a quick recap of what we covered:
- The importance of starting with high-quality stock images.
- Techniques for retouching, color correction, and adding graphics.
- Common mistakes that can hinder your editing efforts.
As you embark on your editing journey, consider exploring the following resources to deepen your knowledge:
- Adobe Photoshop Tutorials – Official tutorials to help you master Photoshop.
- Adobe Stock – Find high-quality stock images to practice your editing skills.
- YouTube Editing Channels – A plethora of video tutorials demonstrating various editing techniques.
Remember, practice makes perfect! Don’t be afraid to experiment with different styles and techniques. Happy editing!