Getting your ID verified on Shutterstock might seem a bit daunting at first, but it’s a straightforward process designed to keep the platform secure for everyone. Whether you’re a contributor or just trying to access certain features, verifying your identity helps build trust within the community. Once you’ve submitted your ID, you’ll want to know if it’s been received and approved — that way, you can move forward without any hiccups. In this guide, we’ll walk you through how to check if Shutterstock has received your ID verification and ensure your account stays in good standing.
Steps to Submit Your ID for Verification on Shutterstock
Submitting your ID on Shutterstock is pretty simple, and the process is mostly digital. Here’s a step-by-step rundown to help you get it done smoothly:
- Log into your Shutterstock Contributor or Account Dashboard: Head to the Shutterstock website and sign in with your credentials.
- Navigate to the Verification Section: Find the menu or profile icon, then select “Account Settings” or “Verification” from the dropdown menu.
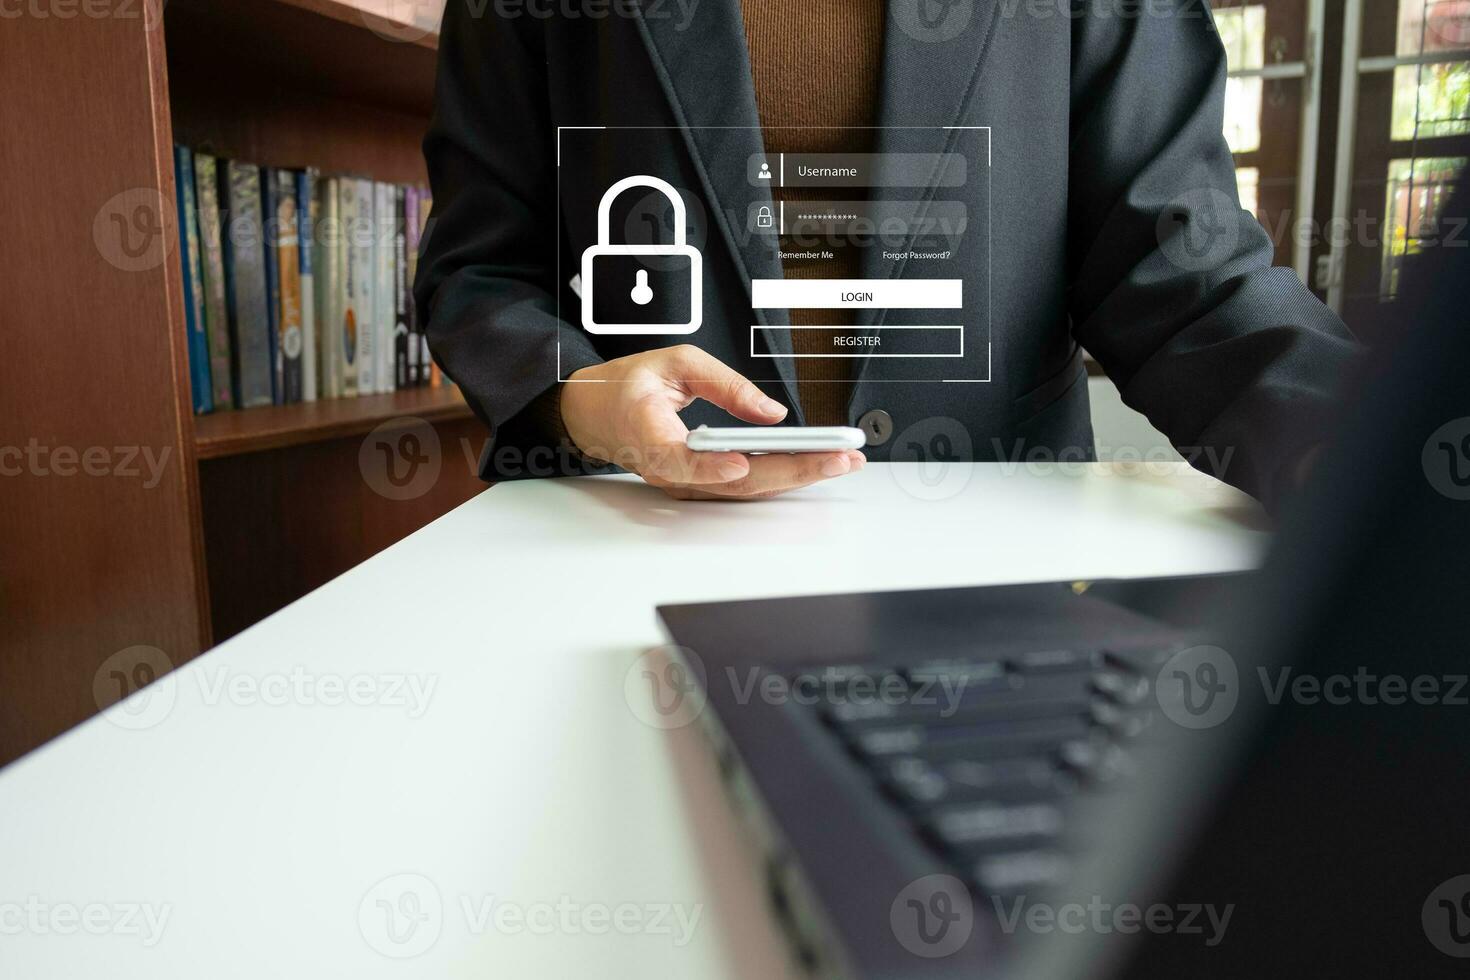
- Locate the ID Verification Option: Within the settings, look for an option labeled “Verify Your Identity” or similar.
- Prepare Your ID Documents: Make sure your ID (passport, driver’s license, national ID card, etc.) is clear, legible, and in a supported format (JPEG, PNG, PDF). It’s best to scan or take a high-quality photo.
- Upload Your ID: Click the upload button, select your prepared ID file, and submit it through the platform. You might be asked to fill out additional details like your full name, date of birth, or document number.
- Complete the Submission: Double-check everything is correct, then confirm your submission. You should receive a confirmation message indicating your ID has been sent for review.
Once submitted, Shutterstock will review your ID, which can take anywhere from a few hours to several days depending on their workload. Keep an eye on your email or dashboard notifications for updates. Now that you’ve submitted your ID, the next step is to verify whether they’ve received it and if it’s been approved — stay tuned for that info!
How to Check the Status of Your ID Verification
So, you’ve uploaded your ID to Shutterstock and are eagerly waiting to hear back—great! But how do you actually find out if your verification has gone through or if there’s something you need to do? Luckily, checking the status is pretty straightforward, and I’ll walk you through the steps.
First off, log into your Shutterstock Contributor account. Once you’re in, navigate to the Dashboard or the Verification Section. Usually, there’s a dedicated tab or banner that indicates your verification status. Look for phrases like “Verification Pending”, “Approved”, or “Additional Information Needed”.
Next, check your email. Shutterstock often sends updates directly to your registered email address. Keep an eye out for messages from their verification team—they might ask for more documents or clarification if needed. Be sure to check your spam or junk folders just in case!
If you want to double-check within your account, here’s a quick step-by-step:
- Log in to your Shutterstock Contributor account.
- Click on your profile icon or your name in the top right corner.
- Select Dashboard or Account Settings.
- Find the Verification Status section—this might be under “Account” or “Profile.”
- Review the displayed status message.
If your status shows “Verified”, congratulations! You’re all set. If it says “Pending”, give it some time—verification can sometimes take a few days. And if it says “Rejected”, don’t panic. Shutterstock usually provides reasons, and you can often resubmit or provide additional documents to get verified.
Remember, patience is key here. The verification team reviews each submission carefully, so a little wait is normal. If it’s been more than a week, or if you think something’s wrong, you can always reach out to Shutterstock’s support for an update. They’re generally pretty helpful and can guide you through the next steps.
Common Reasons Why Your ID Verification Might Be Delayed
Verification delays can be frustrating, especially if you’re eager to start uploading content or get paid. Understanding why these delays happen can help you avoid common pitfalls and speed up the process when possible. Here are some of the most common reasons why your ID verification might be taking longer than expected:
1. Poor Image Quality or Legibility
If the photo or scan of your ID is blurry, poorly lit, or cropped incorrectly, it can cause delays. Shutterstock needs clear, readable images to verify your identity securely. Always ensure that your ID is well-lit, in focus, and fully visible without glare or shadows.
2. Inconsistent or Mismatched Information
If the details on your ID don’t match the information you provided in your account (like name spelling or date of birth), the verification process can stall. Double-check that all your info matches exactly before submitting.
3. Using an Expired or Invalid ID
Make sure your ID is current. Expired or invalid documents will definitely cause delays. If your ID is close to expiration, consider submitting a renewed version.
4. High Volume of Submissions
Shutterstock’s verification team handles thousands of submissions, especially during peak times. During busy periods, verification might take longer than usual. Patience is key, but you can also check their support page or contact them if it’s taking an unusually long time.
5. Technical Glitches or Upload Errors
Sometimes, technical issues—like failed uploads, browser problems, or internet interruptions—can hinder your submission. Always verify that your upload completed successfully and try re-uploading if needed.
6. Additional Review Needed
If your ID looks similar to others or requires a manual review, the process might be longer. Shutterstock might flag certain IDs for extra scrutiny to prevent fraud and ensure authenticity.
In summary, most delays come down to image quality, data mismatches, or technical hiccups. To minimize delays, use a clear, valid ID, double-check your info, and ensure your uploads are successful. If you’ve addressed all these points and still experience delays, don’t hesitate to reach out to Shutterstock support—they’re there to help you get verified and start sharing your work with the world!
What to Do If Your ID Verification Is Not Approved
So, your ID verification didn’t go as planned—bummer, right? Don’t worry, it happens more often than you might think, and there are simple steps you can take to get back on track. First off, don’t rush to panic. Shutterstock usually provides some feedback or reasons why your verification was not approved, so take a close look at any messages or notifications you received.
Here’s what you should do if your ID verification gets rejected:
- Review the Feedback Carefully: Check if Shutterstock mentioned specific issues like blurry images, expired documents, or mismatched information. Understanding the reason helps you fix the problem effectively.
- Double-Check Your Documents: Make sure your ID is clear, readable, and valid. Sometimes, glare, shadows, or poor lighting can cause rejection. Use a good camera or scanner to capture a crisp copy. Also, confirm that your name, date of birth, and other details match exactly what you entered during the verification process.
- Update or Resubmit Your ID: If your documents are outdated or the photo isn’t clear, get a new scan or photo. Follow Shutterstock’s guidelines for acceptable IDs—usually a government-issued ID like a driver’s license or passport. Once you have the correct, clear version, resubmit through the verification portal.
- Be Patient: After resubmitting, allow some time for Shutterstock to review your documents again. It can take anywhere from a few hours to a few days, so try to be patient during this process.
Remember, if you’re unsure about why your verification was rejected, don’t hesitate to revisit the FAQ or guidelines provided by Shutterstock. They often include tips on what makes a successful submission, so reviewing these can boost your chances of approval on the next try.
Contacting Shutterstock Support for Verification Issues
If you’ve gone through the above steps and still can’t get your ID verified, reaching out to Shutterstock support is your best bet. They’re there to help resolve issues that automatic systems might not catch or understand fully.
Here’s how you can contact them effectively:
- Use the Help Center: Visit the Shutterstock Help Center. They have a dedicated support page where you can find FAQs and troubleshooting guides related to ID verification.
- Submit a Support Ticket: If you don’t find an answer, look for the “Contact Support” or “Submit a Request” option. Be sure to include:
- Details of the issue
- The specific error message or feedback received
- Copies or screenshots of your submitted documents
- Any relevant account information
In some cases, Shutterstock support may ask you to resend your documents or clarify certain details. Stay responsive and cooperative—they want to help you get verified so you can continue creating and earning without hiccups.
Remember, patience and clear communication are key. Verification issues can be frustrating, but with the right approach, you’ll be back to uploading your amazing content in no time!
Tips to Ensure Successful ID Verification on Shutterstock
Getting your ID verified on Shutterstock might seem straightforward, but there are a few tips that can make the process smoother and increase your chances of success. Here’s what you should keep in mind:
Choose Clear, Legible Photos
Make sure the images of your ID are high-quality, well-lit, and in focus. Blurry or dark photos can lead to rejection because the verification system can’t accurately read the details. Use natural light if possible, and avoid glare or reflections on the ID surface.
Follow the Submission Guidelines Carefully
Each platform has specific requirements about what types of IDs are accepted. For Shutterstock, typically, a government-issued ID such as a driver’s license, passport, or national ID card is required. Ensure your document is valid, not expired, and matches the details you provided in your profile.
Check Your Personal Details
Before submitting, double-check that all your personal information matches exactly what’s on your ID. Any discrepancies can delay verification or cause rejection. This includes your name, date of birth, and address.
Use a Device with Good Camera Capabilities
Smartphones with high-resolution cameras are usually perfect for capturing clear images. Avoid using low-quality or outdated devices that might produce grainy photos. Take multiple shots if needed to get the best one.
Stay Consistent and Patient
Sometimes, verification takes a little time. If your submission is pending, avoid resubmitting multiple times in quick succession — this can cause confusion. Instead, wait patiently for the platform to process your documents. If you’re rejected, review the feedback carefully before trying again.
Secure Your Documents
Ensure your ID images are stored securely. Don’t share your personal documents with unknown sources or store them in insecure locations. Your privacy and security are important, so handle your ID images responsibly.
Conclusion and Final Tips for a Smooth Verification Process
Verifying your ID on Shutterstock doesn’t have to be stressful. By following a few simple steps, you can make sure your submission goes smoothly and gets approved quickly:
- Prepare your documents in advance: Make sure they are valid, clear, and match your profile details.
- Follow the guidelines: Use accepted ID types and submit high-quality images.
- Be patient: Give the system time to review your documents without rushing or resubmitting excessively.
- Keep your information consistent: Double-check your profile info matches your ID details exactly.
- Stay secure: Protect your personal data and avoid sharing images with untrusted sources.
Remember, verification is a crucial step to establishing your credibility as a contributor on Shutterstock. Taking the time to do it right not only speeds up the process but also helps build trust with buyers. If you encounter issues, don’t hesitate to reach out to Shutterstock’s support team—they’re there to help you navigate any hurdles. With a little preparation and patience, you’ll be verified and ready to start sharing your amazing work in no time!