If you’ve ever downloaded a vector image from Shutterstock and wished you could tweak it to better fit your project, you’re not alone! Adobe Illustrator is a powerful tool that makes editing these images straightforward, whether you’re changing colors, modifying shapes, or adding your own flair. In this guide, we’ll walk through the essential steps to take a Shutterstock vector and make it uniquely yours. No matter your experience level, you’ll find tips and tricks to help you navigate the editing process smoothly and confidently, so you can create professional-looking designs with ease.
Downloading and Preparing Your Shutterstock Vector Image
The first step to editing your Shutterstock vector image is to download it properly and get it ready for editing in Adobe Illustrator. Here’s what you need to do:
- Select the right file format: Shutterstock offers vector images in formats like AI, EPS, and SVG. For the best compatibility with Adobe Illustrator, choose an AI or EPS file. These formats preserve the vector quality and allow for easier editing.
- Download your image: After purchasing or licensing the image, click the download button. Make sure to select the appropriate file type (AI or EPS) before downloading.
- Open in Adobe Illustrator: Once downloaded, locate your file in your downloads folder and double-click it. If Illustrator is your default program for these files, it will open automatically. Otherwise, open Adobe Illustrator first, then go to ‘File’ > ‘Open’ and select your downloaded file.
- Check the layers and groups: When the image opens, take a moment to review the layers panel. Shutterstock vectors often come grouped or layered, which can be helpful for editing. If needed, ungroup objects by selecting them and choosing ‘Object’ > ‘Ungroup’ from the top menu.
- Save a working copy: Before making any edits, save a copy of the original file. Go to ‘File’ > ‘Save As’ and give it a new name like ‘MyEditedImage.ai’. This way, you always have the original intact if you want to start over.
Preparing your vector image properly ensures a smoother editing experience. Take your time to organize and familiarize yourself with the layers and structure of the file. Once you’re ready, you can start customizing the image to perfectly suit your project needs!
Opening the Vector Image in Adobe Illustrator
So, you’ve found that perfect vector image on Shutterstock and you’re ready to give it a customized touch. The first step is opening that image in Adobe Illustrator. Don’t worry—it’s pretty straightforward, but there are a few tips to keep in mind to ensure everything goes smoothly.
First, download your vector image from Shutterstock to a location on your computer where you can easily find it. Typically, Shutterstock provides files in formats like AI, EPS, or SVG—these are all compatible with Adobe Illustrator.
Once downloaded, follow these simple steps:
- Launch Adobe Illustrator on your computer.
- Go to File in the top menu bar, then select Open…
- Navigate to the folder where your downloaded vector image is saved.
- Click on the file to select it, then hit Open.
If your file is in a format like SVG or EPS, Illustrator will usually open it directly, often prompting you with import options. For AI files, it will open with all layers intact, making editing a breeze.
Sometimes, depending on your version of Illustrator or the file format, you might see a warning about embedded images or linked files. Don’t worry—these are usually easy to resolve. If prompted, choose options that best suit your editing needs, such as embedding images for easier access.
And voilà! Your vector image should now appear on your workspace. Take a moment to look it over—check that all parts are visible and that the quality looks good. If everything seems in order, you’re all set to start editing.
Remember, saving your work regularly is key—so consider saving a copy of the original file before making any major changes. This way, if you ever want to revert back, you’ll have the original safe and sound.
Understanding the Vector Image’s Layers and Components
Before diving into editing, it’s super helpful to get familiar with the structure of your vector image. Think of layers and components as the building blocks of your artwork—they determine how everything is organized and how easily you can make adjustments.
When you open your vector image in Adobe Illustrator, you’ll want to open the Layers Panel. You can do this by going to Window > Layers if it’s not already visible. This panel shows you all the layers, sublayers, and objects within your artwork.
Here’s what to look out for:
- Layers: These are like folders organizing different parts of your design. For example, you might have separate layers for text, shapes, or background elements.
- Sub-layers and Groups: Inside layers, you often find groups—collections of objects that are grouped together for easier manipulation.
- Individual Components: These are the actual shapes, lines, and text objects. They can often be selected and edited individually or as part of a group.
To better understand how your image is built, try these steps:
- Select the Selection Tool (V) from the toolbar.
- Click on different parts of your artwork to see what gets highlighted in the Layers Panel.
- Expand layers by clicking the small triangle next to layer names—you’ll see sublayers and individual objects.
Understanding the layers and components helps you:
- Identify what to edit: Is it a shape, a color, or a text element?
- Make precise changes: Selecting specific layers or objects prevents accidental edits elsewhere.
- Maintain organization: If your file has many layers, keeping track of what each contains makes editing much easier.
In some cases, Shutterstock images come with a complex layer structure. Take your time exploring it—this will save you a lot of frustration down the line. If needed, you can also rename layers for clarity, or lock certain layers to avoid accidental changes while working on others.
By understanding your vector image’s layers and components, you’re setting yourself up for a smoother editing experience. Think of it as getting to know the layout of a new house before you start decorating—knowing where everything is makes the job much more enjoyable!
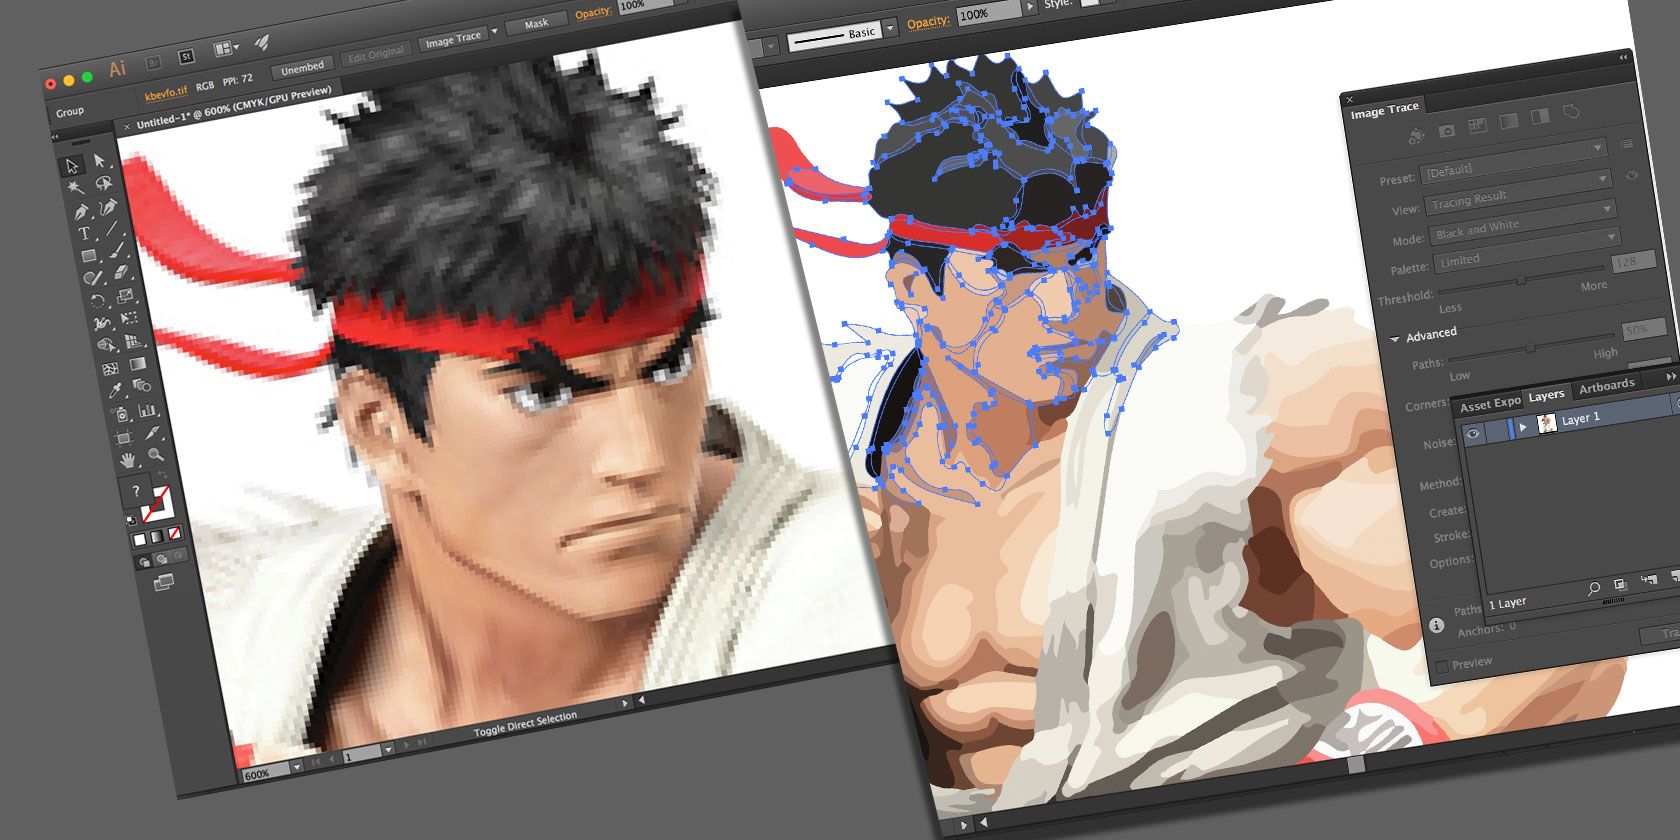
Using Illustrator Tools to Edit Your Vector Image
Once you’ve opened your vector image from Shutterstock in Adobe Illustrator, it’s time to get hands-on and start customizing it to fit your needs. Adobe Illustrator offers a treasure trove of tools that make editing vector images both intuitive and fun. Let’s walk through some of the most essential tools you’ll likely use:
- Selection Tool (V): This is your go-to for selecting entire objects or groups. Simply click on parts of your image to move or resize them.
- Direct Selection Tool (A): Use this tool to select and edit individual anchor points or path segments. It’s perfect for fine-tuning curves and shapes.
- Pen Tool (P): Want to add new anchor points or draw custom shapes? The Pen Tool is incredibly powerful for creating precise paths.
- Shape Tools (Rectangle, Ellipse, Polygon, etc.): Easily add new geometric shapes to your design. You can combine or modify these shapes to create complex designs.
- Pathfinder Panel: This is your best friend when it comes to combining, subtracting, or intersecting shapes. It helps you create complex vector shapes from simple ones.
- Eyedropper Tool (I): To match colors across your design, the Eyedropper Tool is perfect. Simply click on a color sample, and it applies that color to your selected object.
- Transform Tools: Use options like Rotate, Scale, Reflect, and Shear to adjust your objects’ size and orientation easily. You can access these via the toolbar or by right-clicking and choosing Transform options.
Let’s say you want to tweak the color of a specific element or reshape a part of your image. Simply select the object with the Selection or Direct Selection Tool, then use the relevant tools to modify it. For example, to fine-tune a curved line, select the path with the Direct Selection Tool and drag individual anchor points or handle bars to reshape it.
Additionally, don’t forget about layers! Organizing different parts of your image in layers makes editing more manageable. You can lock, hide, or reorder layers to focus on specific areas.
Experimentation is key—try combining different tools to see what creative effects you can achieve. Adobe Illustrator’s flexibility allows you to turn a stock vector into a personalized masterpiece. Just take your time, and don’t be afraid to undo (Ctrl+Z or Cmd+Z) if something doesn’t look right.
Saving and Exporting the Edited Vector Image
After you’ve made all your edits and you’re happy with your design, it’s time to save and export your work so you can use it wherever you need. Adobe Illustrator makes this process straightforward, but choosing the right format depends on how you plan to use your image.
Saving your AI file: This is the native Illustrator format (.ai), which preserves all your layers, paths, and editable elements. To save, go to File > Save As, choose a location, name your file, and click Save. This is your master file—you’ll want to keep this for future edits.
Exporting for different uses: Depending on whether you want to place your image on a website, print it, or share it with others, you’ll need to export it in suitable formats:
| Format | Best For | Notes |
|---|---|---|
| SVG | Web use, responsive graphics | Scalable without losing quality; ideal for websites and icons |
| PNG | Web images, transparent backgrounds | Raster format; good for web but not scalable |
| JPEG | Photographic images for print or web | Raster; lossy compression, not ideal for logos or sharp graphics |
| High-quality print, sharing | Supports vector and raster data; widely used for printing | |
| EPS | Print, professional publishing | Standard vector format compatible with many design programs |
To export, go to File > Export > Export As. Choose your preferred format from the dropdown menu, select your settings (like resolution for raster images), and click Export.
Pro tip: When exporting for the web, choose the appropriate resolution (72 PPI for screens) and enable transparency if needed. For print, opt for higher resolution (300 PPI) to ensure crisp quality.
And there you have it! With these steps, you’re well on your way to transforming a stock vector image into something uniquely yours. Save your work often, experiment with different export formats, and don’t forget to keep your original layered AI file safe for future edits. Happy designing!
Tips for Effective Vector Image Editing in Illustrator
Editing vector images in Adobe Illustrator can be a fun and rewarding experience, especially when you know some handy tips to make the process smoother and more efficient. Whether you’re customizing a Shutterstock vector or creating something from scratch, these pointers can help you achieve professional-looking results.
Start with a clean, organized file. When you open your Shutterstock vector, take a moment to organize your layers and groups. Naming layers clearly and grouping related elements makes editing much easier down the line. Use the Layers panel to collapse or expand sections, so you’re not overwhelmed by a tangled web of objects.
Use the selection tools wisely. The Selection Tool (V) allows you to move whole objects, while the Direct Selection Tool (A) helps you tweak individual anchor points or paths. Mastering these tools helps you make precise adjustments without unintentionally affecting other parts of your image.
Leverage the Pen Tool for custom edits. The Pen Tool (P) is your best friend for creating or modifying paths. If you need to add or remove anchor points, or reshape curves, practicing with the Pen Tool will give you more control and cleaner results.
Utilize the Pathfinder panel. To combine, subtract, or intersect shapes seamlessly, the Pathfinder panel is invaluable. For example, if you want to create a complex shape by merging two circles, select them both and click ‘Unite’ in the Pathfinder. This keeps your design clean and editable.
Adjust colors and strokes efficiently. Use the Color, Stroke, and Appearance panels to fine-tune your design. If you’re working with a Shutterstock image that has multiple color fills, consider simplifying or recoloring to match your project’s theme. Remember, you can always save custom color swatches for consistency.
Use the Transform panel for precision. When resizing, rotating, or skewing elements, the Transform panel provides exact numerical controls. This ensures your edits are symmetrical and proportionate, which is especially important for logos or icons.
Apply effects and styles sparingly. Effects like shadows, glows, or textures can enhance your vector, but overdoing it can make your image look cluttered. Use the Appearance panel to manage effects so you can toggle them on and off easily, helping you decide what works best.
Remember, practice makes perfect. The more you experiment with these tools and techniques, the more intuitive your editing process will become. Don’t be afraid to undo and redo—Adobe Illustrator’s history feature is there to help you learn as you go!
Conclusion and Final Tips for Customizing Shutterstock Vector Images
Editing Shutterstock vector images in Adobe Illustrator offers a fantastic way to customize professional artwork to suit your specific needs. Whether you’re designing a logo, creating marketing materials, or personalizing icons, these images are incredibly versatile. As you wrap up your editing session, here are some final tips to keep in mind for a smooth and successful customization experience.
- Always start with a copy. Before making major changes, save a duplicate of the original Shutterstock file. This way, you can always revert to the untouched version if needed.
- Keep your layers organized. Use clear naming conventions and grouping to manage complex vector files. This saves time and reduces confusion later on.
- Focus on color consistency. Use the Color Guide and Swatches panels to maintain a cohesive color palette throughout your design.
- Pay attention to details. Zoom in and refine anchor points, curves, and edges for a polished look. Small tweaks can make a big difference in quality.
- Utilize keyboard shortcuts. Learning shortcuts for common tasks like grouping (Ctrl/Cmd + G), ungrouping (Shift + Ctrl/Cmd + G), or toggling outlines (Ctrl/Cmd + Y) can significantly speed up your workflow.
- Export with purpose. When you’re finished editing, choose the right format for your intended use—SVG for web, EPS for printing, or PDF for sharing. Adjust resolution and other settings accordingly.
- Practice non-destructive editing. Whenever possible, use adjustment layers, opacity masks, or appearance effects that can be easily modified later instead of permanently altering the original vector paths.
Finally, don’t forget to have fun! Customizing Shutterstock vectors in Illustrator is not just about making things look perfect; it’s also about exploring your creative side and developing your skills. With patience and practice, you’ll be creating unique, eye-catching graphics tailored precisely to your project requirements.