Having a well-organized Shutterstock portfolio is key to showcasing your best work and attracting potential clients. Whether you’re just starting out or a seasoned contributor, knowing how to efficiently delete photos you no longer want in your collection is essential. This step-by-step guide will walk you through the process, making it simple and stress-free. Managing your portfolio not only keeps your profile tidy but also helps you highlight your top-quality images. So, let’s dive into how you can easily remove unwanted photos and keep your Shutterstock portfolio looking sharp!
Accessing Your Shutterstock Contributor Account
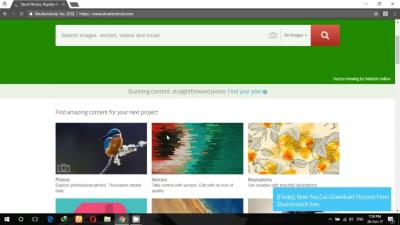
Before you can delete any photos, you first need to log in to your Shutterstock contributor account. If you’re new to Shutterstock, signing up is straightforward. Just visit the
- Navigate to the Shutterstock Contributor login page.
- Enter your registered email address and password.
- Click on the Login button.
Once logged in, you’ll be directed to your dashboard, where you can manage your portfolio, track your sales, and access various tools. If you have trouble logging in, make sure your credentials are correct, or use the “Forgot password?” link to reset your password. Remember, keeping your login details secure is important. Now that you’re in, you’re ready to start managing your photos, including deleting those that no longer fit your portfolio or are outdated. Next, we’ll explore how to locate and select the photos you want to remove.
Locating the Photos You Want to Delete
So, you’ve decided it’s time to tidy up your Shutterstock portfolio and get rid of some of those photos that no longer serve you. The first step is to locate the images you want to delete. It might sound straightforward, but depending on how many photos you have, finding that specific shot can feel a bit overwhelming.
Start by logging into your Shutterstock contributor account. Once you’re in, head over to your Dashboard — this is where all the magic happens. From there, look for the “My Portfolio” or “My Files” section, depending on what terminology Shutterstock uses at the moment. This is basically your photo bank, where all your uploaded images live.
Next, you’ll want to utilize the search and filter options. Shutterstock provides handy tools to help you narrow down your photos:
- Search Bar: Type in keywords or tags associated with the photos you want to delete. If you’ve uploaded similar images, this can quickly bring up the ones you’re targeting.
- Date Filters: Use date ranges to find images uploaded during a specific period. Maybe you uploaded some photos a while ago that no longer fit your style.
- Status Filters: Filter by “Pending,” “Approved,” or “Rejected” if applicable. Usually, you’ll focus on “Approved” images.
- Category Filters: If you’ve categorized your images, use these to narrow down your search.
Pro tip: If you remember some unique details about the photos, like specific keywords, colors, or themes, make good use of the search bar. This saves you from scrolling endlessly through your portfolio.
And if you have a large number of images, consider exporting your metadata or creating a spreadsheet for better tracking. But for most users, the filtering tools provided by Shutterstock should do the trick nicely.
How to Select Photos for Deletion
Once you’ve located the photos you’re considering deleting, the next step is to select them. Shutterstock’s interface makes this pretty straightforward, but it’s worth taking a moment to do it carefully so you don’t accidentally delete something you want to keep.
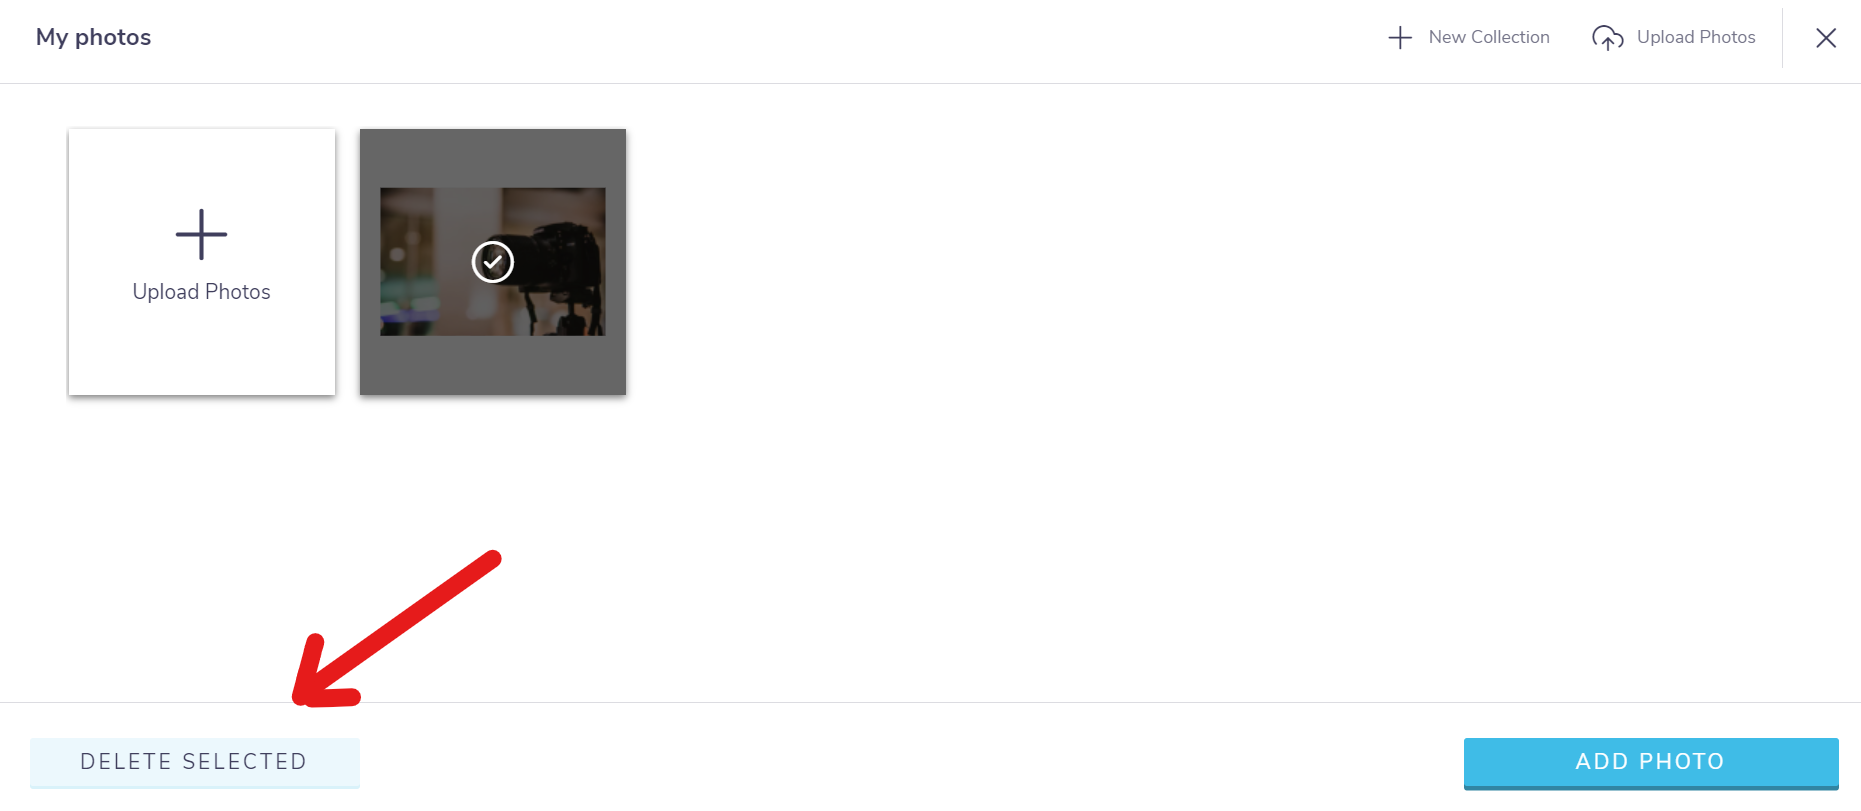
After opening your portfolio or filtered view, you’ll typically see each photo with a checkbox or selection icon somewhere on the thumbnail. Here’s what to do:
- Click on the thumbnail or checkbox: This action will select that specific photo. If you see checkboxes, click on each one for every photo you want to delete.
- Multiple selections: To select several photos at once, click on each checkbox or thumbnail. Shutterstock usually allows multiple selections, so you can delete a batch instead of one by one.
- Review your selections: Before proceeding, double-check the selected images. It’s easy to accidentally select the wrong photo, especially if they look similar.
Some helpful tips to keep in mind:
- Use the “Select All” option: If you want to delete all photos in a particular view or filter, look for a “Select All” checkbox at the top of your list. This can save time if you’re doing a bulk cleanup.
- Unselect if needed: If you accidentally select a photo you want to keep, most interfaces allow you to click again to unselect it.
- Batch your deletions: For large portfolios, consider deleting in batches—say, 20-50 images at a time—to avoid mistakes and keep track of what you’ve removed.
Remember, once you confirm the deletion, it’s usually permanent. So, take your time during this step to ensure you’re only removing what you truly want to delete. When you’re satisfied with your selections, you’re ready to move on to the next step—actually deleting those photos from your portfolio.
Steps to Delete Photos from Your Portfolio
Deleting photos from your Shutterstock portfolio might seem a bit daunting at first, but once you get the hang of it, it’s a straightforward process. Here’s a simple, step-by-step guide to help you remove those images you no longer want to showcase:
- Log into Your Shutterstock Contributor Account: Head over to the Shutterstock contributor login page and enter your credentials. Make sure you’re logged into the account associated with the portfolio you want to edit.
- Navigate to Your Portfolio: Once logged in, find the “Portfolio” tab in the main menu. Click on it to view all your uploaded images.
- Locate the Photos You Want to Delete: Browse through your portfolio or use the search/filter options to find specific images. You can view your photos in grid or list view, whichever you prefer.
- Select Photos for Deletion: Click on the thumbnail of each image you wish to delete. Many platforms allow you to select multiple images at once — look for checkboxes or selection tools to streamline the process.
- Click on the Delete Option: After selecting the photos, look for the “Delete” button or trash icon, usually found at the top or bottom of the page. Confirm that you want to delete these images when prompted.
Tip: Before deleting, double-check the selected images to avoid accidentally removing the wrong ones. Remember, once deleted, it might not be possible to recover these photos, so proceed with caution.
Confirming the Deletion and Finalizing Changes
After you’ve initiated the delete action, Shutterstock typically prompts you with a confirmation dialog. This step is crucial to ensure you really want to remove the selected images. Here’s what to do:
- Review Your Selections: Before confirming, take a moment to review the list of images marked for deletion. Make sure you’re not removing anything important unintentionally.
- Confirm the Deletion: Click on the “Yes”, “Delete”, or similar confirmation button. This action is often irreversible, so be certain before proceeding.
- Wait for the Process to Complete: Shutterstock will process your request, which might take a few seconds or a minute depending on the number of images. You might see a progress indicator or a success message once the process is finished.
Final Checks: After deletion, revisit your portfolio to verify that the images are gone. If you notice anything amiss, some platforms offer options to undo recent deletions within a certain timeframe — check if that applies.
And voilà! Your portfolio is now updated, reflecting only the images you want to showcase. Remember, keeping your portfolio current and curated helps attract the right clients and keeps your profile professional and appealing.
Tips for Efficient Portfolio Management
Managing a Shutterstock portfolio can sometimes feel overwhelming, especially if you’re uploading frequently or have a large collection. But don’t worry—there are some handy tips to help you stay organized and make photo deletion a breeze!
First, regularly review your portfolio. Set aside a little time each month to go through your images. This way, you can catch outdated, low-performing, or irrelevant photos before they pile up.
Second, consider creating categories or albums within your portfolio. For example, you might organize photos by themes like “Nature,” “Business,” or “People.” This makes it easier to locate specific images and decide which ones need to be removed.
Third, use metadata and keywords effectively. When uploading photos, add detailed keywords and descriptions. This helps you quickly filter and find images later, especially if you want to delete duplicates or similar shots.
Another tip is to keep track of your best-performing images. Shutterstock provides insights into which photos sell more. If certain images aren’t generating any views or downloads over a long period, that might be a sign to consider deleting or replacing them.
Lastly, batch delete photos when possible. Instead of removing images one by one, select multiple photos at once and delete them together. This saves time and helps you keep your portfolio streamlined.
Remember, a well-managed portfolio not only makes it easier to maintain but also improves your overall presence on Shutterstock. Keep it fresh, organized, and updated regularly!
Frequently Asked Questions About Shutterstock Photo Deletion
Thinking about deleting photos but have some questions? You’re not alone! Here are some common questions and answers to help clarify the process.
Q1: Can I delete photos from my Shutterstock portfolio at any time?
Yes, you can delete photos whenever you like, as long as they are your own uploads and not under any special restrictions. Just remember, once deleted, the images are gone from your portfolio and cannot be recovered unless you have a backup.
Q2: Will deleting photos affect my earnings or account status?
No, deleting photos does not impact your earnings directly. However, removing images that are not performing well might help you focus on uploading more appealing content. Your account status remains unaffected by deletions.
Q3: Is there a limit to how many photos I can delete at once?
While Shutterstock allows batch deletions, there might be practical limits depending on your account and browser. Usually, selecting and deleting multiple images at a time is straightforward, but avoid selecting thousands at once to prevent errors or timeouts.
Q4: How long does it take for a deleted photo to disappear from my portfolio?
Once you confirm deletion, the photo typically disappears from your portfolio immediately or within a few minutes. If you don’t see the change right away, try refreshing the page or logging out and back in.
Q5: Can I restore a photo after deleting it?
Unfortunately, Shutterstock does not offer an undo or restore option after deletion. Be sure you want to remove an image before confirming the deletion. If you might want it later, consider downloading a backup first.
Q6: What should I do if I encounter issues deleting photos?
If you experience technical problems, such as errors or slow loading, try clearing your browser cache, switching browsers, or checking your internet connection. If problems persist, contact Shutterstock support for assistance.
Hopefully, this FAQ clears up your questions about deleting photos. Remember, managing your portfolio is all about keeping your content fresh and relevant—happy editing!
Additional Resources and Support for Shutterstock Contributors
As a Shutterstock contributor, having access to reliable resources and support can make managing your portfolio much easier. Whether you’re just starting out or looking to optimize your existing collection, the following tools and platforms are invaluable:
- Shutterstock Contributor Help Center: The official help center offers comprehensive guides, FAQs, and troubleshooting articles to assist with common issues related to account management, uploading, and licensing.
- Contributor Forums: Engage with a community of fellow contributors to share tips, ask questions, and learn from others’ experiences. The forums are a great place to find peer support and advice.
- Video Tutorials: Shutterstock provides step-by-step video tutorials that walk you through various processes, including how to upload, edit, and delete photos effectively.
- Contact Support: If you encounter technical issues or need personalized assistance, you can reach out directly to Shutterstock’s support team via their contact form or email. Response times are typically prompt, ensuring your concerns are addressed quickly.
Additionally, consider exploring third-party resources such as online photography communities, social media groups dedicated to stock photography, and tutorials on platforms like YouTube. These can provide valuable insights into best practices and industry trends.
In summary, utilizing these resources can streamline your experience as a contributor, help you stay informed about platform updates, and resolve any challenges efficiently. Staying connected with the community and support channels ensures your Shutterstock portfolio remains active and profitable.