Hey there! If you’re a photographer or just love sharing your images, you’ve probably wondered how to get your photos onto Shutterstock without all the fuss. Uploading directly from email can be a game-changer — it’s quick, convenient, and saves you time. In this guide, we’ll walk through the simple steps to transfer your photos from your email inbox straight to Shutterstock’s platform. Whether you’re a seasoned contributor or just starting out, this process is designed to make your uploads smooth and hassle-free. Let’s get those photos online and ready for the world to see!
Preparing Your Photos for Upload from Email
Before you jump into uploading your photos from email, it’s important to get everything ready. First, take a moment to organize your images. Check that your photos are high quality, properly focused, and free of any distracting elements. Shutterstock has specific requirements, so making sure your images meet these guidelines will save you time in the long run.
Here’s what you should do to prepare:
- Check the resolution: Shutterstock recommends images be at least 4 megapixels (for example, 2400 x 1600 pixels). Higher resolution images are better.
- Ensure proper naming: Use descriptive and relevant filenames without special characters. For example, “Sunset_Beach_2023.jpg”.
- Verify format and size: Photos should be in JPEG format and under 50MB in size. If your images are larger, consider resizing or compressing them.
- Remove watermarks or logos: Only upload original, unmarked images, as watermarks can cause rejection.
- Review content quality: Make sure your photos are sharp, well-exposed, and free of noise or blurriness. Clear, compelling images are more likely to be accepted.
Once your photos are organized and meet Shutterstock’s specifications, you’re ready to move on to the next step: transferring them from your email to the platform. Keep your email inbox tidy and your files accessible to make the process even smoother. Now, let’s look at how to actually get those images uploaded from your email!
Downloading Photos from Your Email Account
Alright, so you’ve received some fantastic photos via email that you want to upload to Shutterstock. The first step is to get those images saved onto your computer or device so you can access them easily later. Here’s how you can do that smoothly:
Step 1: Open Your Email App or Webmail
Whether you’re using Gmail, Outlook, Yahoo Mail, or any other email provider, log in to your account. Find the email that contains the photos you want to upload. Usually, images are attached directly to the email, or sometimes they might be linked from a cloud service.
Step 2: Download the Attachments
- Click on the email to open it.
- Look for the attachments—these are often shown as small icons or preview images at the bottom or top of the email.
- Click on each attachment or the download button (often a downward arrow or “Download” label).
- Choose a folder on your computer that’s easy to remember — like “Downloads” or a dedicated folder named “Shutterstock Uploads.”
Tip: If you’re dealing with multiple photos, downloading them all at once can save you time. Many email providers allow you to select multiple attachments and download them together.
Step 3: Verify Your Downloads
After downloading, navigate to the folder where you saved the images. Double-check that the files are intact and open correctly. This helps avoid any surprises when you upload later.
Additional Tips:
- If your images are in a cloud link rather than attachments, download them first to your device.
- Make sure your images are in an acceptable format (JPEG, PNG, etc.) as per Shutterstock’s requirements.
- For best quality, avoid renaming files with special characters or overly long names.
Once your photos are safely stored on your device, you’re all set to move on to the next step: logging into your Shutterstock Contributor account. But before that, take a moment to organize your images — maybe create a dedicated folder for your Shutterstock uploads to keep everything tidy.
Logging into Your Shutterstock Contributor Account
Now that your photos are downloaded and ready, it’s time to access your Shutterstock contributor dashboard. This is where all the magic happens — uploading, managing, and tracking your photos. Here’s a simple guide to get you logged in without any hassle:
Step 1: Visit Shutterstock Contributor Website
Open your preferred web browser and go to https://submit.shutterstock.com. This is the main portal for contributors.
Step 2: Click on the Login Button
On the top right corner, you’ll see a “Log in” button. Click it to proceed to the login page.
Step 3: Enter Your Credentials
- Type in your registered email address or username.
- Enter your password carefully. If you’ve forgotten your password, don’t worry — just click on the “Forgot password?” link to reset it.
Step 4: Complete Any Security Checks
Depending on your account settings, you might be asked for additional verification, such as a CAPTCHA or two-factor authentication. Follow the prompts to verify your identity.
Step 5: Access Your Dashboard
Once logged in, you’ll land on your contributor dashboard. Here, you can start uploading your photos, view your stats, and manage your portfolio.
Pro Tip: To make logging in even smoother next time, consider saving your login information securely or enabling “Remember Me” if available. Just be cautious with shared or public computers.
With your account open and your photos ready, you’re now prepared to upload your images confidently. Remember, a well-organized workflow from downloading to uploading can save you time and make the entire process more enjoyable. Happy uploading!
Uploading Photos to Shutterstock Using the Upload Tool
Alright, now that you’ve prepared your photos and are ready to upload, let’s walk through how to do it using Shutterstock’s upload tool. It’s pretty straightforward, but a few tips can make the process smoother and ensure your images are uploaded correctly.
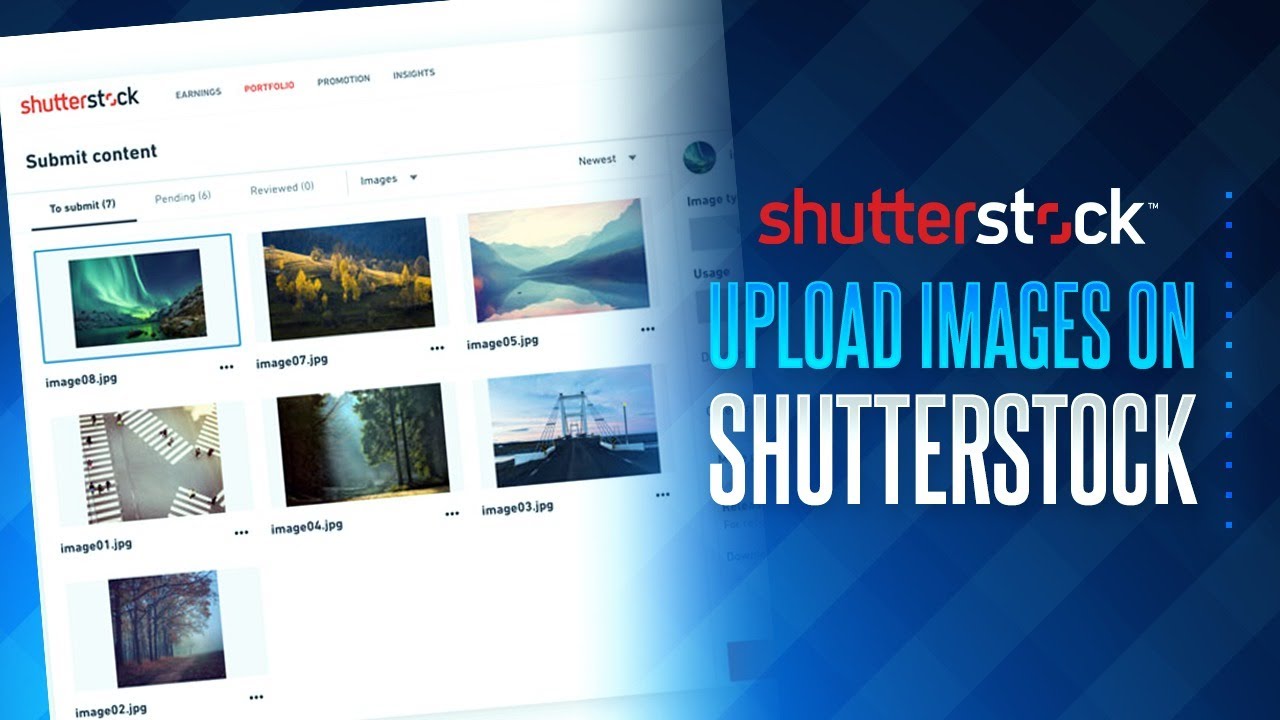
First, log into your Contributor Account on Shutterstock. Once you’re in, look for the “Upload” button—usually located in the top menu or dashboard area. Clicking this will take you to the upload interface.
Shutterstock offers multiple ways to upload your images:
- Bulk Upload: Upload multiple photos at once. Ideal if you have a batch ready.
- Single File Upload: Upload one photo at a time, good for quick checks or small batches.
- Drag and Drop: Simply drag your files into the upload window for quick uploading.
Once you’ve selected your preferred method, navigate to the folder containing your photos on your computer. Select the images you want to upload, and they’ll start transferring to Shutterstock’s server. Keep in mind: images should meet Shutterstock’s resolution and quality requirements—a minimum of 4MP resolution is typically recommended.
During upload, you can see the progress and even upload metadata files if you have them prepared. After the upload completes, Shutterstock will process your images, which might take a few moments. Once processed, your images will appear in your contributor dashboard, ready for the next steps.
Pro tip: Always double-check your uploads for any errors or issues. Shutterstock might flag images if they don’t meet the standards, so reviewing them early helps avoid delays.
Adding Metadata and Tags to Your Photos
This is a crucial step! Proper metadata and tags help your photos get discovered by buyers. Think of it like giving your images a detailed description so people can find them easily in search results.
After your images are uploaded and processed, you’ll see an interface to add details. Here’s what you should focus on:
- Title: Make it clear and descriptive. Include relevant keywords but avoid keyword stuffing.
- Description: Write a brief, engaging summary of the photo. Mention what’s happening, the setting, or any important details.
- Keywords/Tags: Add relevant keywords that describe the content, mood, colors, and context of the image. Think about what a buyer might search for. Shutterstock allows you to add multiple tags—use as many relevant ones as possible without overdoing it.
- Categories: Assign your images to appropriate categories. This helps in organizing your portfolio and improves discoverability.
Tips for effective metadata:
- Use specific keywords rather than vague terms.
- Include location details if relevant (e.g., “Paris,” “Downtown Seattle”).
- Avoid using overly generic tags like “image” or “photo”—be more descriptive.
- Check for spelling errors to maintain professionalism.
Many contributors find it helpful to prepare a list of keywords and descriptions in advance, especially if uploading multiple images. Some tools or spreadsheets can streamline this process, saving you time and ensuring consistency.
Once you’ve filled out the metadata, review everything to make sure it accurately reflects your image. Correct metadata not only boosts your chances of making a sale but also ensures your work is properly categorized, making it easier for buyers to find what they’re looking for.
Submitting Your Photos for Review and Approval
Once you’ve uploaded your photos from email to Shutterstock, the next step is to submit them for review. This is an exciting phase because it’s when your images get the chance to be seen by a global audience and, hopefully, start earning you some income. But before hitting that submit button, it’s important to ensure everything is in tip-top shape.
First, double-check that your photos meet Shutterstock’s content guidelines. They look for high-quality, original images that are properly composed and free of distractions. Make sure your photos are in the right format (usually JPEG), have a good resolution (at least 4 MP), and are properly tagged with relevant keywords.
When you log into your Shutterstock Contributor account, you’ll find your uploaded images in the “Uploads” section. Each image will have a status indicator, like “Pending Review.” To submit for approval:
- Select the images you want to submit.
- Review the metadata—titles, descriptions, and keywords—to ensure they’re accurate and descriptive.
- Click on the “Submit for Review” button.
After submission, your images will go into the review queue. Shutterstock’s reviewers will evaluate your photos based on quality, originality, and adherence to their guidelines. This process can take anywhere from a few days to a couple of weeks, so don’t worry if you don’t hear back immediately.
While waiting, it’s a good idea to keep uploading new images. Consistency can help improve your chances of success. And if your images are rejected, Shutterstock usually provides feedback on what needs improvement. Use this as a learning opportunity to refine your future uploads.
Tips for Successful Uploads from Email to Shutterstock
Uploading photos from email to Shutterstock can be straightforward, but a few tips can make the process smoother and boost your chances of getting approved.
1. Use a Clear and Descriptive Email Subject Line: When sending your photos, include your Shutterstock contributor ID or username in the email subject. For example, “Uploading Photos – ContributorID12345.” This helps keep your uploads organized and ensures they’re linked correctly to your account.
2. Attach High-Quality JPEG Files: Make sure your photos are in JPEG format with a minimum of 4 MP resolution. Compress them so they’re not too large to email, but retain quality. Avoid watermarks or logos on your images.
3. Include Accurate Metadata in the Email Body: In the email body, provide clear titles, detailed descriptions, and relevant keywords for each photo. Think about what a buyer might search for. The more relevant keywords you include, the easier it is for your images to be discovered.
| Best Practices | Why It Matters |
|---|---|
| Use descriptive titles and tags | Helps buyers find your images easily |
| Send only the necessary files and info | Prevents confusion and errors |
| Check your email for errors before sending | Avoid mistyped keywords or incorrect info |
4. Keep a Consistent Workflow: Establish a routine for naming files, writing descriptions, and uploading. This consistency makes managing your portfolio easier and helps maintain quality standards.
Remember, patience is key. Email uploads are a convenient way to get your photos onto Shutterstock, but it’s important to follow these tips to ensure your images are professional, discoverable, and ready for review. Happy uploading!
Troubleshooting Common Upload Issues
Uploading photos to Shutterstock is generally a straightforward process, but sometimes things don’t go as smoothly as we hope. If you’re running into trouble, don’t worry—many issues are easily fixable. Let’s go over some of the most common problems and how you can troubleshoot them.
Upload Fails or Errors
If your upload isn’t completing or you see an error message, first check your internet connection. A slow or unstable connection can interrupt uploads. Try restarting your router or switching to a wired connection if possible.
Next, ensure your files meet Shutterstock’s specifications: JPEG format, sRGB color profile, and a minimum of 4 MP resolution. Files that don’t meet these standards might be rejected or fail to upload.
If the file is too large, consider resizing or compressing it with photo editing software. Keep in mind, Shutterstock recommends files under 50 MB for smoother uploads.
File Format or Compatibility Issues
If you see a message about incompatible file formats, double-check that your images are saved as JPEGs. Sometimes, images saved in other formats like PNG or TIFF can cause issues. Simply convert them using an image editor or online converter.
Login or Account Problems
If you’re unable to upload because of login issues, reset your password or clear your browser cache. Sometimes, signing out and back in can resolve session glitches.
Ensure your account is in good standing—if there are any restrictions or pending issues, Shutterstock might prevent uploads until they’re resolved.
Browser or App Troubleshooting
- Update your browser to the latest version.
- Clear cache and cookies to prevent loading issues.
- Try using a different browser or the Shutterstock app if you’re experiencing persistent problems.
- Disable any ad-blockers or extensions that might interfere with uploads.
Support and Help Resources
If you’ve tried all these tips and still can’t upload, don’t hesitate to reach out to Shutterstock’s support team. They can assist with account-specific issues or technical glitches you might not be able to resolve on your own. You can contact them through the help center or live chat options on their website.
Conclusion and Best Practices for Managing Your Shutterstock Portfolio
Congratulations! You now have a clear roadmap for uploading your photos from email to Shutterstock. But your journey doesn’t end here. Managing your portfolio effectively is key to building a successful presence and maximizing your earnings. Let’s wrap up with some best practices to keep your portfolio organized, high-quality, and ready to impress clients.
Consistent Quality and Style
Always aim for high-quality images that meet Shutterstock’s standards. Use good lighting, sharp focus, and proper composition. Developing a consistent style or niche can help you attract repeat buyers and stand out in the marketplace.
Organize Your Files
Keep your images systematically organized on your device before uploading. Create folders by themes, projects, or upload date. This makes it easier to track what you’ve uploaded and avoid duplicates.
Also, maintain a record of your uploads—such as titles, keywords, and descriptions—so you can optimize your metadata for better visibility.
Optimize Your Metadata
Use descriptive, relevant keywords and clear titles. Think about what potential customers might search for. The better your metadata, the more likely your images will be found and purchased.
Regularly Update Your Portfolio
Keep adding fresh content to stay relevant. Review and update older images if needed—retouch, re-edit, or re-upload improved versions.
Set a schedule for regular uploads to keep your portfolio active and engaging.
Monitor Performance and Respond to Trends
Track which images perform best and analyze why. Stay aware of current trends and popular themes in stock photography to tailor your submissions accordingly.
Stay Informed and Compliant
Keep up with Shutterstock’s guidelines and policies. Avoid copyright issues by only uploading images you own or have rights to, and always provide accurate metadata.
By following these best practices, you’ll not only streamline your workflow but also increase your chances of success on Shutterstock. Happy uploading and best of luck growing your portfolio!