If you’ve ever downloaded an image from Shutterstock and found that it has unwanted text or watermarks, you’re not alone. Sometimes, the text can distract from your project or even make the image less usable. Luckily, removing text from Shutterstock images is possible, whether you’re looking to clean up the image for personal use or to create a more polished design. In this guide, we’ll walk you through why you might want to remove text, the challenges involved, and some easy methods to get the job done. Don’t worry — with the right tools and a bit of patience, you’ll be able to transform your images effortlessly!
Tools and Software Options for Text Removal
When it comes to removing text from Shutterstock images, there are several tools and software options available, each suited to different skill levels and needs. Here’s a quick rundown of some popular choices:
- Adobe Photoshop: The professional’s choice, Photoshop offers powerful features like the Content-Aware Fill and Clone Stamp Tool that make removing text seamless. It’s perfect if you’re familiar with photo editing or want precise control.
- GIMP (GNU Image Manipulation Program): A free, open-source alternative to Photoshop. GIMP provides similar tools such as the Clone Tool and Healing Tool, making it a great budget-friendly option.
- Online editors (e.g., Fotor, Pixlr, Photopea): These web-based tools are convenient for quick edits. They typically include basic clone or healing tools that can help you remove text without installing any software.
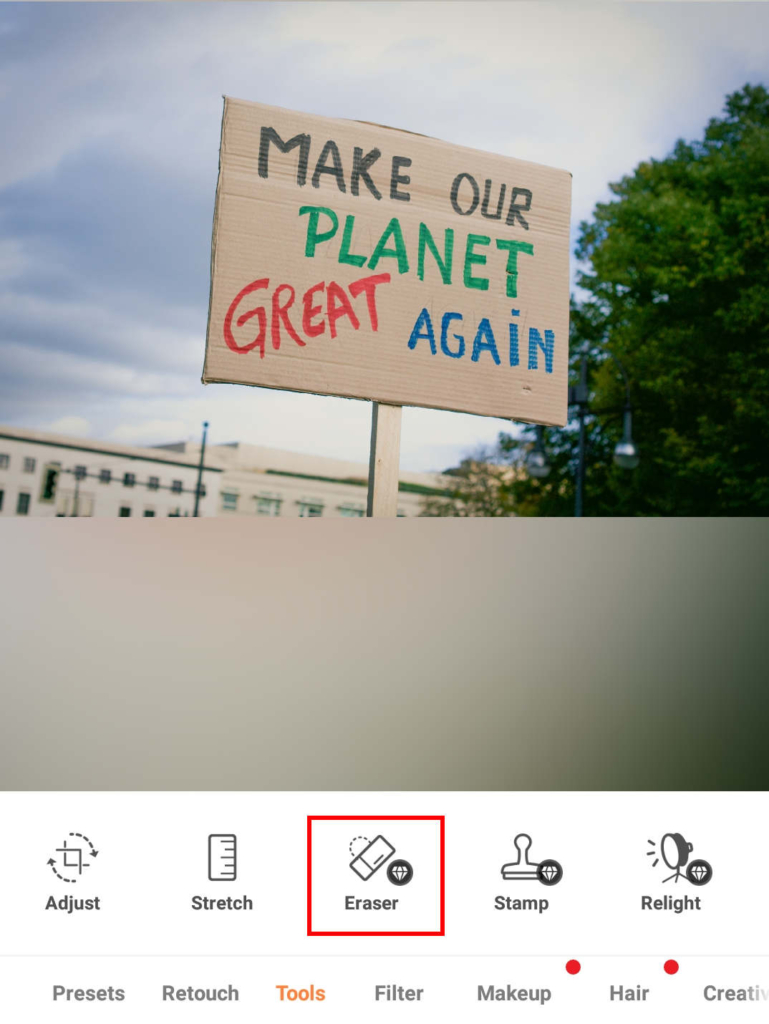
- Mobile Apps (e.g., TouchRetouch, Snapseed): If you prefer editing on your smartphone, apps like TouchRetouch are specifically designed for removing unwanted objects and text easily.
Choosing the right tool depends on your comfort level and the complexity of the image. For simple edits, online tools or mobile apps might suffice. However, for more detailed or professional work, desktop software like Photoshop or GIMP will give you more control and better results. No matter which option you pick, remember that patience and practice are key to achieving a clean, natural look after removing the text.
Step-by-Step Instructions for Removing Text Using Photoshop
If you’re familiar with Adobe Photoshop, removing text from Shutterstock images can be pretty straightforward. It’s a powerful tool that gives you precise control, especially if you want a clean, professional result. Let’s walk through the process step-by-step:
Step 1: Open Your Image
Start by opening Photoshop and loading your image. Simply go to File > Open and select your Shutterstock image from your computer.
Step 2: Duplicate the Layer
Always work on a copy to preserve the original. Right-click on the Background layer in the Layers panel and select Duplicate Layer. You can also press Ctrl + J (Windows) or Cmd + J (Mac).
Step 3: Select the Text Area
Use the Lasso Tool or Polygonal Lasso Tool from the toolbar to carefully trace around the text you want to remove. Take your time to get as close to the text as possible.
Step 4: Use the Content-Aware Fill
Once selected, go to Edit > Content-Aware Fill. Photoshop will analyze the surrounding pixels and fill the selected area seamlessly. You can preview the result in the workspace and adjust the sampling area if needed. When satisfied, click OK.
Step 5: Refine the Result
If the fill isn’t perfect, you can use the Clone Stamp Tool or Healing Brush Tool to fine-tune details. Zoom in to make precise adjustments, blending the area naturally with the rest of the image.
Step 6: Deselect and Save
Once you’re happy with the removal, go to Select > Deselect or press Ctrl + D. Save your edited image by choosing File > Save As to avoid overwriting the original.
And there you go! With these steps, you can effectively remove text from Shutterstock images while maintaining a professional look. Practice makes perfect, so don’t hesitate to experiment with different tools and techniques within Photoshop.
Alternative Methods Using Online Editing Tools
If you don’t have access to Photoshop or prefer a quicker, more straightforward approach, online editing tools can be your best friends. They’re usually user-friendly, require no installation, and work right in your browser. Let’s explore some popular options and how to use them for removing text:
Popular Online Tools for Image Text Removal
- Pixlr E – A free, powerful online photo editor with advanced features.
- Fotor – Offers simple editing tools and object removal features.
- Photopea – A web-based Photoshop alternative that supports layers and content-aware editing.
Using Pixlr E
- Visit Pixlr E and open your image.
- Select the Healing Brush Tool or Clone Stamp Tool from the toolbar.
- Adjust the brush size and carefully paint over the text. Pixlr will sample nearby pixels to blend the area.
- Use zoom and the brush tools to refine the area until the text is removed seamlessly.
- Save your work by clicking File > Save and choose your preferred format.
Using Photopea
- Go to Photopea and open your Shutterstock image.
- Use the Spot Healing Brush Tool from the toolbar (looks like a band-aid).
- Click and drag over the text. Photopea will automatically sample pixels to cover it up.
- For better control, you can also use the Clone Stamp Tool or the Healing Brush.
- Once done, go to File > Export As and choose your preferred format to download the edited image.
Tips for Better Results
- Zoom in for detailed work to avoid blurring or mismatched areas.
- Work on a duplicate layer if the tool allows, so you can revert if needed.
- Take your time—quick edits may not look natural.
Online tools are a fantastic option when you need a quick fix or don’t want to deal with complex software. They’re accessible, easy to learn, and often free. With a little patience, you can achieve results that look just as good as those from professional software!
Tips for Ensuring High-Quality Results
When it comes to removing text from Shutterstock images, maintaining the image’s quality is key. After all, you want your final product to look professional and polished, whether it’s for a presentation, a website, or social media. Here are some practical tips to help you achieve high-quality results:
Use the Right Tools
Start with reliable editing software. Popular options like Adobe Photoshop, GIMP, or online tools like Canva and Pixlr offer powerful features for removing text seamlessly. These tools provide brushes, clone stamps, and content-aware fill options that make the process smoother and more natural-looking.
Zoom In and Work in Details
Never underestimate the power of zooming in. Working closely on small sections allows for more precise edits. This helps in blending the areas around the removed text with the rest of the image, avoiding awkward patches or noticeable edits.
Use Content-Aware Fill or Clone Stamp
Modern editing tools often have content-aware fill features that automatically analyze the surrounding pixels and fill in the removed text area convincingly. When that’s not perfect, the clone stamp tool can help you manually copy pixels from nearby areas to seamlessly hide the text.
Adjust Color and Texture
Sometimes, after removing text, the area might look slightly different in color or texture. Use adjustment layers for brightness, contrast, or color balance to match the surrounding area. Small tweaks can make a huge difference in making your edits look natural.
Save in the Right Format
Always save your final image in a high-resolution format like PNG or TIFF to preserve quality. Avoid compressing the image too much, as that can introduce artifacts or reduce clarity, especially if you’re planning to print or display it prominently.
Practice and Patience
High-quality editing takes practice. Don’t rush through the process—take your time to refine your work. Sometimes, stepping back and reviewing your edits after a break helps you spot imperfections that need fixing.
Legal Considerations When Editing Shutterstock Images
Before diving into editing Shutterstock images, it’s crucial to understand the legal landscape. Even though Shutterstock provides images under specific licenses, modifying those images can have legal implications if you’re not careful. Here’s what you need to keep in mind:
Check the License Type
- Standard License: Allows for most uses like websites, social media, and presentations. However, there are restrictions on redistribution and large print runs.
- Enhanced License: Offers broader rights, including unlimited print runs and use in products for resale.
Always verify which license applies to the image you’re using. Some images may have licensing restrictions that limit how much you can modify or redistribute them.
Respect Copyright and Moral Rights
Even if you modify an image, copyright laws still apply. You don’t own the original image unless you purchased exclusive rights. If the image features identifiable people, trademarks, or protected artwork, you might need additional permissions or releases.
Avoid Trademarks and Proprietary Content
Shutterstock images sometimes include logos, trademarks, or branded products. Removing or editing such elements without permission could infringe on trademark rights. Always review the image carefully before editing, especially if you plan to use it commercially.
Provide Proper Attribution When Required
In some cases, Shutterstock or the image creator might require attribution, especially if the image is used under certain licenses. Check the licensing terms to ensure compliance.
Use Edited Images Responsibly
Remember, ethical considerations matter. Avoid creating misleading or deceptive images, especially when editing images of people or products. If your edits significantly alter the original context, it could lead to legal or ethical issues.
Consult Legal Advice if Unsure
If you’re ever in doubt about the legality of editing and using Shutterstock images, it’s a good idea to consult with a legal professional. Better safe than sorry when it comes to intellectual property rights!
Conclusion and Best Practices for Text Removal from Shutterstock Images
Removing text from Shutterstock images can significantly enhance their versatility for various design projects. However, it’s essential to approach this process carefully to maintain image quality and integrity. Always start with high-resolution images to ensure the best results, and choose the most suitable tools based on the complexity of the text and background. For simple backgrounds, basic clone or healing tools can be effective, while complex images might require advanced techniques like content-aware fill or professional editing software.
Best practices include:
- Using a high-resolution source image to preserve detail after editing.
- Creating a backup copy before making any changes.
- Employing multiple editing techniques such as cloning, healing, or content-aware fill for seamless results.
- Paying close attention to shadows, textures, and color consistency to ensure the edited area blends naturally.
- Always reviewing the final image on different devices to check for any inconsistencies or artifacts.
While manual editing offers precision, consider leveraging AI-powered tools for faster results, especially with complex backgrounds. Remember, patience and attention to detail are key to achieving professional-looking edits. By following these best practices, you can effectively remove text from Shutterstock images, making them more adaptable for your creative needs.