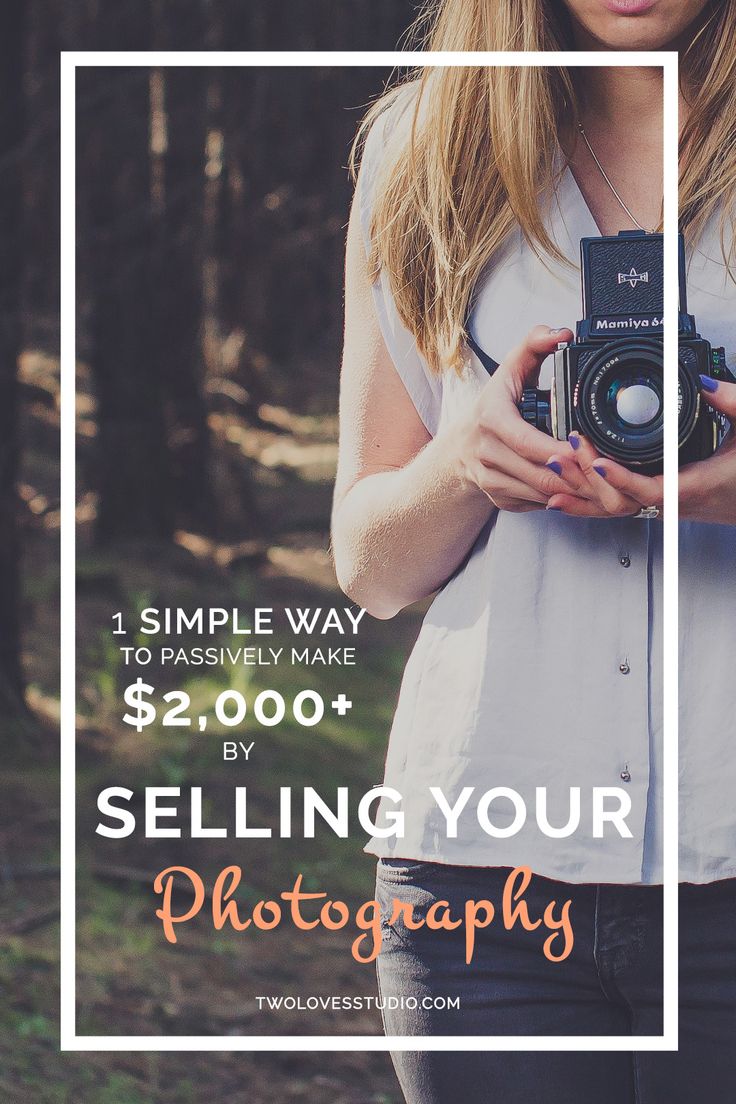
Thinking about turning your photography hobby into a steady stream of passive income? Shutterstock is one of the biggest platforms out there where you can sell your photos to a global audience. It’s a win-win: you get to share your creativity and earn money, all without needing to run your own website or marketing campaign. Whether you’re a seasoned pro or just starting out, Shutterstock makes it easy to upload your images and reach millions of potential buyers. Ready to dive into the world of stock photography? Let’s explore how you can get started and make the most of this opportunity!
Preparing Your Photos for Submission
Before you hit that upload button, it’s super important to prepare your photos properly. High-quality images not only get approved faster but also sell better. Here’s what you should keep in mind:
- Resolution and Size: Make sure your photos are at least 4 megapixels (ideally higher). Shutterstock prefers images that are sharp and detailed, so aim for a resolution of 300 dpi if possible.
- File Format: Save your images in JPEG format with sRGB color profile. JPEG is the standard for stock photos, and sRGB ensures colors look consistent across devices.
- Image Quality: Remove any noise, blurriness, or distractions. Use editing software like Adobe Lightroom or Photoshop to enhance brightness, contrast, and sharpness. Cluttered or poorly lit images tend to get rejected.
- Composition and Focus: Make sure your subject is in focus, well-framed, and visually appealing. Avoid overly busy backgrounds or elements that distract from the main subject.
- Metadata and Keywords: This is vital! Think about what your potential buyers might search for. Use descriptive, relevant keywords and accurate titles. Avoid keyword stuffing—be honest and specific.
Additionally, review Shutterstock’s content guidelines to ensure your photos meet their standards regarding content, model releases, and intellectual property. Preparing your images thoughtfully not only speeds up the approval process but also boosts your chances of making sales. So, take your time, do some editing, and craft a portfolio that truly showcases your best work!
Creating an Effective Shutterstock Contributor Account
Getting started on Shutterstock is an exciting step toward turning your passion for photography into a steady stream of passive income. The first thing you’ll want to do is set up your contributor account, and making it as effective as possible from the start can really set you up for success.
When creating your account, head over to the Shutterstock Contributor website and sign up. You’ll need to provide some basic information like your name, email, and a secure password. But here’s where many new contributors miss out — take the time to craft a compelling profile. Think of it as your digital storefront. Your profile should include:
- A professional profile picture — this adds credibility and makes you more approachable.
- A well-written bio — share a bit about your photography background, what kinds of images you specialize in, and what motivates you. Keep it friendly and authentic!
- Contact information — make it easy for Shutterstock or clients to reach you if needed.
Next, pay attention to the account settings. Choose your payment method carefully; Shutterstock offers options like PayPal, Payoneer, or direct bank transfer. Ensure your tax and payment info are correctly filled out to avoid delays in earning your income.
Another tip is to review Shutterstock’s contributor guidelines thoroughly. They have specific rules about image quality, content restrictions, and submission standards. Familiarizing yourself with these early on can save you time and prevent rejections later.
Finally, consider joining Shutterstock forums or communities. These are great places to learn from experienced contributors, ask questions, and stay updated on platform changes. Remember, your account isn’t just a profile — it’s your gateway to building a reputation and passive income stream, so invest some time in setting it up thoughtfully.
Uploading and Optimizing Your Photos for Better Visibility
Now that your account is set up, it’s time to start uploading your best images. But simply uploading isn’t enough if you want your photos to stand out and generate sales. Optimization is key!
First, focus on the quality of your images. Shutterstock has high standards, so make sure your photos are sharp, well-lit, and free of noise or distractions. Use a good camera and proper editing software to enhance your images before uploading.
When it comes to uploading, here’s a step-by-step approach:
- Select your best work — quality over quantity wins here. Pick images that are unique, technically sound, and appealing to a broad audience.
- Use descriptive, keyword-rich titles — think about what someone would search for. Instead of “Photo1,” use “Sunset over Mountain Lake with Reflection.”
- Write detailed descriptions — include relevant details about the scene, mood, colors, and any notable elements. This helps your image show up in searches.
- Select appropriate categories — categorize your images accurately so they reach the right audience.
- Add relevant keywords — this is arguably the most important part. Use a mix of broad and specific keywords. For example, for a cityscape photo, include keywords like “urban,” “night city,” “lights,” “skyscrapers,” and specific locations if applicable.
To maximize visibility, consider the following optimization tips:
- Use all available keywords — Shutterstock allows up to 50. Be thorough but relevant.
- Stay consistent with your style — building a recognizable portfolio can attract repeat buyers.
- Upload regularly — active contributors tend to gain more visibility in search results over time.
- Monitor your stats — see which images perform well and refine your future uploads accordingly.
Remember, the goal is to make it as easy as possible for potential buyers to find your images. Well-optimized photos not only increase your chances of making sales but also help you build a positive reputation on the platform. So, take your time with each upload, and keep learning what works best for your niche and style.
Understanding Shutterstock’s Licensing and Payment Structures
If you’re thinking about selling your photos on Shutterstock, it’s essential to get a good grasp of how their licensing and payment systems work. After all, understanding these details can help you maximize your earnings and avoid surprises down the line.
Shutterstock offers two main types of licenses for buyers:
- Standard License: Suitable for most uses like websites, presentations, and social media. It typically allows for up to 500,000 views or copies.
- Enhanced License: For larger-scale uses such as merchandise, print runs exceeding 500,000, or products for resale. It’s more expensive but offers broader rights.
As a contributor, you’ll earn a percentage of each sale based on your contributor level and the type of license purchased. Shutterstock uses a tiered royalty system, which means:
| Contributor Level | Percentage of Sale |
|---|---|
| Standard | 15-30% |
| Elite | 30-40% |
Your level is determined by your lifetime earnings and the number of downloads. The more you sell, the higher your potential earnings per download!
Payments are typically made monthly once you reach a minimum threshold (usually $35). Shutterstock offers various payout options like PayPal, Payoneer, or bank transfer, giving you flexibility in how you receive your earnings.
One thing to keep in mind is that Shutterstock’s licensing terms are designed to protect both the buyer and the seller. As a contributor, you retain copyright of your images, but granting a license gives the buyer specific rights to use your photo. Always read the licensing agreement to understand what rights you’re granting and the restrictions involved.
To sum up, knowing how licensing works and how you get paid can help you strategize which images to upload and how to price them. It’s all about understanding the system so you can make informed decisions and grow your passive income over time.
Tips for Increasing Your Photo Sales and Income
Now that you’ve got the basics down, let’s talk about how to actually boost your sales on Shutterstock. The good news is, there are plenty of practical strategies you can implement to get more eyes on your photos—and more sales to your account.
1. Upload High-Quality, Relevant Photos
Quality is king. Make sure every photo you upload is sharp, well-composed, and properly lit. Avoid blurry or poorly edited images. Also, focus on relevance—think about trending topics, seasonal themes, and popular niches. The more your photos align with what buyers are searching for, the better your chances of making a sale.
2. Use Descriptive, Keyword-Rich Titles and Tags
Keywords are your best friends here. Use accurate, descriptive tags that match your photo content. Think about what someone would search for to find your image. Avoid spammy or irrelevant keywords—be honest and precise. This helps your images show up in search results and increases visibility.
3. Stay Consistent and Upload Regularly
Consistency is key. The more quality images you upload, the higher your chances of making sales. Set a manageable goal—say, 10 photos a week—and stick to it. Over time, your portfolio will grow, and so will your passive income.
4. Focus on Trending and Evergreen Topics
Pay attention to current trends—such as remote work, sustainability, or health—and create images that fit those themes. Also, include evergreen topics like business, technology, and nature that always have demand. Combining trending and timeless content broadens your reach.
5. Promote Your Portfolio
Share your Shutterstock portfolio on social media, your website, or photography forums. Building an external audience can lead to more views and sales. Engage with communities, participate in challenges, and showcase your best work.
6. Optimize Your Image Files
Use descriptive filenames and fill out all metadata fields accurately. This helps Shutterstock’s search algorithm find your images easily. Also, resize your images to optimal dimensions recommended by Shutterstock for faster uploads and better quality display.
7. Keep Up with Shutterstock’s Guidelines
Regularly review Shutterstock’s contributor guidelines to ensure your images meet their standards. Avoid rejections by adhering to their technical and content requirements. This saves time and keeps your portfolio active.
Remember, patience and persistence are vital. Building a steady stream of passive income from photo sales takes time, but with dedication and smart strategies, you’ll see your earnings grow. Keep learning, experimenting, and refining your approach—your photography journey on Shutterstock can turn into a rewarding source of income!
Common Mistakes to Avoid When Selling Photos on Shutterstock
Getting started with selling your photos on Shutterstock can be exciting, but it’s easy to make some common mistakes along the way. Knowing what to watch out for can save you time, frustration, and even prevent your images from getting rejected. Let’s go over some of the most typical pitfalls so you can steer clear of them and set yourself up for success.
Not Reading the Submission Guidelines Carefully
Shutterstock has specific requirements for image quality, copyright, and metadata. Skipping over these details can lead to rejected submissions or, worse, your account being flagged. Always review their contributor guidelines before uploading. Make sure your photos meet the technical specs — like resolution, file format, and content restrictions.
Ignoring Keyword Optimization
Keywords are your best friends when it comes to discoverability. A common mistake is either overstuffing keywords or not adding enough relevant ones. Think about what a buyer might search for and use descriptive, accurate tags. Use all available keyword slots and include both broad and niche terms to maximize visibility.
Uploading Low-Quality or Over-Edited Photos
Quality matters on Shutterstock. Avoid uploading photos that are blurry, poorly lit, or overly edited with filters. Your images should look professional and authentic. Remember, buyers want high-resolution, clear images that serve their needs.
Failing to Diversify Your Portfolio
Relying on just a few types of images might limit your earning potential. Instead, aim to diversify your portfolio across different themes, styles, and subjects. This broad approach can attract a wider range of buyers and increase your chances of sales.
Not Staying Consistent with Uploads
Consistency is key! Uploading new images regularly keeps your portfolio fresh and signals activity to Shutterstock’s algorithms. Set a manageable schedule — whether it’s weekly or bi-weekly — and stick to it. Over time, this consistency can lead to more visibility and sales.
Conclusion and Next Steps for Successful Shutterstock Selling
Congratulations! You’re now equipped with the knowledge to start selling your photos on Shutterstock confidently. Remember, success doesn’t happen overnight. It’s a combination of quality work, strategic keywording, and persistence. Keep refining your skills, stay updated on Shutterstock’s guidelines, and don’t be discouraged by initial rejections — they’re just part of the learning process.
Here’s what you can do next to ramp up your Shutterstock journey:
- Research trending topics and styles to align your portfolio with current market demand.
- Engage with the Shutterstock community or forums to learn tips and get feedback.
- Analyze your sales data regularly to identify what types of images perform best.
- Experiment with different niches to find your unique voice and style.
Most importantly, keep creating and uploading with passion. Every photo you add is a step toward passive income and building your photography brand. Happy shooting, and here’s to your success on Shutterstock!