Are you tired of your T-shirt designs looking plain or cluttered? Removing backgrounds from Shutterstock images can be a game-changer, helping your designs stand out and look professional. Whether you’re creating custom shirts for a client, launching an online store, or just experimenting with design ideas, knowing how to effectively remove backgrounds is essential. Luckily, there are many tools and techniques available to make this process simple and efficient. In this post, we’ll explore some of the best methods to cleanly remove backgrounds from Shutterstock T-shirt images, giving your projects that polished, eye-catching look they deserve.
Why Removing Backgrounds Enhances Your T-Shirt Design Projects
Think about the last time you saw a really eye-catching T-shirt. Chances are, the design was clean, focused, and free of distracting elements—thanks in part to a well-placed graphic or image with a transparent background. Removing backgrounds from Shutterstock images offers several benefits that can truly elevate your T-shirt designs:
- Creates a Professional Look: Transparent backgrounds help your designs look sleek and polished, making them more appealing to customers or clients.
- Focuses Attention on the Main Element: Without a busy or mismatched background, the main graphic or text becomes the star of the show, drawing viewers’ eyes exactly where you want them.
- Allows for Seamless Integration: Transparent images blend effortlessly onto any fabric color or pattern, giving you flexibility in your design process.
- Reduces Clutter and Enhances Clarity: Background removal removes unnecessary distractions, making your message or artwork clearer and more impactful.
Plus, when you remove backgrounds effectively, you can easily experiment with different color schemes, overlay multiple images, or add custom elements without worrying about mismatched backgrounds clashing. It’s all about creating a cohesive and eye-catching design that captures attention and boosts sales or brand identity. Whether you’re designing for a niche market or a broad audience, mastering background removal is a key step in making your T-shirt artwork stand out in a crowded marketplace.
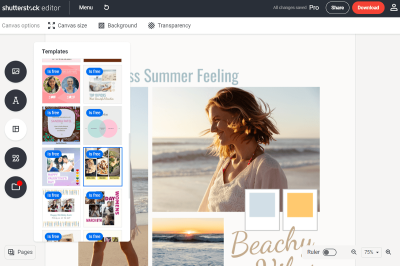
Tools and Software for Removing Backgrounds from Shutterstock Images
When it comes to removing backgrounds from Shutterstock T-shirt images, the good news is that there are plenty of tools and software options available—whether you’re a beginner or a seasoned designer. Choosing the right tool depends on your comfort level, the complexity of the image, and how precise you want the final result to be.
Here’s a quick rundown of some popular tools you might consider:
- Adobe Photoshop: The industry standard for image editing. It offers advanced tools like the Magic Wand, Quick Selection, and the Remove Background feature in newer versions. Perfect if you need detailed control.
- Canva: A user-friendly, online graphic design platform with a built-in background remover. Great for quick edits and non-technical users.
- Remove.bg: An AI-powered online tool that automatically detects and removes backgrounds in seconds. Ideal for bulk processing and fast results.
- GIMP: A free, open-source alternative to Photoshop. It has powerful features but might require a bit of a learning curve.
- Fotor: An online editor with a background remover feature. Offers a simple and intuitive interface for quick edits.
Each of these tools has its strengths. For instance, Photoshop gives you the most control, especially for complex images, while Remove.bg and Canva are perfect for quick, hassle-free results. Think about the complexity of your T-shirt images and your editing experience when picking the right software.
Step-by-Step Guide to Removing Backgrounds Using Popular Tools
Let’s walk through how to remove backgrounds from Shutterstock T-shirt images using some of the most popular options. Don’t worry—it’s easier than you think! I’ll cover the basic steps for Photoshop, Canva, and Remove.bg so you can pick what works best for you.
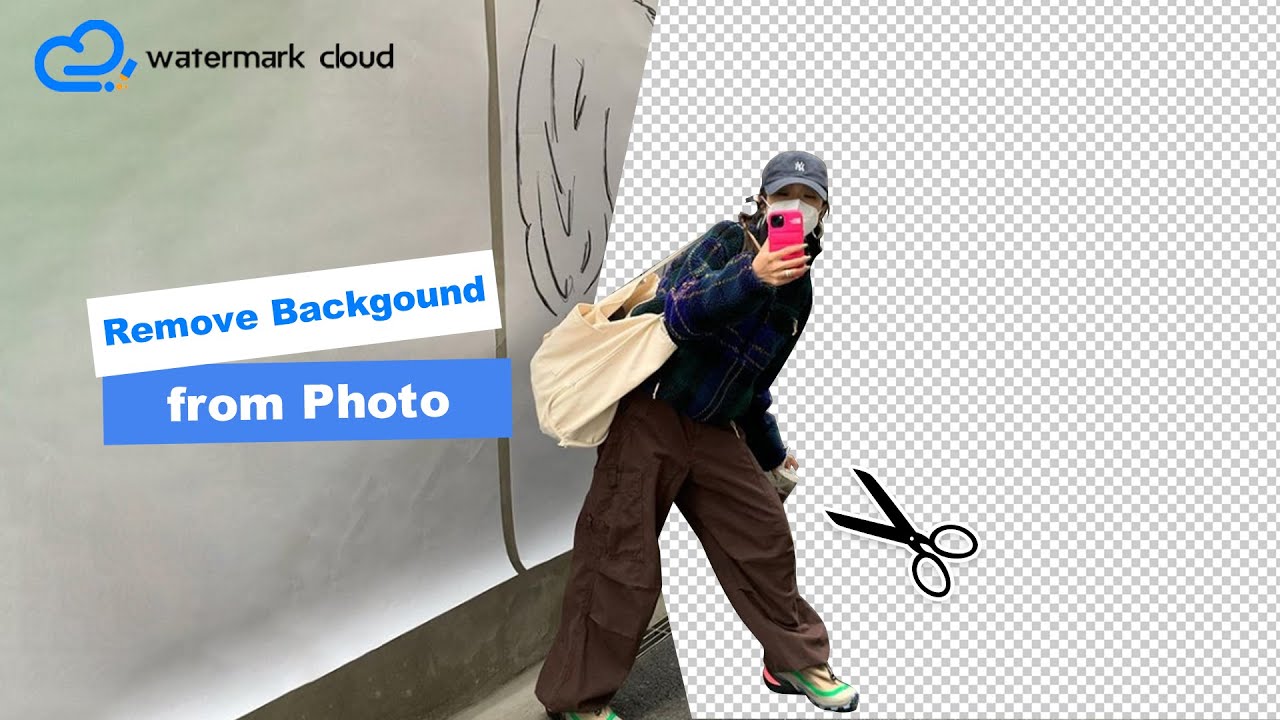
Using Remove.bg
- Go to Remove.bg and click on “Upload Image.”
- Select your Shutterstock T-shirt image from your computer.
- The AI will automatically process the image and remove the background within seconds.
- Preview the result. If satisfied, click “Download” to save the transparent PNG file.
- If needed, you can use the editor to refine edges or erase small spots.
> Tip: Remove.bg works best with high-resolution images and simple backgrounds. For more complex images, some manual refinement might be necessary.
Using Canva
- Log in to your Canva account (or sign up if you haven’t already).
- Create a new design or open an existing one.
- Upload your Shutterstock T-shirt image via the “Uploads” tab.
- Drag the image onto your canvas.
- Select the image, then click on “Effects” in the toolbar.
- Click on “Background Remover.” Canva will automatically process the image.
- Once the background disappears, you can adjust or erase parts using the eraser tool if needed.
- Download your new image with a transparent background as a PNG file.
Note: The background remover feature is available on Canva Pro, so you might need a subscription for this feature.
Using Photoshop
- Open your Shutterstock T-shirt image in Photoshop.
- Select the Quick Selection Tool from the toolbar (or press W).
- Click and drag over the T-shirt to select it. Use the “Refine Edge” option for more precise control around intricate edges.
- Once selected, go to Layer > New Layer via Copy (or press Ctrl+J / Cmd+J). This creates a new layer with just your T-shirt.
- Hide or delete the original background layer.
- Save your image as a PNG file to preserve transparency.
> Tip: For complex backgrounds, you might need to use the Pen Tool for precise cutouts, but this requires some practice.
No matter which tool you choose, the key is patience and experimenting with different methods to get the cleanest cutout possible. With these steps and tools, removing backgrounds from Shutterstock T-shirt images can become a straightforward process—so you can focus on creating eye-catching designs!
Tips for Achieving Clean and Professional Results
Removing backgrounds from Shutterstock T-shirt images can seem tricky at first, but with a few handy tips, you’ll be surprised at how easy it becomes to get those crisp, professional-looking results. Here’s what you need to keep in mind:
Use High-Resolution Images
Start with the best quality images you can find. Higher resolution images give you more detail to work with, making it easier to accurately cut out the T-shirt without losing clarity or sharpness. Low-res images often result in blurry edges and a less polished finish.
Choose the Right Tool
While many basic editing tools can do the job, some are better suited for intricate backgrounds and fine details. Software like Adobe Photoshop offers advanced features like the Quick Selection Tool and Refine Edge for smoother selections. If you prefer free options, tools like GIMP or online editors like Remove.bg can also produce excellent results.
Focus on Precision
Take your time to carefully trace around the edges of the T-shirt. Zoom in to see details clearly and use tools that allow for fine adjustments. When working with software, leverage features like feathering and smoothing to blend the edges seamlessly.
Utilize Layer Masks and Non-Destructive Editing
Instead of erasing parts of your image directly, use layer masks. This way, you can easily tweak or undo parts of your work without damaging the original image. It’s a good habit that leads to cleaner, more professional results.
Refine and Check Your Edges
After making your initial cutout, spend some time refining the edges. Use options like “Smooth,” “Feather,” or “Contrast” to clean up jagged or rough edges, ensuring your T-shirt looks natural against any new background.
Practice Makes Perfect
Like anything, the more you practice, the better your results will be. Experiment with different images, tools, and techniques to find what works best for you. Over time, you’ll develop your own efficient workflow for background removal that consistently delivers professional results.
Common Challenges and How to Overcome Them
Even experienced designers face hurdles when removing backgrounds from Shutterstock T-shirt images. Recognizing these challenges and knowing how to tackle them can save you time and frustration. Let’s go over some of the most common issues and practical solutions:
1. Fine Details and Hair Strands
While T-shirts usually don’t have hair, they often have intricate seams, stitches, or small design elements that can be tricky to cut out cleanly. To handle these:
- Use the Refine Edge or Select and Mask tools in Photoshop for better edge detection.
- Zoom in and manually adjust edges with a soft brush to include fine details.
- Apply slight feathering to soften harsh edges for a natural look.
2. Transparent or Semi-Transparent Areas
Some T-shirts have sheer or semi-transparent parts, which can be difficult to remove cleanly. To address this:
- Adjust the threshold or sensitivity settings when using automatic selection tools to better capture semi-transparent regions.
- Manually refine these areas with a small, soft brush on your layer mask.
- Be cautious—over-editing can lead to unnatural edges or halos.
3. Color Bleeding and Shadows
Colors bleeding from the fabric or shadows cast on the T-shirt can make background removal tricky. Here’s what to do:
- Use the Color Range selection tool to isolate specific colors and avoid unwanted areas.
- Refine your selection with the Refine Edge tool to better handle subtle color transitions.
- After removal, use adjustment layers to correct any color inconsistencies or shadows that look unnatural.
4. Maintaining Natural Edges
Sometimes, harsh edges make the cutout look fake or obvious. To keep edges natural:
- Apply a slight feather or smoothing to the selection.
- Use the Refine Edge tool to gently blend the cutout with a new background.
- Consider adding a slight shadow or inner glow to enhance realism.
5. Time Constraints and Efficiency
Background removal can be time-consuming, especially with complex images. To work more efficiently:
- Create custom shortcuts in your editing software.
- Save frequently used selections or masks for future projects.
- Practice batch processing for similar images to speed up your workflow.
Remember, every challenge is an opportunity to improve your skills. With patience, the right tools, and a strategic approach, you’ll find that removing backgrounds from Shutterstock T-shirt images becomes a manageable and even enjoyable part of your design process.
Finalizing and Saving Your T-Shirt Images for Use
Wow, you’ve come a long way! Your background removal project is almost complete. Now, it’s time to make sure your T-shirt images are polished, properly saved, and ready for their debut—whether that’s for an online store, a design portfolio, or promotional materials. Let’s chat about the best practices to finalize your images.
Check Your Edges and Details — Before you save, zoom in and scrutinize your image for any leftover background fragments or jagged edges. Use your editing software’s zoom tool and toggle between different views if possible. Clean edges make your design look professional and polished.
Adjust Transparency and Colors — Sometimes, after removing the background, you might notice slight color mismatches or semi-transparent areas. Use adjustment layers or color correction tools to ensure your image looks seamless. If the T-shirt design involves transparency, double-check that the transparent areas are truly clear and not replaced with unwanted colors.
Choose the Right File Format — Saving your image in the appropriate format depends on how you plan to use it:
- PNG: The go-to choice for images with transparent backgrounds. It preserves transparency and quality.
- JPEG: Good for photographs or images where transparency isn’t needed. However, it compresses the image, which can reduce quality.
- SVG or PDF: Ideal for vector-based designs if scalability is important.
For most T-shirt designs, PNG is your best bet because it maintains transparency and high quality without bloating file size too much.
Save Multiple Versions — Consider saving your final image in different resolutions or formats. For example, create a high-resolution PNG for printing and a web-optimized version for online use. Keeping layered files (like PSD or TIFF) can also be helpful if you need to make future edits.
Use Descriptive File Names — Name your files clearly so you remember what each one is. For example, “Blue-Logo-Tshirt-Front.png” or “DesignX-HighRes.png”. This saves time and avoids confusion later on.
Once everything looks perfect, hit the save button! Your T-shirt design is now ready to be uploaded, printed, or shared. Remember, taking a few extra minutes to finalize your images will pay off with professional-looking results that truly stand out.
Conclusion and Additional Resources for Background Removal
And there you have it! Removing backgrounds from Shutterstock T-shirt images doesn’t have to be a daunting task. With the right tools and a bit of patience, you can create clean, professional designs that elevate your projects. Whether you’re using online editors, dedicated software, or a combination of both, the key is to stay meticulous and take your time during each step.
Remember, practice makes perfect. The more you experiment with different images and methods, the better you’ll become at quickly and effectively removing backgrounds. Don’t hesitate to revisit tutorials, forums, or communities for tips and tricks—they’re a treasure trove of insights from fellow designers and enthusiasts.
Here are some additional resources to help you master background removal:
- Adobe Photoshop Tutorials
- Remove.bg Tutorials & Tips
- Canva’s Guide to Background Removal
- YouTube Channels for Design Tips
Ultimately, the goal is to make your T-shirt images look sharp, clean, and ready for anything you throw at them. Keep practicing, stay creative, and don’t be afraid to try new techniques. Happy designing!