When it comes to managing a WordPress site, understanding user roles is crucial. Especially if you’re looking to tailor your website’s functionalities based on what type of user accesses it. Do you want to display specific content or features to all users except administrators? This post will explore how to use conditional statements in WordPress to implement that functionality effectively. Whether you’re looking to improve user experience or enhance security, we’ve got you covered!
Understanding User Roles in WordPress
WordPress has a built-in user management system that allows you to assign different roles to users, determining what they can and cannot do on your site. Here’s a break down of the main user roles:
- Administrator: Has total control over the site, including adjusting settings, adding plugins, and managing other users.
- Editor: Can publish and manage posts, including those written by other users. An editor has significant content-related capabilities.
- Author: Can publish and manage their own posts, but cannot edit posts written by others. Ideal for individual contributors.
- Contributor: Can write and manage their own posts but cannot publish them. This role is great for users who need guidance before content goes live.
- Subscriber: Can manage their profile and view content but cannot write or manage posts. This is typically used for users who need access to certain content.
It’s essential to understand these roles to implement conditional checks based on the logged-in user. This way, you can tailor the user experience more effectively. For instance, displaying a message only to authors or contributors while hiding it from administrators can significantly streamline user interaction on your website. With proper implementation of conditional statements, you can create a more organized and user-friendly environment!
What Are Conditional Tags?
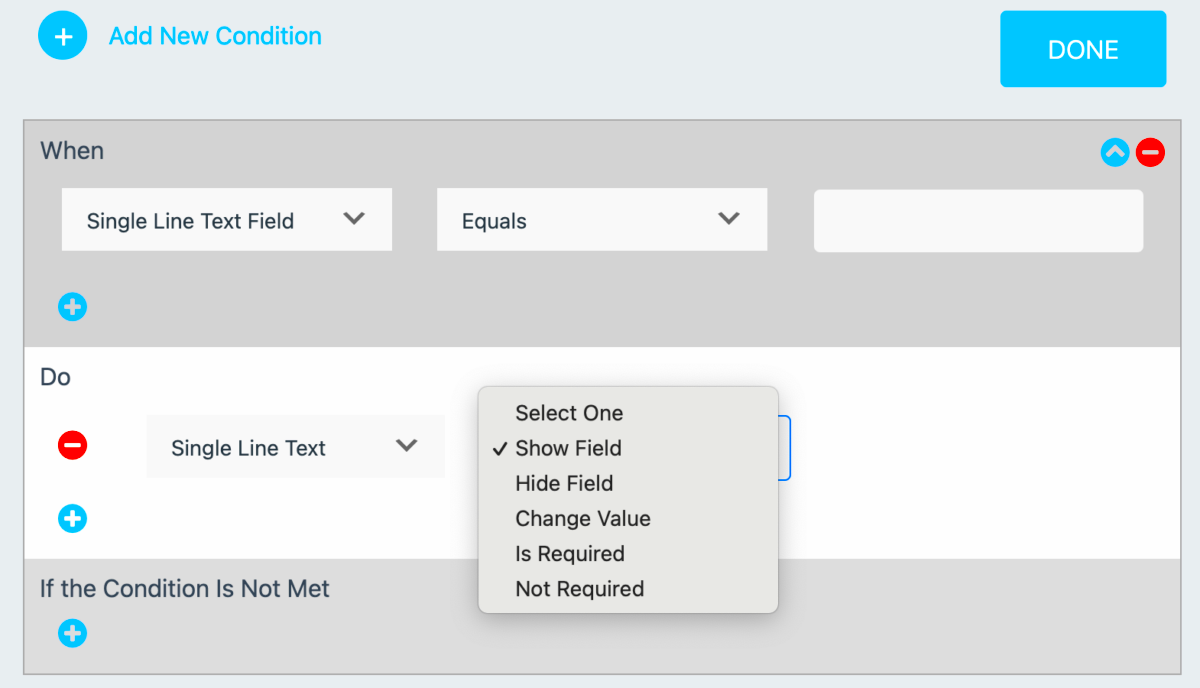
Conditional tags in WordPress are essential tools that help developers control the display of content based on specific criteria. Think of them as the “if-then” statements of your website. They allow you to show or hide elements depending on the conditions you set, which can be based on user roles, post types, or various other parameters.
For instance, if you want to display certain content only to logged-in users or maybe hide a widget from non-logged-in users, conditional tags come to your rescue. They function seamlessly with the WordPress loop and are often used within theme files, plugins, and functions.php.
Here’s a brief overview of some commonly used conditional tags:
- is_user_logged_in(): Checks if the user is logged in.
- current_user_can(): Determines if the current user has a specific capability or role.
- is_front_page(): Checks if the current page is the front page.
- is_single(): Determines if a single post or page is being displayed.
By nestling these tags into your templates, you can create a tailored experience for your users. Instead of displaying the same content to everyone, you can control who sees what, thus enhancing engagement and the overall user experience. So, if you haven’t yet leveraged conditional tags, now’s the time to dive in!
Implementing Conditional Logic for User Roles
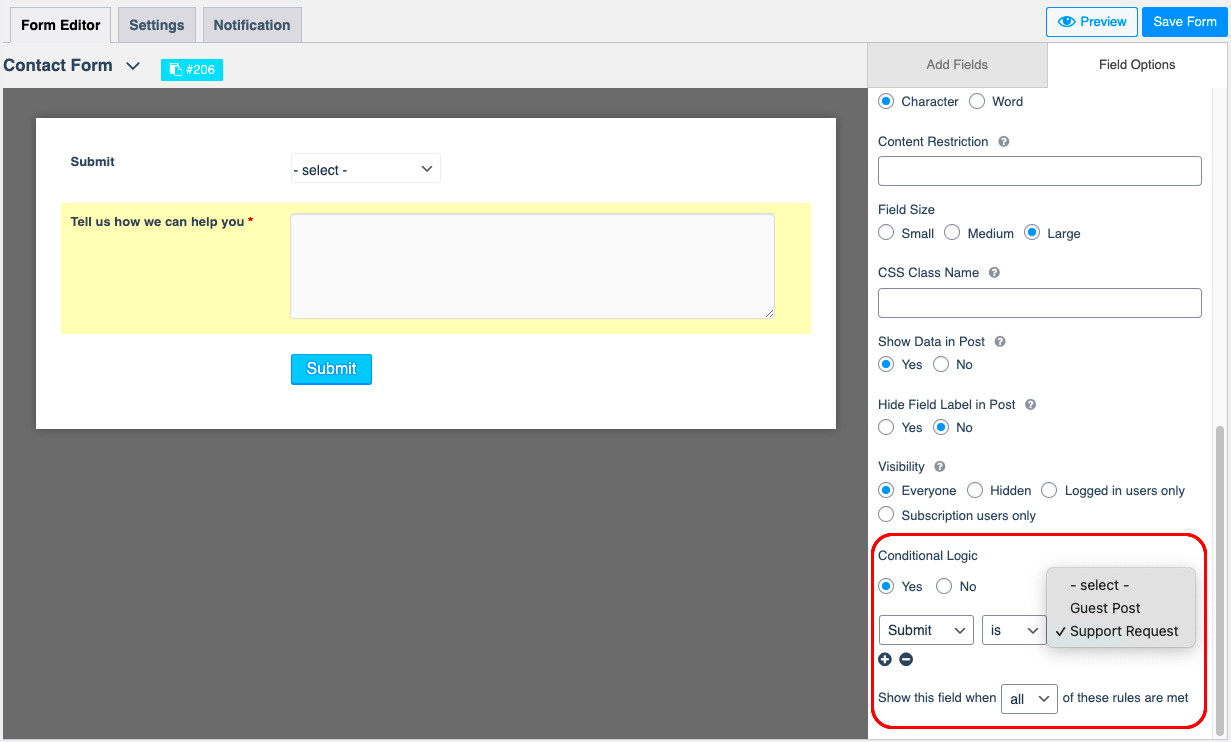
When it comes to WordPress, one of the most powerful features you can incorporate is conditional logic based on user roles. Imagine having an exclusive area of your website that’s accessible only to certain users, or providing varied content based on whether someone is an editor, a subscriber, or an administrator. This is where conditional logic shines.
To get started, you first need to understand the roles WordPress assigns by default:
| User Role | Description |
|---|---|
| Administrator | Full control over the site, including managing users and content. |
| Editor | Can publish and manage posts, including those of others. |
| Author | Can publish and manage their own posts. |
| Contributor | Can write and manage their own posts but cannot publish them. |
| Subscriber | Can manage their profile and view content. |
To implement conditional logic, you can use the current_user_can() function. This function checks whether the current user has a specific capability or belongs to a certain role. For example:
<?php if ( current_user_can('editor') ) { echo 'Welcome, Editor! Here’s your dashboard.';} else { echo 'Hello, Guest! Check out our latest posts.';}?>This setup allows you to create a dynamic interface that evolves based on the user role. Whether it’s hiding sensitive content from general users or surfacing relevant options for administrators, the flexibility is in your hands. Embrace this powerful feature to make your WordPress site more engaging and tailored to your audience!
Code Snippet: Check If Current User is Not Administrator
Are you looking to customize your WordPress site based on user roles? Specifically, do you want to check if the current user is anything except an administrator? This little conditional check can open up a world of possibilities for your site’s functionality and user experience. Here’s a straightforward code snippet you can use:
if ( ! current_user_can( 'administrator' ) ) { // The current user is NOT an administrator. // Your code goes here.}Let’s break it down:
- current_user_can( ‘administrator’ ): This function checks if the current user has the capability of an administrator.
- !: The exclamation mark is a logical NOT operator. It negates the condition. So, if the user is NOT an administrator, the code inside this block will execute.
Using this snippet allows you to create a tailored experience for all users except administrators. It’s a powerful way to restrict access to certain features or keep user roles in check. Think about where you might apply this—maybe you want to hide specific admin functions, modify front-end displays, or offer customized notifications. The possibilities are endless!
How to Use This Conditional Check in Your Theme or Plugin
Now that you have a code snippet, let’s discuss how you can effectively implement it in your WordPress theme or plugin. Follow these simple steps:
- Open Your Theme or Plugin Files: Navigate to the WordPress dashboard, go to Appearance > Theme Editor or Plugins > Plugin Editor. Always remember to work on a child theme or a custom plugin to avoid updates overwriting your changes.
- Locate the Right File: Decide where you want to apply this conditional check. Common files include functions.php for themes or the main plugin file for plugins.
- Insert the Code Snippet: Copy and paste the provided snippet at the desired location in your file. Make sure it’s wrapped inside PHP tags if you are placing it in a file that contains HTML.
- Customize Your Code: Replace the comment with the functionality you want to apply to non-administrators. It could be anything from displaying a special message to hiding specific content.
- Test Your Changes: After saving, log in with a non-administrator account to see if your changes are reflected as intended. This step is crucial for ensuring everything works smoothly.
By following these steps, you can effectively use this conditional check in your WordPress environment, enhancing user engagement and creating a more dynamic site. Happy coding!
7. Common Use Cases for This Conditional Logic
When it comes to managing user access on a WordPress site, applying conditional logic for different user roles can significantly enhance your site’s functionality and user experience. Specifically, the conditional logic that checks if the current user is everything except an administrator can be employed in a variety of scenarios. Here are some common use cases:
- Custom Access Control: You may want to restrict certain content or features from administrators. For example, if you are running a multi-author blog, you might want editors and authors to see a simplified dashboard while hiding advanced configurations.
- Personalized User Experience: By identifying non-admin users, you can customize the frontend experience. Perhaps you want to show specific promotional banners, messages, or menus tailored to regular users, enhancing engagement.
- Targeted Notifications: Using this conditional logic allows you to send out notifications or alerts only to users who aren’t administrators. For instance, you could alert authors when their posts get published or commented on.
- Custom Dashboard Widgets: If you want to create a personalized admin dashboard, you can add or remove widgets based on whether the user is an administrator or not. Non-admin users could have access to analytics or content suggestions without hitting the advanced features that admins use.
- Limit Editing Capabilities: If a user is trying to edit a page or post, you might want to restrict that functionality to only admins for certain content types. By using this conditional logic, you can manage who edits what seamlessly.
These use cases demonstrate the flexibility and power that comes with utilizing conditional logic in WordPress. By leveraging this functionality, you’re not only optimizing security but also improving the overall user experience for all roles involved.
8. Testing and Troubleshooting
When implementing conditional logic in WordPress, particularly regarding user roles, testing and troubleshooting are crucial steps to ensure everything works smoothly. Here’s how you can effectively approach this:
1. Use Developer Tools: Utilize browser developer tools to trace errors or misconfigurations in your conditional statements. Elements like the console can help you see if your conditions are processed correctly.
2. Check User Permissions: Before diving deep into coding, double-check that your user roles and permissions are set up correctly within WordPress. You can use plugins like User Role Editor to visualize the capabilities of each role.
3. Add Logging: Implement logging in your conditional code to capture the state of variables as users interact with your site. This can help identify if the conditional logic is returning the expected results.
4. Test with Various User Accounts: Create a test environment where you log in with different user roles to ensure that the conditional logic behaves as anticipated across all scenarios.
5. Simplify Conditions: If you encounter issues, start with simple conditions and gradually build complexity. This can help isolate the problem area effectively.
6. Seek Community Support: If all else fails, don’t hesitate to reach out to the WordPress community forums. Users often share similar experiences, and you might find a solution to your issue more quickly than expected.
By following these testing and troubleshooting guidelines, you’ll not only ensure that your conditional logic functions correctly but also create a more seamless experience for every user on your WordPress site.
9. Conclusion
To wrap things up, understanding how to set conditional statements in WordPress based on user roles opens up a world of possibilities for website personalization and security. The example we discussed about the current user being anything *except* an administrator illustrates the flexibility of WordPress in managing access and content visibility. By harnessing the power of conditional tags, you can ensure that specific content, features, or functionalities are displayed selectively, keeping your site organized and viewer-focused.
Remember, using conditionals isn’t just a technical enhancement; it’s a way to enhance user experience. Whether you’re protecting certain content from unauthorized access or delivering tailored messages to various user groups, conditionals play a crucial role in creating a relevant and engaging environment for your visitors.
In the end, the main takeaways from our discussion are:
- Personalization: You can adjust the content based on user roles easily.
- Security: Restrict sensitive information based on user capabilities.
- Engagement: Tailor your messages and calls to action to suit different audiences.
So go ahead, make the most of these conditional tags and elevate your WordPress website to new heights!
10. Additional Resources
Whether you’re a novice or a seasoned WordPress developer, diving deeper into the mechanics of user roles and conditional tags can further empower your website endeavors. Here’s a concise collection of resources that can expand your understanding and skills:
- WordPress Template Hierarchy – A breakdown of how WordPress determines which template to use based on the request type.
- User Roles and Capabilities – Official WordPress documentation on how user roles work.
- WPBeginner on Conditional Tags – A beginner-friendly guide on using conditional tags in WordPress.
- Smashing Magazine’s Guide to User Roles – An insightful article discussing the intricacies of user roles and how they affect site management.
- Tuts Make: Conditional Tags – In-depth tutorials on using various conditional tags in your WordPress themes and plugins.
These resources will help you get a solid grasp on the intricacies of WordPress’s conditional capabilities and inspire you to implement them effectively in your projects. Happy coding!

