Are you looking to supercharge your WordPress site with a sleek Linux dashboard on Debian 12? You’re in the right place! Setting up a Linux dashboard not only makes it easier to monitor your site’s performance but also adds a level of professionalism that can impress visitors and keep you informed. Whether you’re a seasoned developer or a curious newbie, this guide will take you step-by-step through the entire process. Let’s get started!
Prerequisites for Setting Up Linux Dashboards
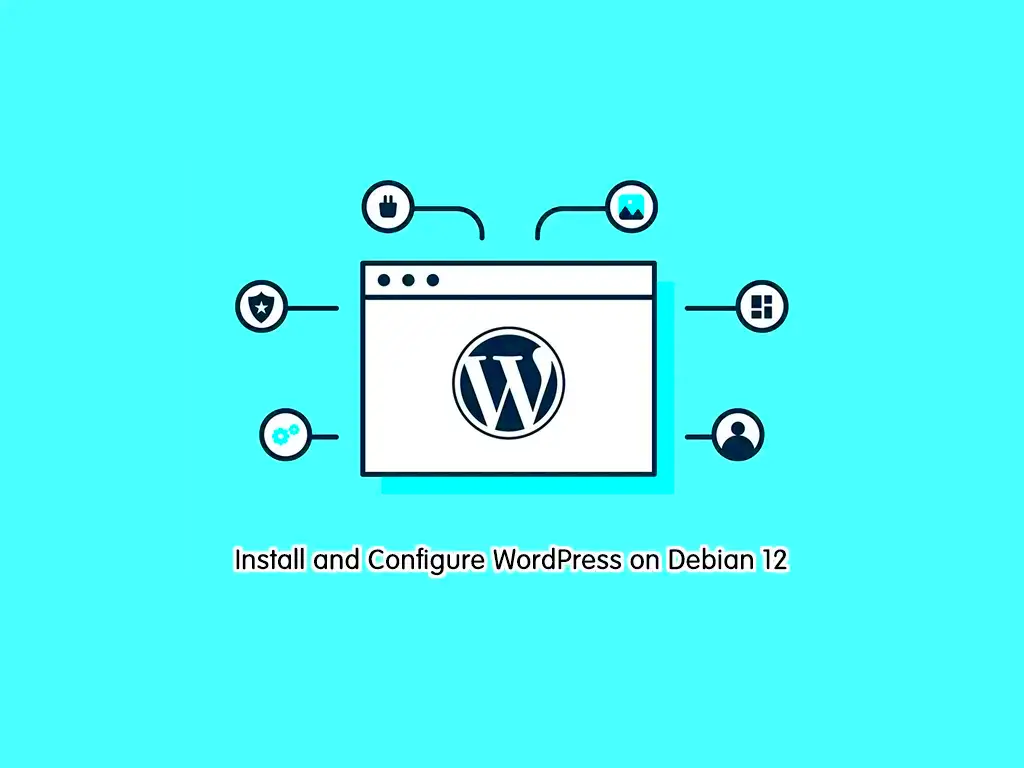
Before diving into the setup, there are a few important things you need to have in place. Think of these prerequisites as the essential building blocks that will ensure a smooth installation and an optimal dashboard experience. Here’s what you’ll need:
- Debian 12 Installed: Make sure you have the latest version of Debian installed. An up-to-date system will help avoid compatibility issues.
- WordPress Running: Your WordPress site should already be up and running. If it’s not set up yet, it’s best to do that first.
- Root Access: You’ll need root or sudo privileges to install necessary packages and make system changes.
- Understanding of the Terminal: Familiarity with command-line operations will certainly make the process smoother.
- Installed Software Packages: Ensure you have the following key packages installed:
| Software Package | Description |
|---|---|
| Apache/Nginx | Web server software to host your WordPress site. |
| MySQL/MariaDB | Database management system for WordPress data. |
| PHP | The programming language that powers WordPress. |
| Grafana | Powerful dashboard and analytics tool to visualize your WordPress data. |
Once you have all these prerequisites met, you’re ready to embark on the journey of setting up your Linux dashboard. Trust me, the result will be worth the effort!
Installing Debian 12
Installing Debian 12 is a straightforward process, but it does require some attention to detail to ensure a smooth experience. Before you dive into the installation, make sure you have a few things ready:
- A reliable internet connection: While the installation can happen offline, having an internet connection ensures you can download the latest updates during the setup process.
- A bootable USB drive or DVD: You’ll need this to install Debian. You can use tools like Rufus or balenaEtcher to create one from your Debian ISO file.
- Backup your data: If you’re installing Debian alongside another OS, back up your important files! You never know if something might go awry.
Now, let’s walk through the installation:
- Boot from the USB/DVD: Insert your bootable media and restart your computer. Access your BIOS/UEFI settings (usually by pressing a key like F2 or DEL during startup) and set your boot device priority to your USB/DVD.
- Select Installation Type: Once you boot, you’ll be greeted with the Debian installation menu. Choose either the graphical or text-based installer based on your comfort level. The graphical version is more user-friendly!
- Configure Network: Follow the prompts to setup your network. If you’re on Wi-Fi, enter your SSID and password.
- Disk Partitioning: You’ll need to decide how to partition your hard drive. You can choose to erase the disk (not advisable if you have important data) or set it up manually if you want more control over partitions.
- Finish Installation: Set your user accounts, select software (like the Desktop Environment), and let the installer work its magic. Once everything is set up, you’ll be prompted to restart.
And there you have it! After rebooting, you’ll be greeted by your shiny new Debian 12 desktop. Now it’s time to install the required packages for your WordPress dashboard.
Installing Required Packages
With Debian 12 up and running, it’s time to prepare your server for WordPress by installing the necessary packages. A well-equipped server will ensure that your WordPress site runs smoothly and efficiently. Here’s what you need:
- Apache or Nginx: Choose between these two powerful web servers to serve your WordPress site. Apache is user-friendly for beginners, while Nginx is known for its speed and efficiency.
- PHP: WordPress is built on PHP, so make sure you install the latest version. It’s crucial for processing your WordPress files.
- MySQL or MariaDB: These are the database management systems that will store your WordPress content. MariaDB is a drop-in replacement for MySQL and is gaining popularity for its performance.
- PHP Extensions: Install essential PHP extensions like php-mysql, php-gd, and php-mbstring. They enhance your WordPress experience.
Now, let’s install these packages step-by-step:
- Open your terminal: Use SSH or directly access your server’s terminal to start the package installation.
- Update your package list: Run the following command to ensure you have the latest package information:
- Install Apache or Nginx: Depending on your choice, run one of these commands:
- Install PHP: Use:
- Install MySQL or MariaDB: Choose your preferred database server with:
- Install PHP Extensions: To add the needed extensions, run:
sudo apt updatesudo apt install apache2or
sudo apt install nginxsudo apt install php php-fpm php-mysqlsudo apt install mysql-serveror
sudo apt install mariadb-serversudo apt install php-gd php-mbstringOnce all the packages are installed, you’re ready to jump into the setup of your WordPress dashboard! See? Setting up everything is not just easy, it’s also kind of exciting as you’re paving the way for your new WordPress site!
Setting Up the Web Server
Getting your web server up and running is a crucial step in hosting your WordPress site on Debian 12. The most popular web server options are Apache and Nginx. For this guide, we’ll focus on setting up Apache since it’s widely used, particularly in WordPress environments.
First, let’s install Apache. Open your terminal and run the following command:
sudo apt updatesudo apt install apache2Once installed, you can start the Apache service and ensure it runs on boot:
sudo systemctl start apache2sudo systemctl enable apache2Your server should now be running! You can check its status with:
sudo systemctl status apache2To see if Apache is working, open a web browser and enter your server’s IP address. You should see the default Apache welcome page, which means everything is good to go!
Next, let’s make sure that the firewall allows HTTP and HTTPS traffic. You can use UFW (Uncomplicated Firewall) to do this:
sudo ufw allow 'Apache Full'Now that your web server is set up, it’s time to get the PHP and MySQL components in place for running WordPress smoothly.
Installing WordPress on Debian 12
Now that our web server is up and running, it’s time to install WordPress. WordPress is a Content Management System (CMS) that makes it super easy to create and manage a website.
First, let’s install the required packages, including PHP and MySQL. Use the following command to install them:
sudo apt install php libapache2-mod-php php-mysql mysql-serverNext, we’ll need to set up the MySQL database for WordPress. Start by logging into MySQL:
sudo mysql -u root -pAfter entering your MySQL root password, create a new database and a user for WordPress:
CREATE DATABASE wordpress;CREATE USER 'wpuser'@'localhost' IDENTIFIED BY 'password';GRANT ALL PRIVILEGES ON wordpress.* TO 'wpuser'@'localhost';FLUSH PRIVILEGES;EXIT;Now that you have a database and user ready, let’s download and install WordPress. Change to the web directory and download the latest WordPress:
cd /var/www/htmlwget https://wordpress.org/latest.tar.gztar -xvzf latest.tar.gzmv wordpress/* .After that, remove the downloaded file:
rm -rf latest.tar.gz wordpressFinally, set the correct permissions for the WordPress files:
sudo chown -R www-data:www-data /var/www/htmlsudo chmod -R 755 /var/www/htmlNow, you can navigate to your server’s IP address in a web browser, and you’ll see the WordPress installation wizard where you can complete the setup by entering the database details you created earlier!
7. Configuring the WordPress Dashboard
Once you have WordPress installed on your Debian 12 server, the next step is to configure the WordPress dashboard to make it suit your needs. The dashboard is your control center, where you can manage content, themes, plugins, and settings. Let’s dive into the essential aspects of configuring it to your liking.
First, you can personalize your admin experience by navigating to the Users section. Here, you can edit your profile and adjust preferences such as:
- Nickname: Your nickname is displayed on your posts.
- Email Notifications: Opt in or out of various email alerts.
- Profile Picture: Update your avatar via Gravatar for a personal touch.
Next, let’s take a look at Settings. You’ll want to fine-tune various options to ensure your site functions just the way you envision. Here’s a brief outline of critical settings:
| Setting | Description |
|---|---|
| General | Site title, tagline, and URL settings. |
| Reading | How your site is presented to visitors, including homepage settings. |
| Permalinks | URL structure for your posts and pages. |
Lastly, don’t forget to explore the Plugins section! Installing essential plugins will extend your dashboard’s functionality, whether it’s for SEO, security, or analytics.
Take your time to navigate through these settings and tailor the dashboard to maximize your productivity and enhance your site’s performance.
8. Setting Up Linux Dashboards
Setting up Linux dashboards provides you with a visual display of system performance, resource usage, and more, which is vital for monitoring your WordPress site effectively. One of the most popular tools for creating dashboards in aLinux environment is Grafana, and it pairs beautifully with various data sources like Prometheus, InfluxDB, and others. Here’s how to get started.
First, you need to install Grafana on your Debian 12 server. This is quite straightforward. Just follow these steps:
- Update your package lists:
sudo apt update - Install Grafana:
sudo apt install grafana - Start the Grafana service:
sudo systemctl start grafana-server - Enable it to start on boot:
sudo systemctl enable grafana-server
Once Grafana is up and running, you can access it by going to http://your-server-ip:3000. The default login credentials are:
- Username: admin
- Password: admin (you’ll be prompted to change it upon first login)
Now that you have access, it’s time to create your dashboard. Start by adding a data source that fits your needs. Grafana supports various databases and APIs, giving you the flexibility to choose the one that best suits your monitoring strategy. In this step:
- Navigate to the “+” icon on the left sidebar and click on “Data Sources”.
- Select your desired data source and configure it as per the required parameters.
With your data source connected, you can now create panels to visualize your data. Each panel can represent various metrics such as CPU load, memory usage, or response times, allowing you to keep your finger on the pulse of your WordPress site.
Creating and customizing your panels is easy. Just:
- Click on “+ Dashboard” on the left sidebar.
- Then add a panel and select the metrics you want to visualize.
Before you know it, you’ll have an insightful Linux dashboard that enhances your ability to monitor your WordPress site like a pro!
Integrating Dashboard Tools with WordPress
Integrating dashboard tools with WordPress can be a game-changer for anyone looking to optimize their website’s performance and gain valuable insights. Imagine having all your essential metrics displayed in one convenient location, making it easier to track your site’s health and performance.
There are several popular dashboard tools that you can integrate with WordPress. Here’s a quick overview:
- Google Analytics: With this powerful tool, you can track website traffic, user behavior, and conversions. To integrate, simply install the MonsterInsights or Google Site Kit plugin, follow the setup wizard, and connect your Google account.
- Jetpack: This multi-functional plugin not only offers security and performance enhancements but also comes with built-in analytics. Simply install the Jetpack, connect it to your WordPress account, and you’re good to go!
- WP Dash: Designed for WordPress, this tool provides an overview of your site’s performance metrics from one convenient dashboard. Installation is straightforward—just download the plugin and activate it.
After integrating your preferred dashboard tool, ensure that you regularly analyze the data it provides. By doing so, you can make informed decisions on improving user experience, optimizing for search engines, and enhancing your overall marketing strategy. Don’t hesitate to customize your dashboard to focus on the metrics that matter most to you!
Monitoring and Maintenance
Monitoring and maintenance are critical components of managing a successful WordPress site on Debian 12. Keeping an eye on your site’s performance not only helps prevent potential issues but also ensures a seamless experience for your users.
Here are some key aspects to consider for effective monitoring and maintenance:
- Regular Backups: Always have a reliable backup system in place to prevent data loss. Use plugins like UpdraftPlus to schedule automated backups.
- Update Software: Regularly updating your WordPress core, themes, and plugins is crucial for security and functionality. You can enable automatic updates or manually check for updates in your dashboard.
- Monitor Uptime: Keep track of your website’s uptime using tools like UptimeRobot to ensure it’s always accessible to visitors.
- Analyze Performance: Utilize tools like GTmetrix or Pingdom to assess your website’s loading speed and performance metrics.
Don’t forget to regularly review your site’s analytics data to identify trends, opportunities for improvement, and areas to focus your maintenance efforts. Staying proactive with these tasks will help you maintain a robust, high-performing WordPress site that meets your users’ needs. Remember, a well-maintained site leads to more satisfied visitors—and ultimately, more success!
Troubleshooting Common Issues
Setting up Linux dashboards for your WordPress site on Debian 12 can be a thrilling experience, but, just like anything tech-related, it comes with its own set of challenges. Don’t sweat it! Most issues can be easily resolved with a little know-how. Here are the most common problems you might encounter and their solutions:
- Database Connection Errors: One of the most frequent issues is the dreaded “Error establishing a database connection.” This usually indicates incorrect database credentials. Double-check your
wp-config.phpfile to ensure that the database name, username, password, and host are all correct. - Dashboard Not Loading: If your Linux dashboard isn’t loading, it could be due to Internet connectivity issues or misconfigured settings. Check your network connection and ensure that all necessary services (like Apache or Nginx) are up and running. You can restart these services with commands like
sudo systemctl restart apache2orsudo systemctl restart nginx. - Plugin Conflicts: Sometimes, a plugin can cause conflicts. If your site crashes or certain features stop working after installing a plugin, try disabling all plugins and re-enabling them one by one. You can do this through the command line by renaming the plugin folders in the
wp-content/plugins/directory. - File Permission Issues: Incorrect file permissions can lead to various errors. Make sure your files are set to
755for directories and644for files for proper access. You can adjust these settings using thechmodcommand. - Resource Limitations: If your server is slow or unresponsive, you might be running low on resources. Monitoring tools integrated into your dashboard can help you keep an eye on usage. If resource limits are causing issues, consider upgrading your hosting plan or optimizing your site.
After trying the above solutions, if you’re still running into problems, don’t hesitate to dive into community forums or seek support from experienced Linux users. Sometimes, a fresh pair of eyes can make all the difference!
Conclusion
Setting up Linux dashboards for WordPress on Debian 12 can be a game changer for anyone looking to enhance their website management experience. This process, while it may seem daunting at first, offers numerous advantages, such as improved site monitoring, performance analytics, and a tailored user experience.
Throughout this guide, we’ve covered the essential steps needed to get your dashboard up and running. From installing necessary packages to customizing your dashboard for maximum efficiency, you’ve now got a toolkit of knowledge to help you effectively manage and optimize your WordPress site. Remember:
- Stay organized: Keep your files and dashboards well-structured for easier management.
- Regular Updates: Ensure that both your Debian system and WordPress installations are regularly updated to keep everything running smoothly and securely.
- Backup: Always remember to back up your data before making significant changes or installations. This will save you a ton of headaches down the road!
Finally, don’t forget that the larger community is here to help. Engaging in forums or local user groups can provide support when needed and spark new ideas for your next project. Now, get out there and make the most of your new Linux dashboard setup!

