Logging in WordPress is a crucial aspect that allows site administrators to keep track of all actions taken on their website. Imagine it like a security camera for your online space; it records everything happening in real-time, which can be extremely handy for troubleshooting, monitoring user activities, and ensuring site security. By implementing logging, you not only gain insights into your website’s performance but also ensure a smoother user experience. Let’s dive into the essential elements of WordPress logging and uncover how it can benefit your site management.
Why Logging Admin Actions is Important
Keeping track of admin actions in WordPress is not just a good practice; it’s an essential part of effective site management. Here are some compelling reasons why logging these actions is important:
- Enhanced Security: Admin logging helps you monitor suspicious activities. If an unauthorized user gains access, you can quickly identify any harmful actions.
- Accountability: With detailed logs, there’s accountability. If something goes wrong, you can trace back to who made changes or executed actions on the site.
- Comprehensive Audit Trails: Having a clear audit trail for all admin actions provides an increased understanding of site interactions, making it easier to assess user behavior.
- Troubleshooting: When issues arise, logs serve as valuable troubleshooting tools. They can help pinpoint when and where a problem started, making fixes more efficient.
- Performance Insights: Persistent logging can reveal patterns in admin actions, offering insights into areas where the site may need optimization or improvements.
In summary, logging admin actions is a multifaceted approach to enhancing your site’s security and efficiency. Embracing this practice not only protects your WordPress site but also fosters a culture of trust and transparency among users and administrators alike.
Setting Up Logging in WordPress
Setting up logging in WordPress might seem daunting, but it’s actually quite straightforward. The main goal here is to keep track of all administrative actions to enhance the security and performance of your website. So, let’s walk through the process step by step!
First, you’ll want to determine which logging method suits your needs best. You can either use plugins, which make the process incredibly user-friendly, or you can manually add code to your theme’s functions.php file. For most users, the plugin route is the preferred option due to its simplicity and robust features.
Here’s a brief guide on how to set up logging using a plugin:
- Choose a Logging Plugin: Start by searching the WordPress Plugin Directory for logging plugins. Some popular ones include Activity Log, WP Security Audit Log, and Simple History.
- Install and Activate: Once you’ve selected a plugin, install and activate it from your WordPress dashboard.
- Configure Settings: Most logging plugins will have settings you can configure. Take a moment to adjust the logging options to capture all desired admin actions.
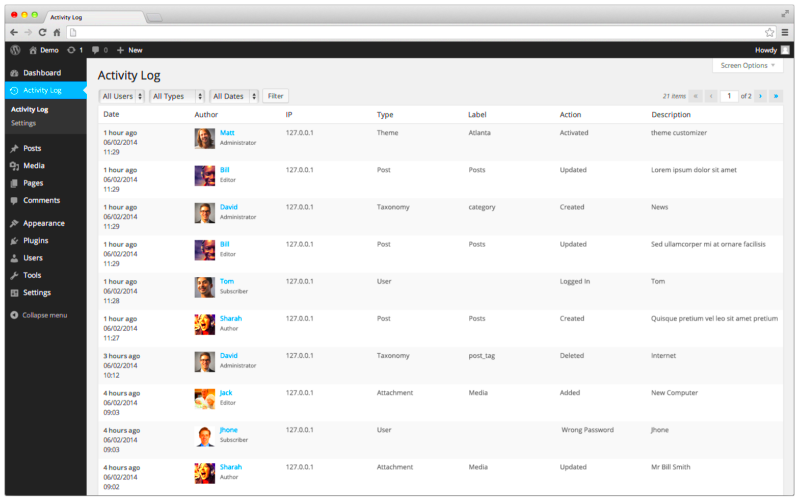
- View Logs: After logging is set up, you can access the logs via the plugin’s interface. This will allow you to monitor activities such as post edits, user logins, and changes to settings.
By following these steps, you can easily keep track of every action taken on your site, helping to maintain security and streamline troubleshooting. Now, let’s explore some popular plugins that can help with this task!
Popular Plugins for Admin Action Logging
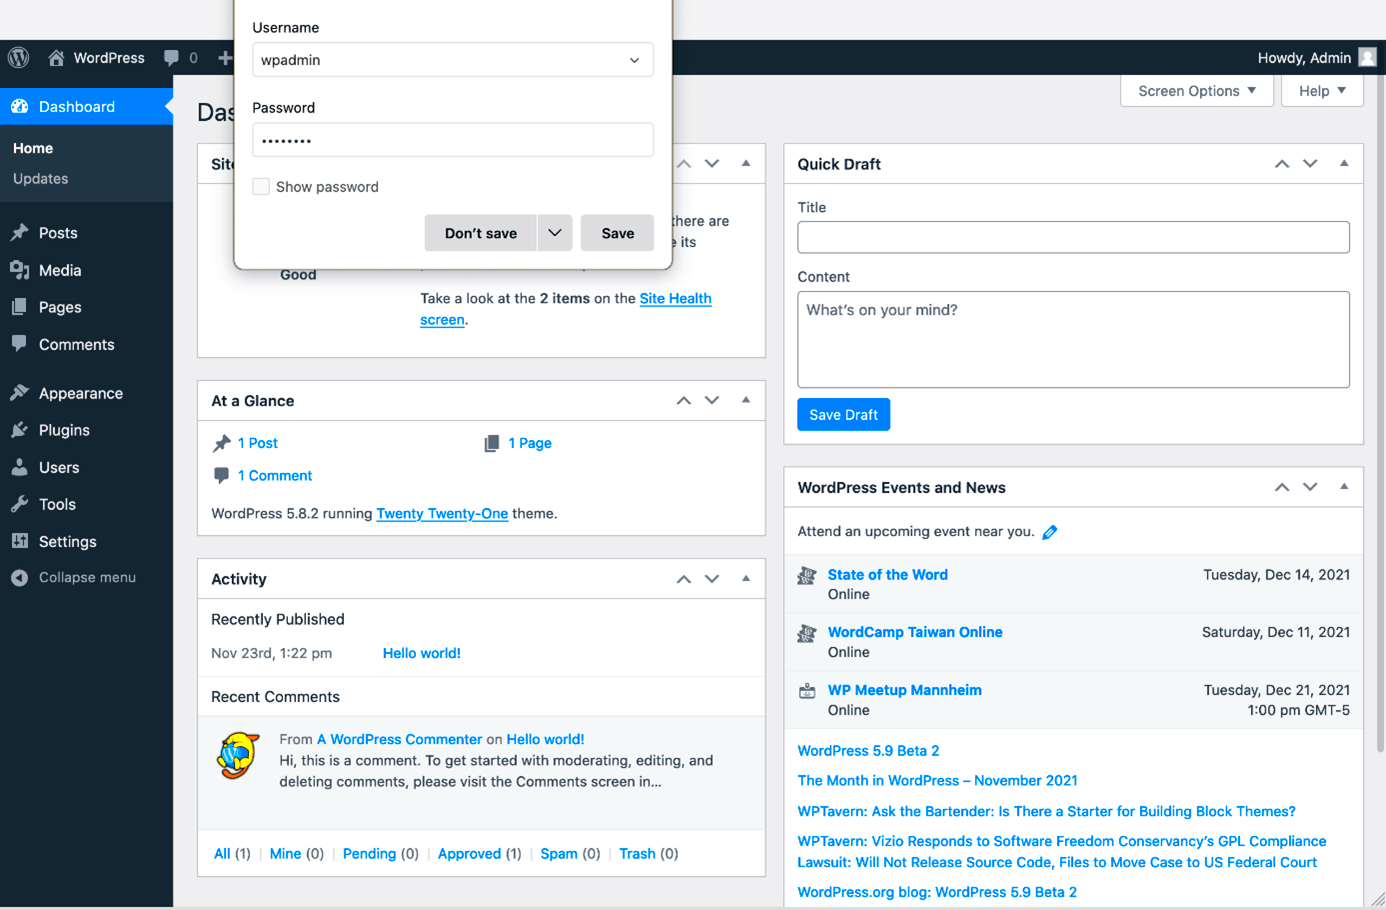
When it comes to logging admin actions in WordPress, several plugins stand out for their features, ease of use, and community support. Here’s a detailed look at some of the most popular options:
| Plugin Name | Key Features | Pricing |
|---|---|---|
| WP Security Audit Log |
|
Free and premium versions available |
| Simple History |
|
Free |
| Activity Log |
|
Free and premium versions available |
Choosing the right logging plugin depends on your specific needs and whether you’re looking for basic functionalities or advanced options. With these tools at your disposal, you can maintain a secure and efficient WordPress environment.
How to Customize Logging Settings
Customizing your logging settings in WordPress is a crucial step to ensure that you capture the data that’s most relevant to your site’s activities and security. The good news is, it’s fairly straightforward. Here’s how you can tweak those settings to tailor them to your specific needs:
- Install a Logging Plugin: If you haven’t yet, pick a reliable logging plugin. Plugins like WP Activity Log or Simple History are excellent options. They offer various features that help in monitoring admin actions.
- Access the Plugin Settings: Once installed, navigate to the plugin’s settings from your WordPress dashboard. This is typically found under the “Settings” or “Tools” menu.
- Select What to Log: Most logging plugins let you customize what actions are recorded. Common options include user logins, post edits, and plugin changes. Deselect any actions you feel are unnecessary for your needs.
- Set Notification Preferences: Customize how and when you receive notifications. You can usually opt for email alerts for critical actions, which helps you keep a tight rein on your site’s administrative tasks.
- Define Retention Settings: Decide how long you want to keep logs. Depending on your server space and website activity, you might want to set this to a few weeks or even months.
By following these steps, you can tailor your logging setup to ensure you’re receiving the most relevant information needed to keep your WordPress site secure and efficient. With a little customization, you’ll feel more in control of your site’s activity!
Understanding Logged Data
Understanding the data that is logged on your WordPress site can provide essential insights into user behavior, site performance, and security threats. Let’s break down what kind of information you might come across:
- User Actions: This includes everything that users do, from logging in and out to creating or editing posts. For example, you might see entries like:
- Login Attempts: Track when users try to log in, whether successful or not. This is extremely valuable for identifying potential security threats.
- Changes to Settings: Anytime changes are made to your site’s settings—like altering user roles or updating plugin configurations—these are logged. Knowing who made changes can save you from confusion later.
- Error Logs: Some logging solutions also track errors, which can help you troubleshoot issues quickly.
| Date and Time | User | Action | Details |
|---|---|---|---|
| 2023-10-05 10:15 | Admin | Edit Post | Edited “How to Customize Logging Settings” |
| 2023-10-05 10:20 | Editor | Create Post | Published “New Features in WordPress” |
By reviewing this logged data regularly, you can keep an eye on your site’s activity, spot any anomalies, and improve your overall website management. In essence, a solid understanding of your logged data is key to ensuring that your WordPress site operates smoothly and securely!
Best Practices for Admin Logging
When it comes to admin logging in WordPress, following best practices can help you maintain a secure and efficient website. Here are some key guidelines to consider:
- Use a Reliable Logging Plugin: Choose a reputable logging plugin that suits your needs. Popular options include WP Activity Log, Simple History, and Activity Log. Make sure it is compatible with your WordPress version.
- Limit Logged Actions: Only log crucial actions to avoid overwhelming your database with unnecessary data. Focus on important events like user logins, content changes, and plugin updates.
- Regularly Review Logs: Schedule a routine to review your logged data. Set aside time weekly or monthly to check for any suspicious actions or errors that may indicate security vulnerabilities.
- Implement Access Controls: Limit access to logs to only those who need it. Not every admin should have the permission to view the logs, so use user roles effectively.
- Backup Logs: Regularly back up your logs to ensure you don’t lose valuable data. Consider using cloud storage solutions for extra safety.
- Keep Your Logging Plugin Updated: Just like any other plugin, your logging software needs regular updates to keep it functioning smoothly and securely.
- Consider Log Retention:** Make a policy for how long logs should be retained. A common practice is to keep them for at least six months before archiving or deleting old data.
By following these best practices, you can ensure that your WordPress site is protected and that your logging efforts are productive.
Troubleshooting Common Issues with Logging
Even with the best tools and practices in place, you may occasionally encounter issues with WordPress admin logging. Here are some common problems and how to troubleshoot them:
- Logs Not Recording Actions: If your logging plugin isn’t capturing any data, check if it is correctly configured. Ensure that the necessary settings are enabled and that you have the correct permissions.
- Excessive Database Size: Over-logging can bloating your database. To counter this, review your logging settings and reduce the types of actions logged.
- Inaccessibility: If you can’t access your logs, ensure you’re using the right user role that has permission for log access. Also, check if your hosting provider has any restrictions.
- Plugin Conflicts: Sometimes, other plugins may conflict with your logging plugin. Disable other plugins one by one to determine which one is causing the issue and seek alternatives.
- Slow Site Performance: If your website is running slowly, logging can be a factor. Use caching plugins, optimize your database, and limit logging where possible without sacrificing security.
- Error Messages: Always check the error logs if your logging plugin shows error messages. These logs can guide you to solutions or help you identify if a more significant issue exists.
By being proactive and resolving these common issues, you can ensure that your logging practices remain effective and beneficial for your WordPress site management.
Conclusion: Enhancing Security and Accountability with Logging
Implementing effective logging in WordPress for all admin actions is crucial for maintaining the integrity and security of your website. By leveraging logging mechanisms, site administrators can enhance accountability, trace potential security breaches, and understand user behaviors on their site.
Here are some of the key benefits of WordPress logging:
- Increased Security: Logging admin actions helps in identifying unauthorized access or suspicious activities, enabling quick responses to potential threats.
- Accountability: With a clear record of who did what and when, it becomes easier to hold team members accountable for their actions.
- Improved Troubleshooting: When issues arise, having detailed logs allows for quicker diagnostics and resolution, minimizing downtime.
- Regulatory Compliance: For businesses, maintaining logs of admin actions can help meet legal and compliance requirements.
- Data Integrity: You can monitor changes made to posts, configurations, and user roles, ensuring data consistency over time.
To get started with logging in WordPress, consider using plugins like WP Security Audit Log or Simple History. These tools provide an intuitive dashboard and allow you to view logs in real-time.
| Plugin Name | Key Features | Best For |
|---|---|---|
| WP Security Audit Log | Comprehensive tracking, alerts, and reporting | Large organizations |
| Simple History | User-friendly interface, change logs | Small to medium websites |
In conclusion, adopting a logging strategy for all admin actions is not just a best practice; it is essential for the robust security and management of your WordPress site.

