Have you ever stumbled upon a fantastic blog post complete with eye-catching images that made you think, “I wish I could bring this to my own site”? Well, you’re in luck! Importing blog posts with images from external URLs into WordPress isn’t as daunting as it sounds. In this guide, we will break down the process step by step. So, whether you’re looking to curate great content or just want to spice up your site, let’s dive into how you can effectively import posts while retaining those stunning visuals.
Understanding the WordPress Import Process

Before we plunge into the actual importing process, it’s essential to understand how WordPress handles imports. The platform offers various tools, primarily through the use of plugins, to facilitate smooth imports of posts from different sources. Here’s what you need to know:
- WordPress Importer Plugin: This built-in tool lets you import content from a WordPress export file. If you’re transferring posts from one WordPress site to another, you’ll use this.
- RSS Feeds: If the external website provides an RSS feed, you can fetch content using the built-in feed services in WordPress.
- Custom Post Types: Depending on your needs, you might want to import custom post types, which require more specific handling.
- Third-Party Plugins: Plugins like “WP All Import” or “Import External Images” are fantastic options, allowing for a more automated process.
Here’s a quick table to visualize the options:
| Method | Best For | Notes |
|---|---|---|
| WordPress Importer | Posts from another WordPress site | Simple and straightforward. |
| RSS Feeds | Fetching periodic updates | Limited control over formatting. |
| Custom Plugins | Complex imports with images | Offers flexibility, may require configuration. |
Understanding these methods will help you choose the right approach for bringing those fantastic external posts and images to your WordPress site!
Preparing External URLs for Import

When it comes to importing blog posts from external URLs into WordPress, preparation is key. You want to ensure that all your content loads perfectly with the layout you envisioned. Here’s how you can get those external URLs ready for a seamless import.
First, you need to gather all the URLs of the posts you want to import. This might seem like a tedious task, but it’s vital for a successful transfer. Here’s a quick checklist to help you:
- Make sure the URLs are valid and accessible.
- Check that the images associated with the posts are properly hosted and will remain accessible post-import.
- Review the formatting of your posts. Are they structured well?
- Identify and note any specific content types—like videos or infographics—that may require unique handling during the import process.
Once your URLs are ready, consider using a tool to create a CSV or XML file that WordPress can easily import. This file should contain the following:
| Field | Description |
|---|---|
| Post Title | The title of your blog post. |
| Post Content | The main body of your blog post, which may include text and links. |
| Image URLs | The direct URLs for any images you want to include. |
By organizing your external URLs with these considerations, you’ll be on the fast track to a smooth import process!
Using Plugins for Importing Blog Posts
Once your external URLs are prepared, it’s time to dive into the world of WordPress plugins that can simplify the importing process. Plugins are like superheroes in the WordPress ecosystem—they can help you perform complex tasks without needing a degree in coding.
Here are some popular plugins that can make importing external blog posts a breeze:
- WP All Import: This powerful plugin allows you to easily import XML or CSV files directly into your WordPress site, letting you customize fields for posts, images, and other attributes.
- Import any XML or CSV File to WordPress: A straightforward plugin that handles a variety of formats, enabling smooth transfers from different platforms.
- Feedzy RSS Feeds: If your external URLs come from RSS feeds, this plugin helps you aggregate that content straight into your WordPress site.
To use these plugins, follow these general steps:
- Install the chosen plugin from the WordPress Plugin Directory.
- Activate the plugin and navigate to its settings.
- Upload your CSV or XML file containing your external URLs.
- Map the fields from your file to WordPress post types.
- Hit the import button and watch as your content populates your site!
Using plugins not only saves you time but also minimizes the chances of errors during the import process. So, choose the one that fits your needs best, and get ready to see your blog posts come to life.
5. Step-by-Step Guide to Importing Posts with Images
Importing blog posts along with their images into WordPress can seem daunting, but fear not! With a structured approach, you can seamlessly migrate your content. Here’s a simple guide to help you along the way:
- Prepare Your Data: Before you begin, make sure your blog posts and images are organized. Create a CSV or XML file that lists your posts, complete with titles, content, and the external URLs for images.
- Install Necessary Plugins: Depending on your import format (CSV or XML), you may need plugins like “WP All Import” for XML or “CSV Importer” for CSV files. Download and activate the necessary plugins through your WordPress dashboard.
- Configure Import Settings: Navigate to your chosen import plugin and upload your CSV or XML file. You’ll be prompted to map fields—be sure to connect your post titles, content, and image URLs correctly.
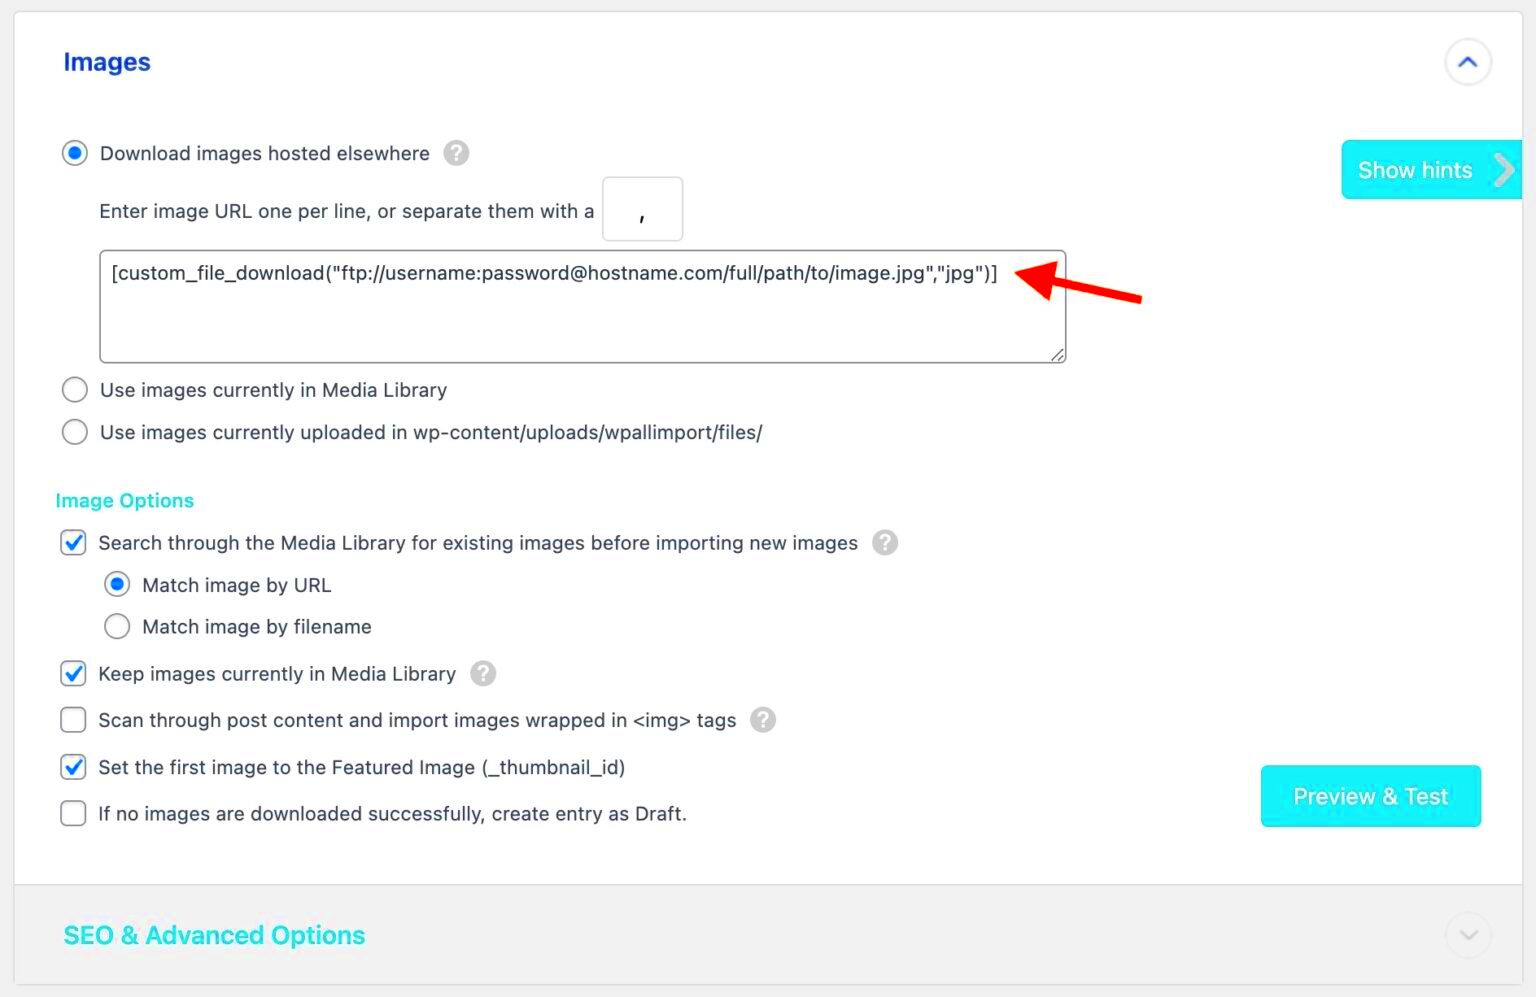
- Image Handling: Most modern plugins will give you an option to download the images from the external URLs. Make sure to check that box. This ensures that the images get uploaded to your media library during the import.
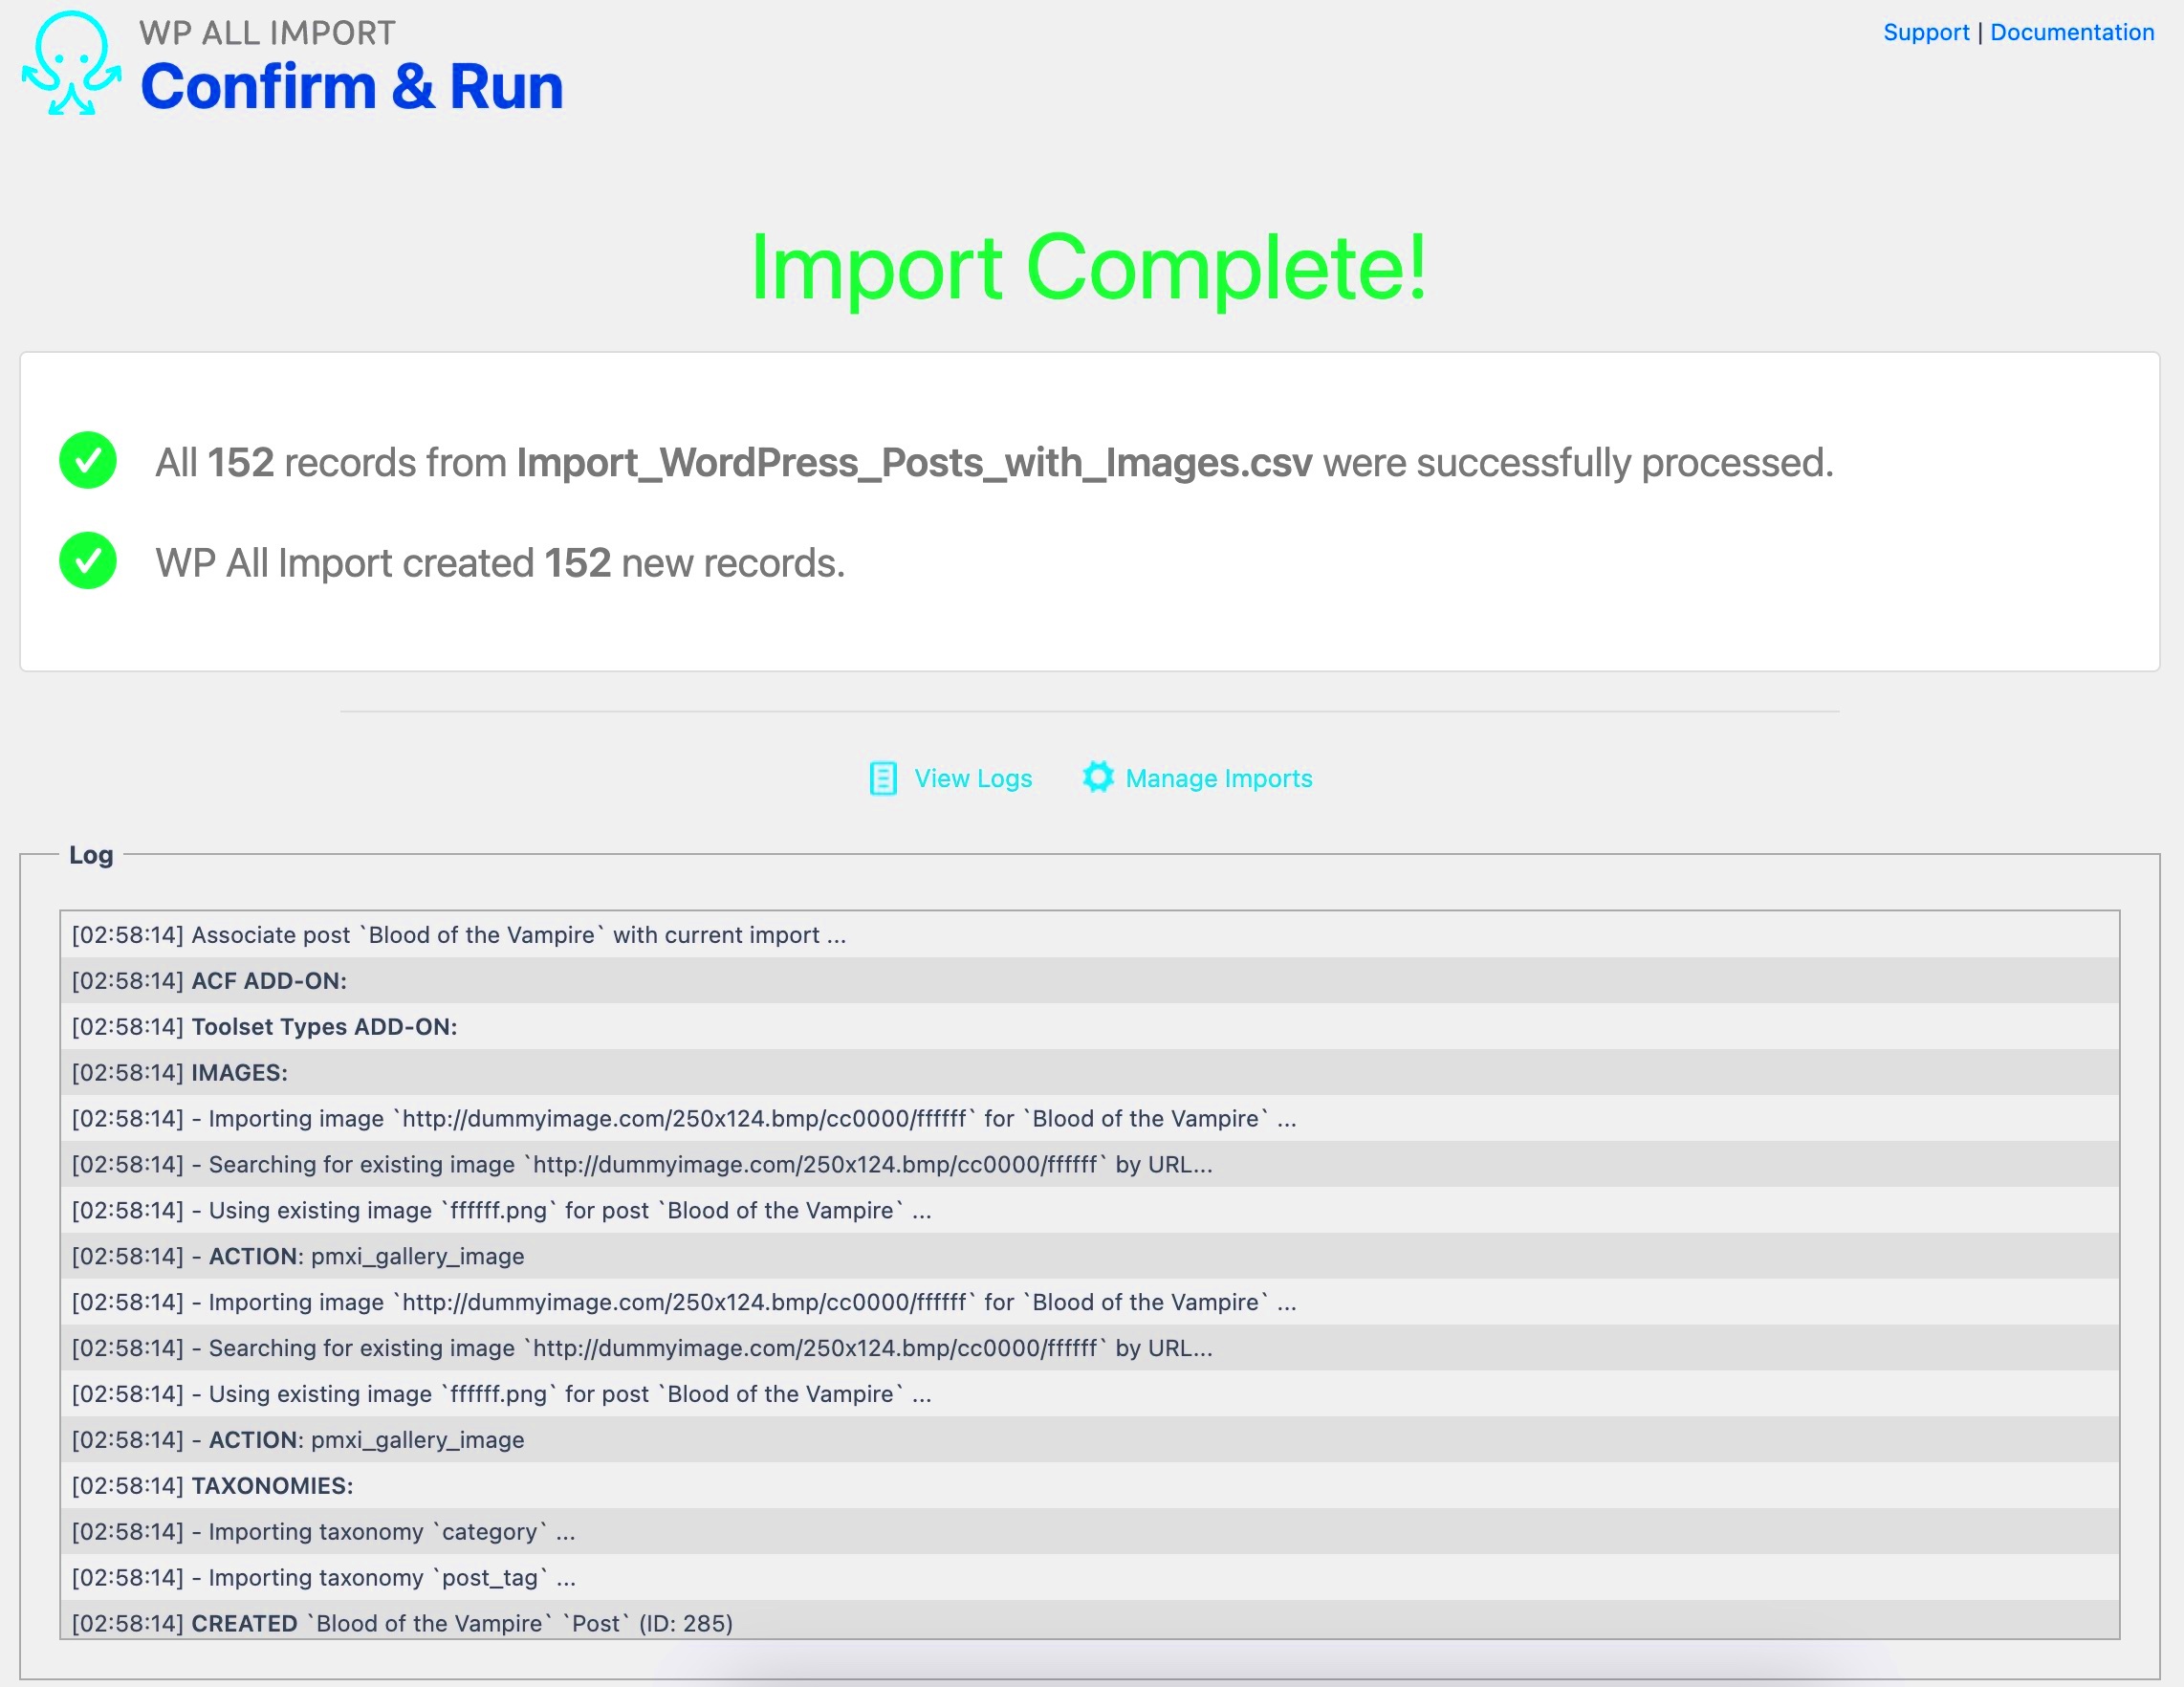
- Run the Import: After mapping the fields and configuring settings, click the “Import” button. The plugin will begin importing your posts and images. Depending on your data size, this may take a little time.
- Verify the Import: Once the import process concludes, it’s essential to review your posts. Check if images are appearing correctly and that the content looks as intended. If not, revisit your CSV or XML file for any discrepancies.
There you go! By following these steps, you should now have your posts and images imported successfully into WordPress.
6. Handling Image URL Issues After Import
After the import process, you may encounter some issues with image URLs. Don’t worry; most of these problems have straightforward solutions. Here are some common concerns and their fixes:
- Broken Image Links: If you see blank spaces or error icons instead of images, it may be due to incorrect URLs. Double-check the URLs in the original data file to ensure they are active and accessible.
- Images Not Downloading: Sometimes, images won’t download correctly during import. If this happens, you can manually edit the posts and either update the image URLs or re-upload the images directly into your media library.
- Image Sizing Issues: Imported images may not fit your theme’s layout perfectly. Use a plugin like “Regenerate Thumbnails” to resize your images accordingly. This helps ensure that they display correctly across your site.
- Image Alt Tags: While importing, your image URLs won’t automatically carry over alt tags. Remember to manually add relevant alt text to your images for better SEO and accessibility.
By tackling these issues proactively, you can enhance your blog’s visual appeal and maintain a smooth user experience on your WordPress site.
Testing and Verifying Your Imported Posts
Once you’ve successfully imported your blog posts along with images from external URLs into WordPress, the next crucial step is to test and verify that everything is functioning properly. After all, what good is a blog if your content doesn’t display correctly? Here’s a straightforward way to go about it:
- Check Post Formatting: Navigate through each imported post and make sure they retain their original formatting. Look for issues like missing headings, improperly aligned images, or broken links.
- Verify Images: Click on each image to ensure it loads properly. Wait a moment to see if it renders correctly from the external URL. If any images don’t load or display as a broken link, you may need to either manually upload them to your media library or troubleshoot the URL.
- Test Links: If your blog posts include links to external websites, click on them to make sure they lead to the intended destination. Broken links can frustrate readers and can also negatively affect your SEO.
- Check for SEO Tags: Ensure that any metadata, such as titles, descriptions, and alt tags for images, have been correctly imported. Tools like Yoast SEO can assist in verifying this information.
- Review Categories and Tags: Make sure that the posts are categorized correctly and that any tags are intact. This will help both search engines and readers navigate through your blog more effectively.
Taking the time to thoroughly test and verify your imported posts will save you from potential headaches down the line. It’s best to identify any issues now rather than having your audience encounter them later.
Best Practices for Future Blog Post Imports
Now that you’ve maneuvered the importing process, it’s time to consider how to make future blog post imports as seamless and successful as possible. Here are some tried-and-true best practices to implement:
- Standardize Image Formats: Use universally compatible formats, like JPEG or PNG, for images to prevent display issues across different systems.
- URL Reliability: Make sure the external URLs you’re importing from are stable and trustworthy. If images or posts are stored on a temporary server or an unreliable source, they may go offline.
- Utilize Import Tools: Explore plugins specifically designed for importing blog posts, as they often have built-in features to handle images better and ensure everything is correctly formatted.
- Backup Your Data: Before any import, always back up your current WordPress site. A reliable plugin can automate this task, offering peace of mind should anything go wrong.
- Schedule Regular Reviews: Regularly review your website for broken links or missing images after importing. Consistent checks can help maintain the quality and accessibility of your content.
Implementing these best practices will not only smooth the import process but also enhance the overall experience for you and your readers. Your blog will be more reliable and visually appealing, helping you to build stronger engagement and trust with your audience.
Conclusion
Importing blog posts with images from external URLs into WordPress can greatly enhance your website’s content richness and appeal. This process not only saves time but also ensures that the images are seamlessly integrated into your WordPress media library, optimizing your site for better performance and user engagement. Here are some key takeaways to consider:
- Understanding Tools: Familiarize yourself with various tools and plugins that can facilitate the import process, such as WP All Import or a custom CSV importer.
- Image Handling: Ensure that the images you are importing are of high quality and copyright-free or appropriately licensed.
- Data Structure: Prepare the data in the correct format, typically using CSV, to ensure a smooth import process.
- Testing: Always perform a test import with a few entries before conducting a full-scale import to avoid errors and data loss.
- Backup: Prior to any import activity, back up your WordPress site to mitigate the risk of losing data.
By following these guidelines, you can efficiently import external blog posts and images into your WordPress site, enhancing your content strategy and improving audience engagement.


