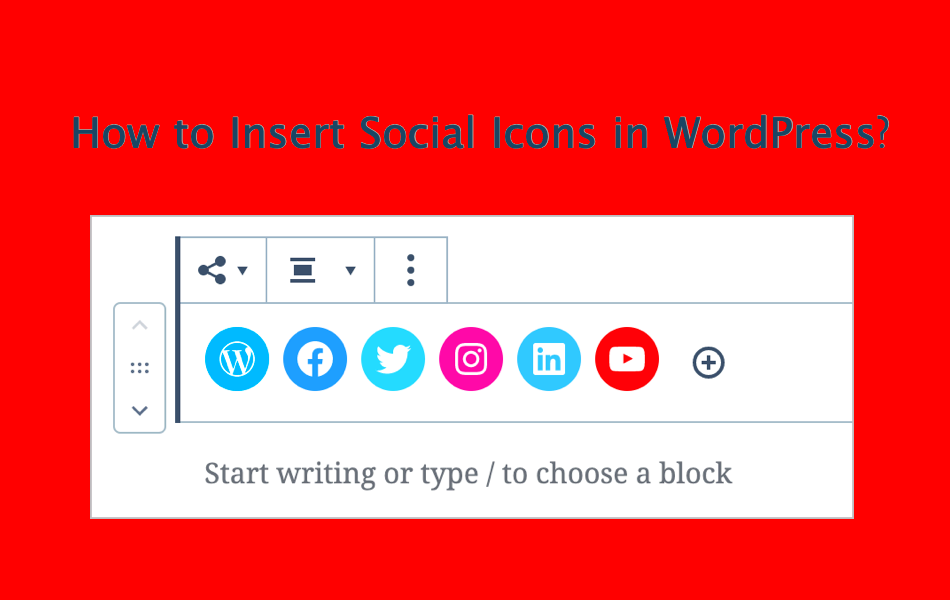
Have you ever visited a website and noticed those beautiful, unique social media icons? Those are custom social follow icons, and they can make your brand pop! In a world where online presence is paramount, having a visually appealing way for visitors to connect with you on social media is essential. This blog post will guide you through the process of adding custom social follow icons to your WordPress site using a handy plugin. Let’s get started!
Benefits of Using Custom Social Follow Icons

When you’re sprucing up your website, custom social follow icons can offer a plethora of advantages. Here’s why you should consider adding them:
- Branding Opportunity: Custom icons can be designed to reflect your brand’s personality, colors, and style. This creates a cohesive look across your site and social platforms.
- Increased Engagement: Unique and eye-catching icons can entice users to click through to your social media pages, increasing your audience and engagement levels.
- Improved User Experience: Having icons that blend seamlessly with your site’s design can make navigation easier and more enjoyable for visitors.
- Stand Out from the Crowd: Let’s be honest; generic social media icons can blend into the background. Custom designs set you apart and make your website more memorable.
- Flexibility: Using a WordPress plugin allows for a variety of customization options, giving you the freedom to choose icon shapes, sizes, and hover effects to match your vision.
- Easy to Implement: With plugins available, you don’t need to be a coding wizard to add and manage your social icons.
With these benefits in mind, it’s clear that custom social follow icons are a smart addition to any WordPress site. Get creative, and let’s make those social icons work for you!
Choosing the Right WordPress Plugin for Social Icons

When it comes to adding custom social follow icons on your WordPress site, the right plugin can make all the difference. With countless options available, narrowing it down can be overwhelming. But don’t worry, we’ve got your back! Here’s what to look for when choosing the perfect plugin.
- Functionality: Make sure the plugin supports the social platforms you want to feature. Are you looking to include not just the usual suspects like Facebook and Twitter, but also niche platforms such as Pinterest or TikTok? Check the compatibility!
- Customization: Look for plugins that allow you to customize the appearance of your icons to match your site’s branding. Color options, sizes, and animation styles are a plus!
- Ease of Use: User-friendliness is crucial. A plugin with a simple interface can save you time and frustration. Look for plugins that offer drag-and-drop functionality or easy-to-navigate settings.
- Support and Updates: Choose a well-supported plugin that receives regular updates. This ensures compatibility with the latest version of WordPress and keeps your site secure.
- Reviews and Ratings: Before making a decision, read user reviews and check ratings. They can provide insight into the plugin’s reliability and performance.
Remember, the ideal plugin depends on your specific needs. Take your time and experiment with a few options. The perfect fit is out there waiting for you!
Step-by-Step Guide to Installing the Plugin
So you’ve found the perfect WordPress plugin to add those custom social follow icons? Awesome! Now let’s get it up and running on your site. Just follow these simple steps:
- Log into Your WordPress Dashboard: Start by navigating to your WordPress admin panel. You’ll find this typically at
yourwebsite.com/wp-admin. - Go to Plugins > Add New: On the left sidebar of your dashboard, click on the “Plugins” tab, then choose “Add New.”
- Search for Your Plugin: In the search bar, type the name of the plugin you’ve chosen. Browse the results and select your desired plugin.
- Install the Plugin: Once you find it, simply click the “Install Now” button. The installation process will take just a few moments.
- Activate the Plugin: After installation, you’ll see an “Activate” button. Click it to enable the plugin on your site.
- Configure Plugin Settings: Once activated, head to the plugin’s settings. Usually located under the “Settings” tab or within its menu, customize your social icons to fit your style.
- Preview and Test: Don’t forget to preview your changes. Open your site in another tab and see how the social icons appear. Test them to make sure they link correctly!
And voilà! You’ve successfully installed your custom social follow icons. It’s a simple process, but it adds immense value to your site by connecting your audience to your social profiles. Happy blogging!
Customizing Your Social Follow Icons
Customizing your social follow icons can breathe life into your website, making it visually appealing while reflecting your brand’s personality. Fortunately, doing this with a WordPress plugin is straightforward and fun! Here’s how you can get started:
First, choose a plugin that fits your needs. Many options like “Simple Social Icons” or “Social Media Follow Buttons” offer great customization features. After installing your chosen plugin, head to the settings section. Here’s what you’ll typically find:
- Icon Styles: Modify the icon shapes, sizes, and colors. You can choose from circular, square, or rounded styles, and customize colors to match your website’s palette.
- Hover Effects: Make your icons interactive by adding hover effects. Play with opacity changes or animations to capture your visitors’ attention.
- Positioning: Decide where you want your icons to appear. Most plugins allow you to add them to different locations like the header, footer, or sidebar.
Additionally, some plugins let you upload custom icons if you want something unique. Remember, you want your icons to be recognizable and easy to identify, so keep it simple yet stylish!
Lastly, regularly check your icons for any outdated links or new social media platforms that you may want to include. Keeping your social following current not only looks professional but encourages visitors to connect with you on different platforms.
Adding Icons to Your Website
Once you’ve customized your social follow icons, it’s time to add them to your website! This step is crucial because even the best-designed icons won’t do you any good if they’re not visible to your audience. Here’s a quick guide on how to add your icons effectively:
| Placement Option | Step-by-Step Instructions |
|---|---|
| Header | 1. Go to Appearance > Widgets. 2. Drag the social icons widget to the header area. 3. Save changes. |
| Footer | 1. Navigate to Appearance > Widgets. 2. Place the social icons widget in the footer section. 3. Configure and save. |
| Sidebar | 1. Access Widgets from the Appearance menu. 2. Drag the widget to the sidebar. 3. Adjust settings and save. |
| Custom Widget Area | 1. Use a page builder like Elementor. 2. Add a social icons module. 3. Customize and publish. |
Don’t forget to preview your website after adding the icons. Check how they look on various devices—mobile, tablet, and desktop—to ensure they are responsive and functioning well. Remember, having your social follow icons easily accessible can significantly boost engagement with your audience!
Best Practices for Social Media Integration
When it comes to integrating social media into your WordPress site, there are several best practices to keep in mind. Following these can help enhance user engagement and improve your site’s overall performance. Here are some tips to ensure a smooth integration:
- Align with Your Brand: Make sure that the social media icons you choose reflect your brand’s identity. This includes using the right colors, shapes, and sizes that create a cohesive look on your website.
- Keep It Simple: Avoid cluttering your website with too many social icons. Focus on the platforms where you are most active, ensuring that visitors can easily find and engage with your content.
- Position Strategically: The placement of social icons is crucial. Consider placing them in the header, footer, or sidebar where they can be easily spotted without dominating the content.
- Responsive Design: Ensure that your social media icons are mobile-friendly. This means they should resize appropriately on different devices, providing a consistent experience for all users.
- Use Descriptive Labels: While icons are visually appealing, adding text labels can help clarify where each icon leads. For example, adding “Follow Us on Twitter” next to the Twitter icon can encourage more clicks.
- Monitor Performance: Utilize analytics tools to track the performance of your social media integration. This can help you determine which platforms are driving the most traffic and engagement, enabling continuous optimization.
Implementing these best practices can truly enhance your website’s connection to social media, making it easier for your visitors to follow and interact with you online.
Testing and Troubleshooting Custom Icons
Once you’ve set up custom social follow icons on your WordPress site, it’s important to test them thoroughly to ensure they work as intended. Here are some essential steps and tips for testing and troubleshooting:
- Functionality Check: Click on each icon to ensure they redirect to the correct social media pages. Make sure there are no broken links which can frustrate users and may lead to a loss of followers.
- Cross-Browser Testing: Test your site across different browsers (Chrome, Firefox, Safari, etc.) to ensure that the icons appear correctly. Sometimes, CSS styling can differ, leading to unexpected display issues.
- Mobile Responsiveness: It’s crucial to check how your icons look on mobile devices. Open your website on various smartphones to confirm that the icons are visible and functional on smaller screens.
- Page Load Speed: Adding custom icons can impact your site’s load speed. Use tools like Google PageSpeed Insights to ensure that your customizations don’t slow down your website.
- Monitor User Interaction: Use heatmaps or click-tracking tools to see how effectively users are interacting with the icons. This data can provide insight into user behavior and highlight potential areas for improvement.
If you encounter issues, consider the following troubleshooting steps:
- Clear your browser cache to ensure you’re viewing the latest changes.
- Check for compatibility issues with your WordPress theme or other plugins.
- Consult the plugin documentation or support forums for specific troubleshooting tips.
By taking the time to test and troubleshoot your custom icons, you’ll create a seamless and enjoyable experience for your website visitors.
Conclusion
Integrating custom social follow icons into your WordPress site can significantly enhance your brand’s visibility and encourage user engagement. By utilizing a WordPress plugin, you can easily add stylish and functional icons that reflect your brand’s identity without the need for extensive coding knowledge. A well-chosen plugin will offer a variety of icons to suit your aesthetic preferences and make the process seamless.
Here are some key points to consider when adding custom social follow icons:
- Choose the Right Plugin: Ensure that the plugin you select is compatible with your WordPress version and meets your customization needs.
- Ease of Use: Look for plugins with user-friendly interfaces that allow you to add and manage icons effortlessly.
- Customization Options: Choose a plugin that offers a variety of icon styles, colors, and sizes to match your website design.
- Responsive Design: Ensure that the icons are mobile-friendly and display correctly on all devices.
- Regular Updates: Select plugins that receive regular updates to ensure compatibility with the latest WordPress versions and enhanced security.
Additionally, consider the placement of your social follow icons. You might want to add them in:
| Location | Description |
|---|---|
| Header | Visible on every page, helping users connect with you instantly. |
| Footer | Great for permanent visibility, ensuring that users can find you easily. |
| Sidebar | Effective for blog posts, encouraging sharing and following throughout the content. |
In conclusion, adding custom social follow icons using a WordPress plugin is a straightforward way to enhance user interaction and promote your social media presence. Take the time to explore different plugins and styles that suit your brand for the best results.


