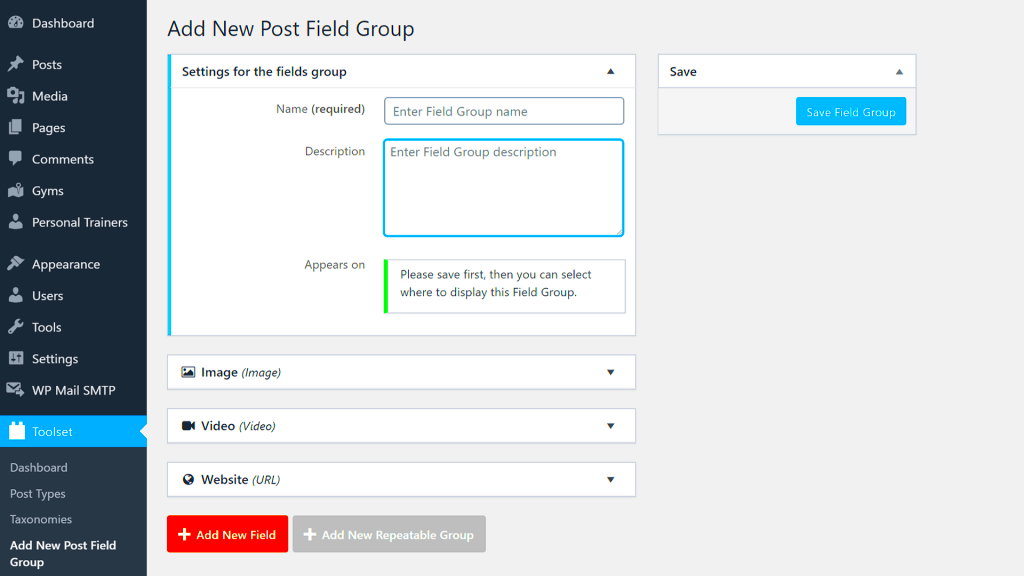
Advanced Custom Fields (ACF) is a powerful plugin for WordPress that empowers developers and site owners to customize their content. By allowing the addition of various types of custom fields to posts, pages, and even user profiles, ACF enhances the flexibility of WordPress, making it a highly efficient content management system. If you want to enrich user profiles or streamline registration processes, ACF can help you create a seamless experience tailored to your needs.
Prerequisites for Using ACF in User Registration
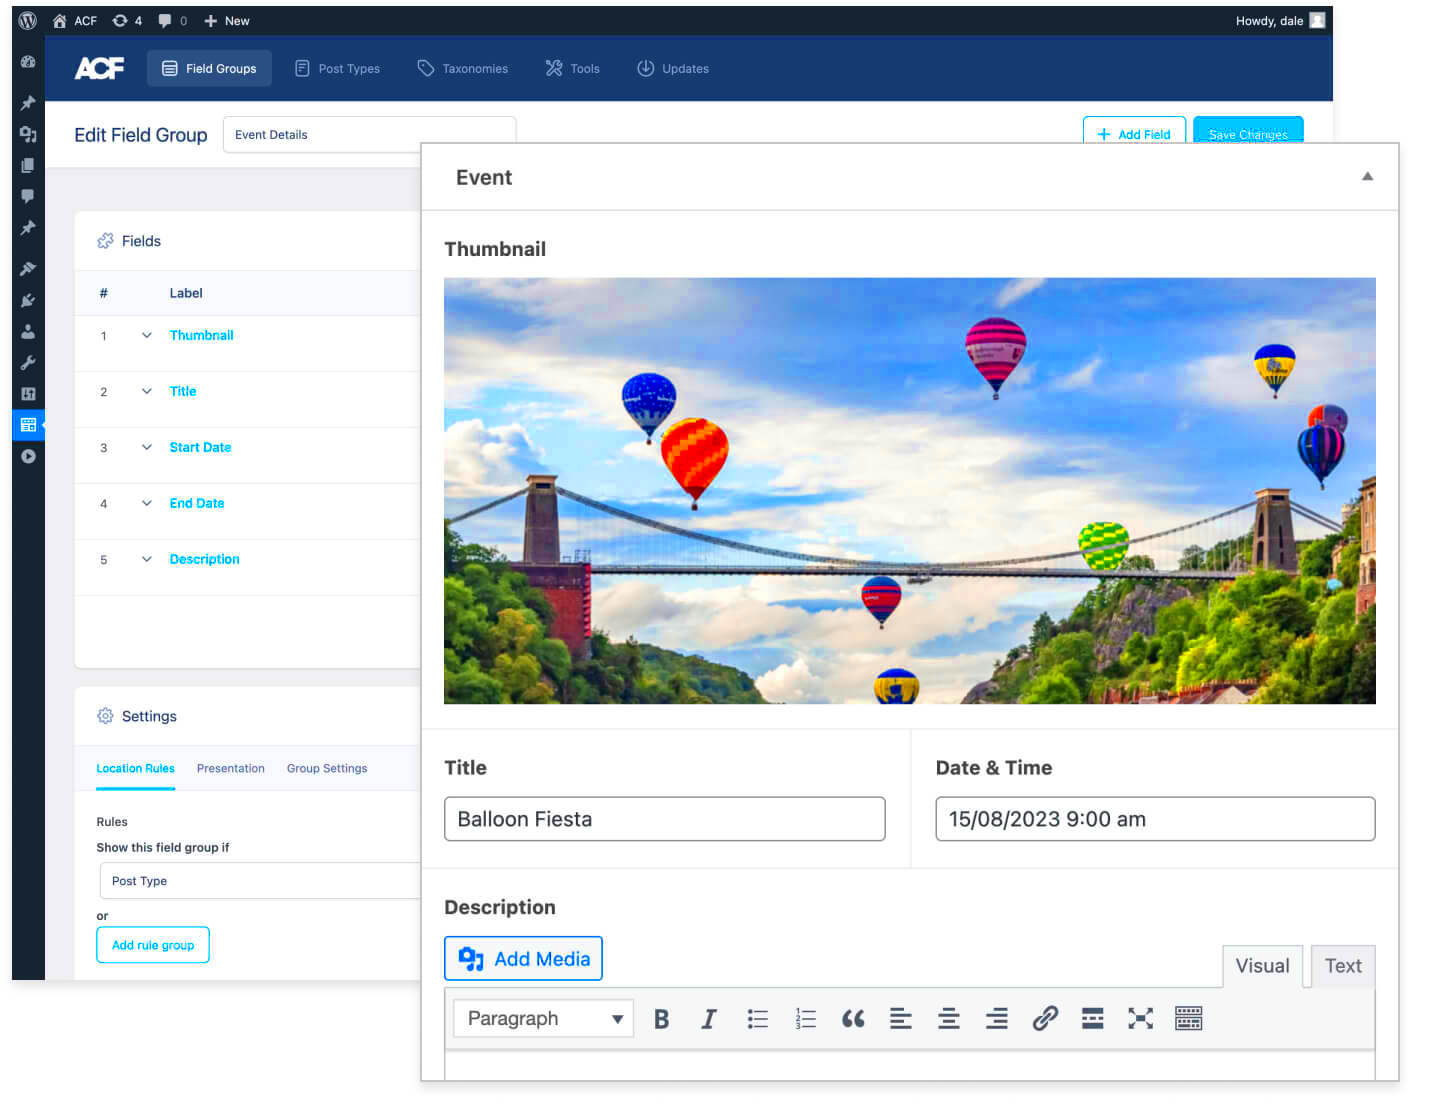
Before diving into integrating Advanced Custom Fields for user registration in WordPress, it’s essential to ensure that you have a few foundational elements in place. Here’s a checklist to help you get started:
- WordPress Installed: You must have an active WordPress site, preferably the latest version, for optimal compatibility.
- ACF Plugin Installed: Download and install the Advanced Custom Fields plugin from the WordPress Plugin Repository. You can opt for the free version, but the Pro version provides even more functionalities.
- A Basic Understanding of PHP: Familiarity with PHP and the WordPress coding standards can help you customize ACF fields and templates effectively.
- Custom User Role Permissions: If you plan to create new user roles, ensure you have plugins like User Role Editor or similar for advanced user management.
- JavaScript Skills (optional): Some custom functionalities may require basic knowledge of JavaScript, especially if you’re looking to enhance the user experience further.
By ensuring you have these prerequisites, you’re set to leverage the full potential of ACF in user registration. The goal is to provide a more enriching, interactive experience for your users while managing their data efficiently.
Setting Up Advanced Custom Fields
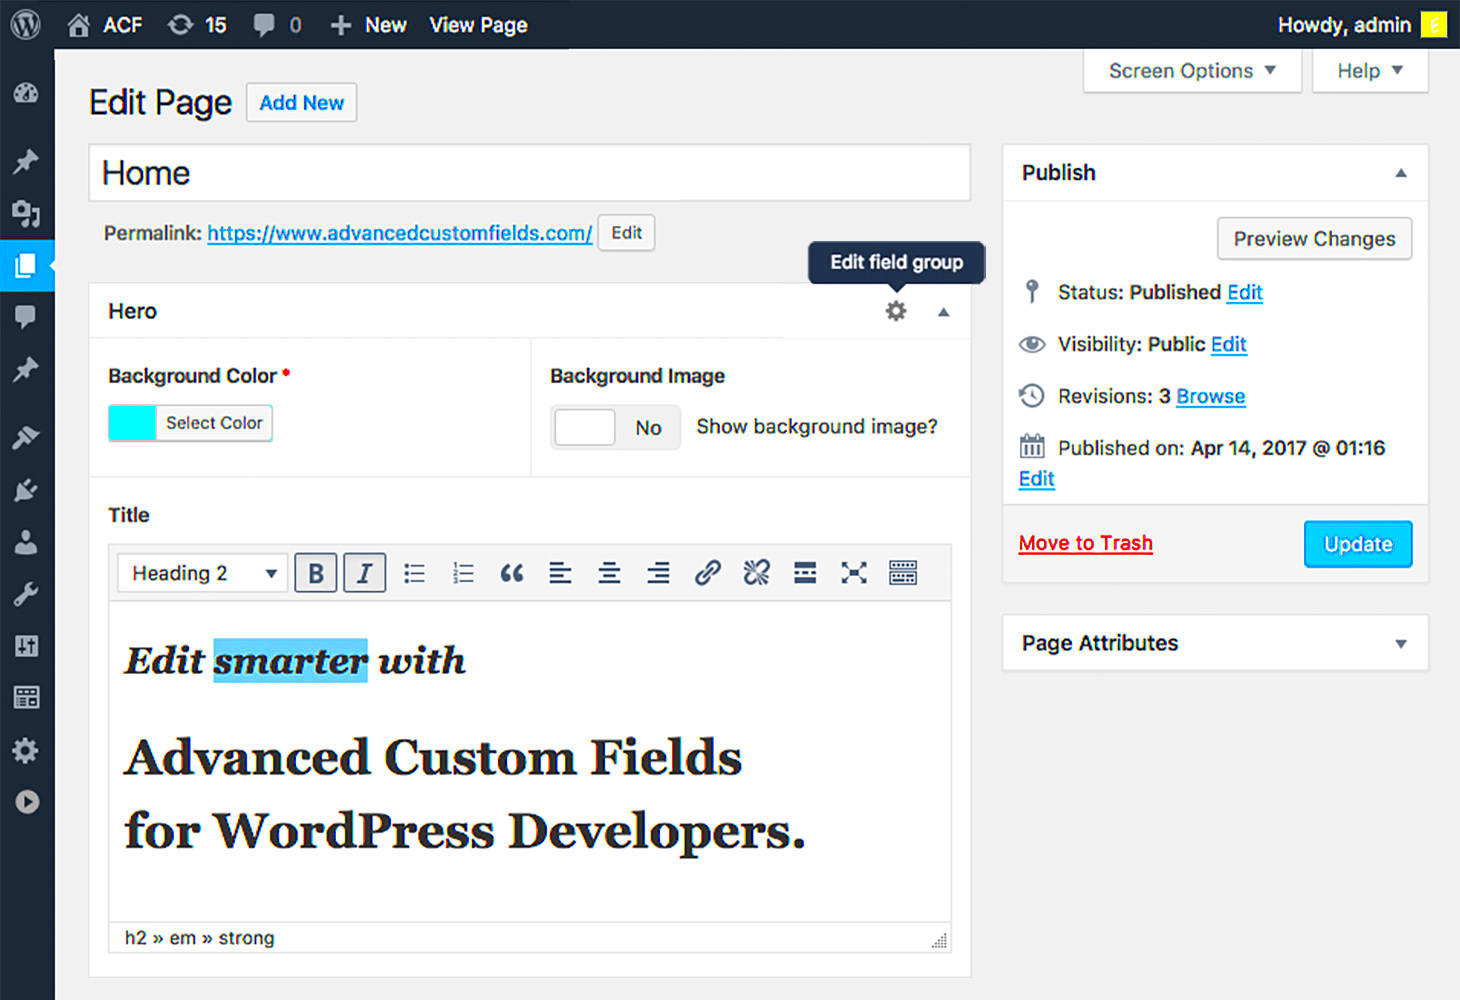
Getting started with Advanced Custom Fields (ACF) in WordPress is a breeze. To kick things off, you’ll first need to install and activate the ACF plugin. Here’s a quick rundown of how to do it:
- Log into your WordPress dashboard.
- Navigate to Plugins > Add New.
- In the search bar, type “Advanced Custom Fields.”
- Click on the Install Now button next to the plugin.
- Once installed, hit the Activate button.
Once ACF is activated, you’ll find a new menu item called Custom Fields on your dashboard. This is where all the magic happens!
Before jumping into creating your custom fields, it’s a great idea to check out the settings. Click on Custom Fields and head to the Settings tab. You’ll see options to adjust the field group settings and some other advanced options. Feel free to explore, but for user registration purposes, the default settings typically work just fine.
Now that ACF is set up, you’re ready to create the custom fields that will enhance your user registration process!
Creating Custom Fields for User Registration
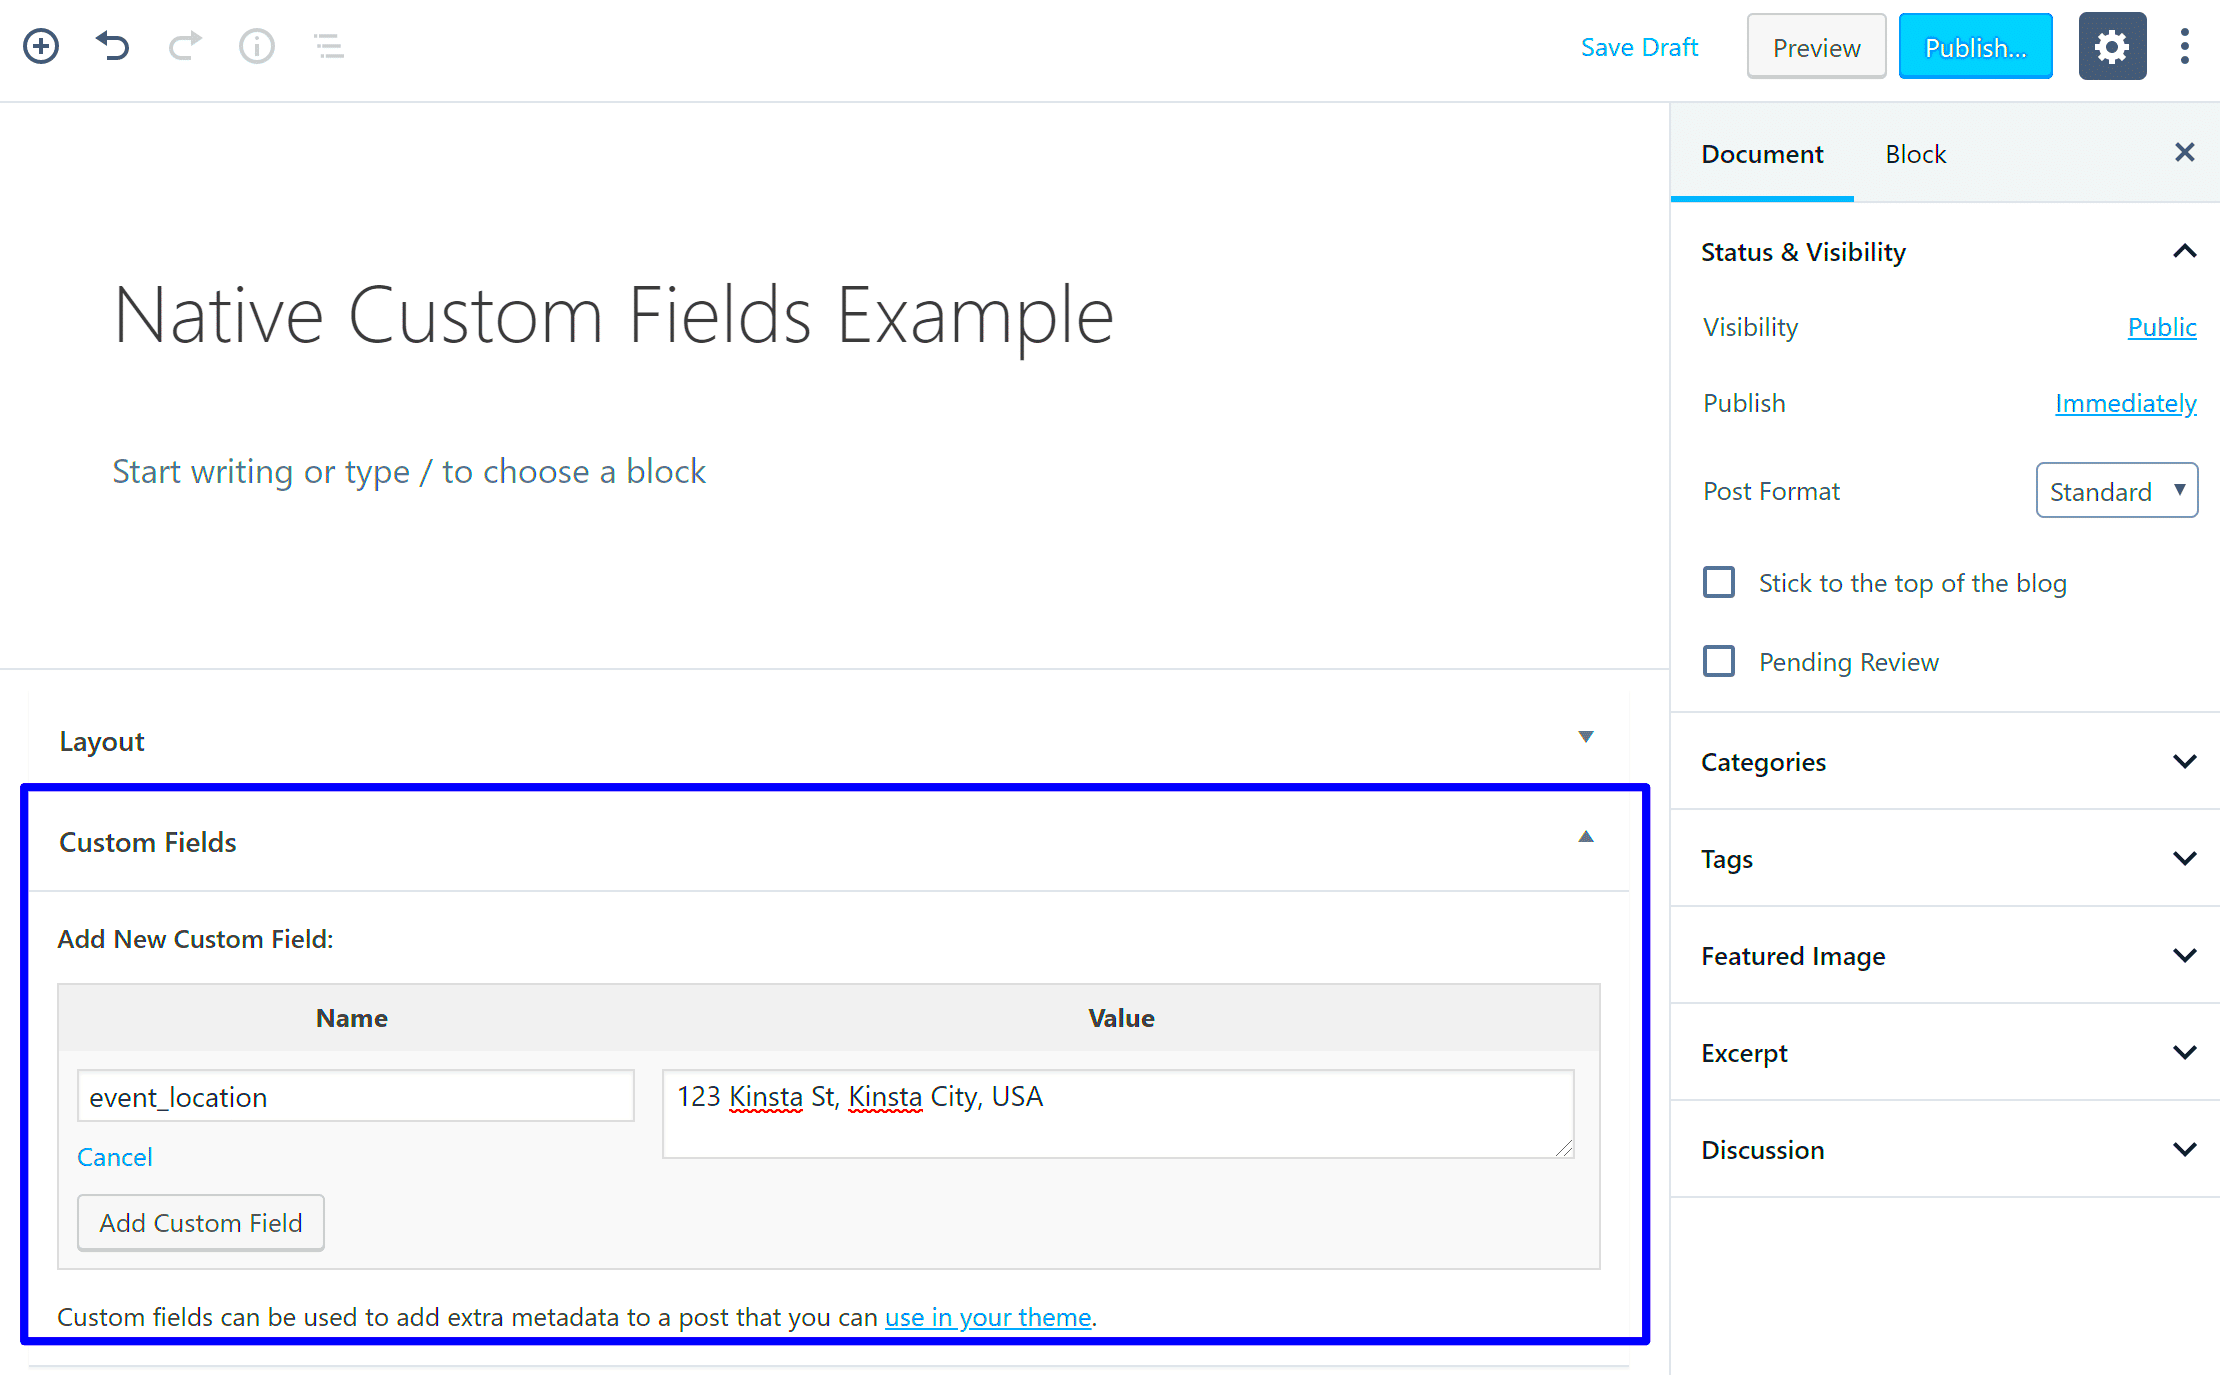
Creating custom fields for user registration with ACF is not just efficient but also incredibly intuitive. Let’s dig into how you can easily set this up:
- From the Custom Fields menu, click on Add New to create a new field group.
- Give your field group a relevant title, such as “User Registration Fields.”
- Now, let’s add the custom fields:
| Field Label | Field Name | Field Type |
|---|---|---|
| First Name | first_name | Text |
| Last Name | last_name | Text |
| Phone Number | phone_number | Text |
To add a new field, click on the Add Field button. Fill in the details in the fields above, and customize the settings according to your needs. You can make fields required by toggling the “Required” option as well.
Once you’ve added all necessary fields, you need to set the location rules. This is to tell ACF when to display these fields. Choose “User Form” from the drop-down options. Save your changes, and just like that, your custom fields are ready for action!
Next up? Integrating these fields into the user registration process. Exciting stuff!
Integrating ACF with WordPress User Registration
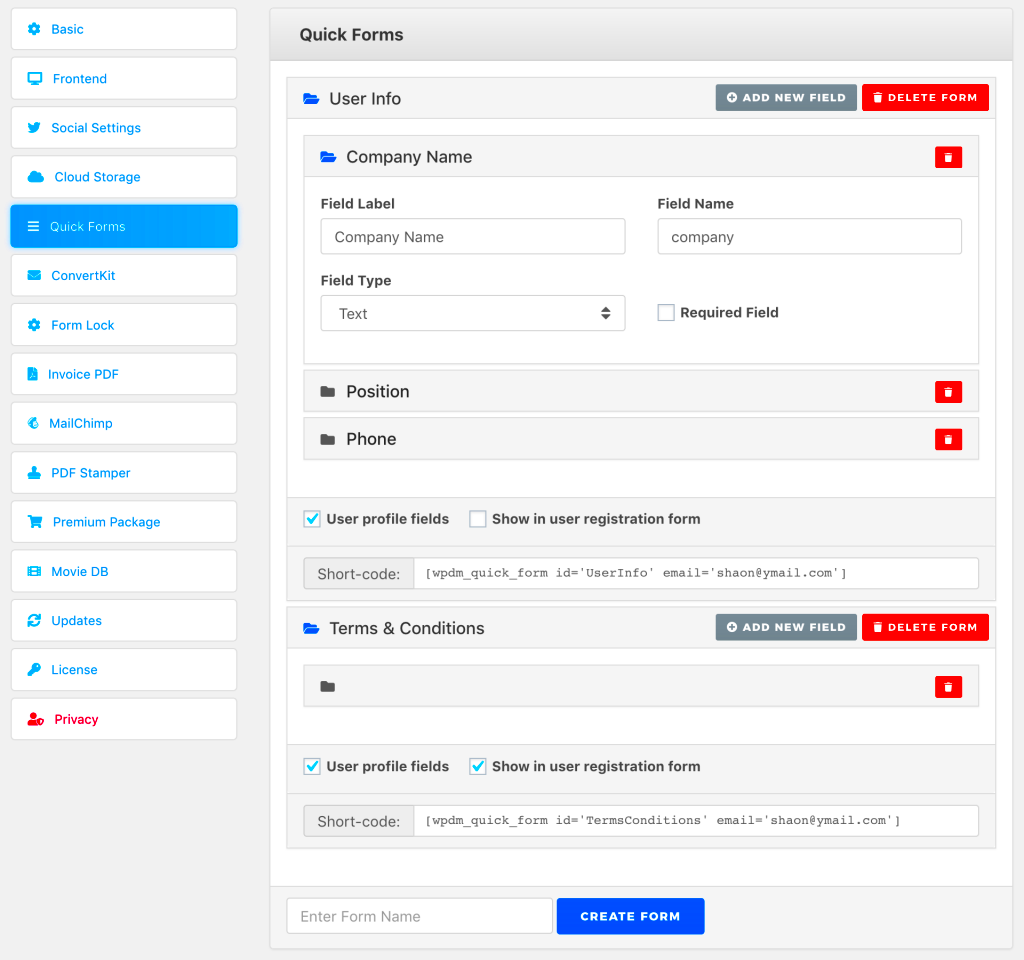
Integrating Advanced Custom Fields (ACF) with WordPress user registration is a powerful way to customize your user experience and gather specific information about your users. By leveraging ACF, you can create custom fields that fit your registration form’s needs, allowing you to collect data that goes beyond the standard username and password.
First, you’ll need to set up ACF. After installing and activating the ACF plugin, navigate to the “Custom Fields” menu in your WordPress dashboard, where you can create a new field group. It’s essential to tailor your fields to suit your user registration purposes. Here’s how you can do it:
- Create Custom Fields: Think about what additional information would be beneficial. Some common fields include:
- Profile Picture
- User Bio or Description
- Social Media Links
- Interests and Hobbies
- Field Types: Choose appropriate field types for your custom fields. ACF supports various types, such as text, image, checkbox, or dropdown.
- Displaying Fields: Once your fields are set up, configure them to appear on the user registration form. This can be done by editing your registration template file or using a short code to display these fields where needed.
By integrating ACF with user registration, you’re not only enhancing the user experience but also capturing valuable data that can aid in user engagement and community building on your site.
Handling User Registration Submission
Once you’ve set up your custom user registration form with ACF, the next big task is handling the user registration submission. This process is crucial to ensure that all data is captured, validated, and stored correctly in your WordPress database.
Here’s a basic outline of how to handle user registration submissions effectively:
- Form Submission: Start by ensuring that your form submits data via POST method. Collect all standard fields like username, password, and the custom fields added using ACF.
- Data Validation: Before saving any data, it’s essential to validate the input. Ensure that:
- Username is unique.
- Password meets your site’s security requirements.
- Custom fields are filled out correctly (e.g., ensuring email format is valid).
By handling user registration submission thoughtfully, you ensure a seamless experience for new users on your site while maintaining data integrity and security.
Displaying Custom User Fields on the Frontend
Once you’ve set up custom user fields with Advanced Custom Fields (ACF), the next logical step is to display them on the frontend. This allows you to provide personalized information to your users and enhances the overall experience. Let’s dive into how to showcase those fields on your site!
To start displaying custom fields, you’ll want to use the ACF functions within your theme’s template files. Here’s a simple way to do it:
- First, identify the template where you’d like to add the custom fields. This could be your user profile page or a custom user dashboard.
- Next, you will use the get_field() function provided by ACF to fetch the custom user data.
- Finally, echo the custom fields where you want them to display.
Here’s a basic example of how the code might look:
<!--?php $user_id = get_current_user_id();$user_role = get_field('user_role', 'user_' . $user_id);echo 'User Role: ' . $user_role . '';?>
It’s also essential to consider styling these fields to match your site’s design. You might want to wrap these outputs in HTML tags for better positioning, or you could apply CSS classes to style them as per your theme.
Moreover, for a more enhanced user experience, you can create custom templates that will dynamically display different fields based on user roles or other criteria. Once configured, your custom user fields should now be beautifully displayed on your frontend!
Testing Your User Registration Process
Testing your user registration process is a critical step in ensuring that your setup using Advanced Custom Fields is working seamlessly. After all, the last thing you want is users running into issues when signing up!
Here’s how you can effectively test your registration process:
- Set Up a Test User: Start by creating a test user account. Fill in the registration form with varying data to ensure every possible scenario is covered.
- Validate Custom Fields: Make sure that all custom fields are capturing data correctly. Check both required and optional fields to see if they function as intended.
- Check Email Notifications: If you’ve set up email notifications after registration, confirm these are sent successfully. It’s important for users to receive a welcome message or confirmation.
- Monitor User Role Assignments: Verify that the correct user roles are being assigned as per your setup, especially if you have specific roles associated with different registration forms.
- Review the Frontend Display: Don’t forget to check the frontend display of registered users. Ensure all the custom fields and user information appear correctly and look good on various devices.
By doing comprehensive testing, you not only improve user satisfaction but also minimize potential issues in the future. Remember, regular testing whenever changes are made can save you a lot of headaches down the line, so keep this process ongoing!
Troubleshooting Common Issues
When working with Advanced Custom Fields (ACF) to register users in WordPress, you may encounter some common issues. But don’t fret! Most problems have straightforward solutions. Here’s a rundown of those pesky issues and how to tackle them:
- Field Validation Errors: Sometimes, fields do not validate correctly. Ensure that the field settings are correctly configured in ACF, especially for required fields. Check your JavaScript console for errors that may indicate what’s going wrong.
- Form Not Submitting: If the registration form isn’t submitting, make sure you’ve included all necessary action hooks in your theme’s functions.php file. Sometimes, a missing nonce verification can cause submission failures. Check that your nonce is set up correctly.
- Missing or Incorrect Data: If user data isn’t being saved properly, double-check that your `update_user_meta()` and `add_user_meta()` functions are correctly defined after the user registration process. Also, ensure that your custom fields are correctly mapped and correspond to the right data.
- Plugin Conflicts: Occasionally, other plugins can interfere with ACF or user registration processes. Disable other plugins one by one to locate the source of the conflict and seek resolutions accordingly.
- Theme Issues: If your theme is outdated or incompatible with the latest WordPress version, it can lead to issues. Make sure your theme supports ACF and is up to date.
Don’t be afraid to lean on community support forums or documentation if you’re stuck. The vibrant WordPress community is always willing to help troubleshoot these issues!
Conclusion
Using Advanced Custom Fields to register users in WordPress is a fantastic way to enhance user experience and tailor registration forms to meet specific needs. It unlocks an array of possibilities that go beyond the standard WordPress user registration process. You get more control and flexibility in creating dynamic forms that not only improve the user experience but also enrich your site’s functionality.
Here’s a quick recap of why using ACF for user registration is beneficial:
- Customization: You can create customized fields that cater to your audience, ensuring that you collect the necessary data.
- Enhanced User Experience: A well-structured form leads to a smoother registration process for users, which could increase conversions.
- Integration: ACF integrates seamlessly with other plugins and functionalities, allowing you to build more powerful and dynamic websites.
As you embark on your journey to create a tailored user registration experience, remember this: troubleshooting is part of the process. With patience and persistence, you’ll be able to overcome any obstacles that come your way. Happy coding!

