Vulnerability scanning is an essential part of maintaining a secure WordPress site. With millions of WordPress websites running on the internet, ensuring the safety of your site from potential threats is more critical than ever. Hackers and malicious actors often look for vulnerabilities in
Why Use VirtualBox for Scanning WordPress Sites?

So, why choose VirtualBox for scanning your WordPress sites? Let’s break down some compelling reasons:
- Sandbox Environment: VirtualBox allows you to create isolated environments where you can scan without affecting live sites. This means you can test your WordPress sites in a risk-free setup.
- Cost-Effective: Being an open-source platform, VirtualBox is free to use. This makes it a budget-friendly option for individuals or businesses looking to secure their WordPress sites.
- Cross-Platform Compatibility: VirtualBox works seamlessly on Windows, macOS, and Linux. This ensures that no matter what operating system you use, you can easily set up a secure environment for scanning.
- Snapshot Feature: You can save the state of your virtual machine at any point in time. If something goes wrong during your scanning process, you can revert back to a previous state, thus avoiding any unwanted consequences.
- Running Multiple Instances: VirtualBox allows you to create multiple virtual machines. This is particularly useful if you manage several WordPress sites, as you can scan each one independently.
In summary, using VirtualBox offers a practical and safe approach to vulnerability scanning in WordPress, ensuring you can keep your sites secure while minimizing risks.
Setting Up VirtualBox for Your WordPress Testing Environment

Setting up VirtualBox for your WordPress testing environment can seem daunting at first, but it’s actually quite straightforward. Let’s break it down step by step.
First things first, you’ll need to download and install VirtualBox on your machine. It’s available for Windows, macOS, and Linux, so no matter your operating system, you’re covered. Just visit the official VirtualBox website, grab the latest version, and follow the installation instructions.
Once you have VirtualBox up and running, it’s time to create a new virtual machine (VM). Here’s how you can do that:
- Open VirtualBox and click on the “New” button.
- Give your VM a name, such as “WordPress Testing”.
- Select the type to be “Linux” and the version to be “Ubuntu (64-bit)” (since Ubuntu is user-friendly for web server setups).
- Allocate about 2GB of RAM for optimal performance.
- Create a new virtual hard disk and select “VDI (VirtualBox Disk Image)”. A size of 20GB should be sufficient for a small testing environment.
Now you’ve laid down the groundwork for your testing environment, but there are a few more configurations to consider. Go into the settings of your new VM and navigate to the “Network” tab. Here, select “Bridged Adapter” to allow your virtual machine to connect to the internet just like your computer.
With these basic setups, you’re on the right track to create a WordPress testing lab. Just a few more steps to go, and you’ll be ready to dive deeper into your WordPress vulnerability scanning project.
Installing WordPress on VirtualBox

Now that your VirtualBox environment is all set up, let’s dive into installing WordPress. This process is quite simple if you follow the steps correctly. You’ll need a few things before we begin: a web server (we’ll use Apache), PHP, and a database (MySQL or MariaDB) to store your WordPress content.
To kick things off, first boot up your virtual machine. Once it’s running, you’ll need to install Ubuntu Server. This can be done using an ISO file, which you can download from the Ubuntu website. Load this ISO file into your VM and follow the installation prompts.
After the OS is installed and you’re logged in, it’s time to install the necessary components for WordPress. Open the terminal and run the following commands:
sudo apt updatesudo apt install apache2sudo apt install mysql-serversudo apt install php php-mysql libapache2-mod-phpsudo systemctl restart apache2Once your server components are successfully installed, you can proceed to download and install WordPress. Navigate to the /var/www/html directory and download the latest version of WordPress using:
wget https://wordpress.org/latest.tar.gztar -xvzf latest.tar.gzNow, move the extracted files to the appropriate directory:
sudo mv wordpress/* /var/www/html/Set the proper permissions for the web server to access the WordPress files:
sudo chown -R www-data:www-data /var/www/html/*Next up, create a configuration file. Copy the sample configuration file provided by WordPress:
cp /var/www/html/wp-config-sample.php /var/www/html/wp-config.phpNow, you’ll need to set up your database. Log into MySQL and create a new database and user for WordPress:
sudo mysql -u root -pCREATE DATABASE wordpress_db;CREATE USER 'wordpress_user'@'localhost' IDENTIFIED BY 'password';GRANT ALL PRIVILEGES ON wordpress_db.* TO 'wordpress_user'@'localhost';FLUSH PRIVILEGES;EXIT;Once your database is set, you can access the WordPress installation by navigating to http:// in your web browser. Follow the on-screen prompts to complete the setup, and just like that, you’ll have a fully functioning WordPress site running on your virtual machine, ready for vulnerability testing!
Choosing the Right Vulnerability Scanning Tools
When it comes to scanning your WordPress site for vulnerabilities, selecting the right tools is crucial. With so many options available, it can feel overwhelming. But don’t worry, I’m here to guide you through it!
First and foremost, you want to consider what types of vulnerabilities you’re looking to identify. Some tools specialize in scanning for common issues like outdated plugins or themes, while others delve deeper into more complex vulnerabilities. Here’s a quick list of popular vulnerability scanning tools you might explore:
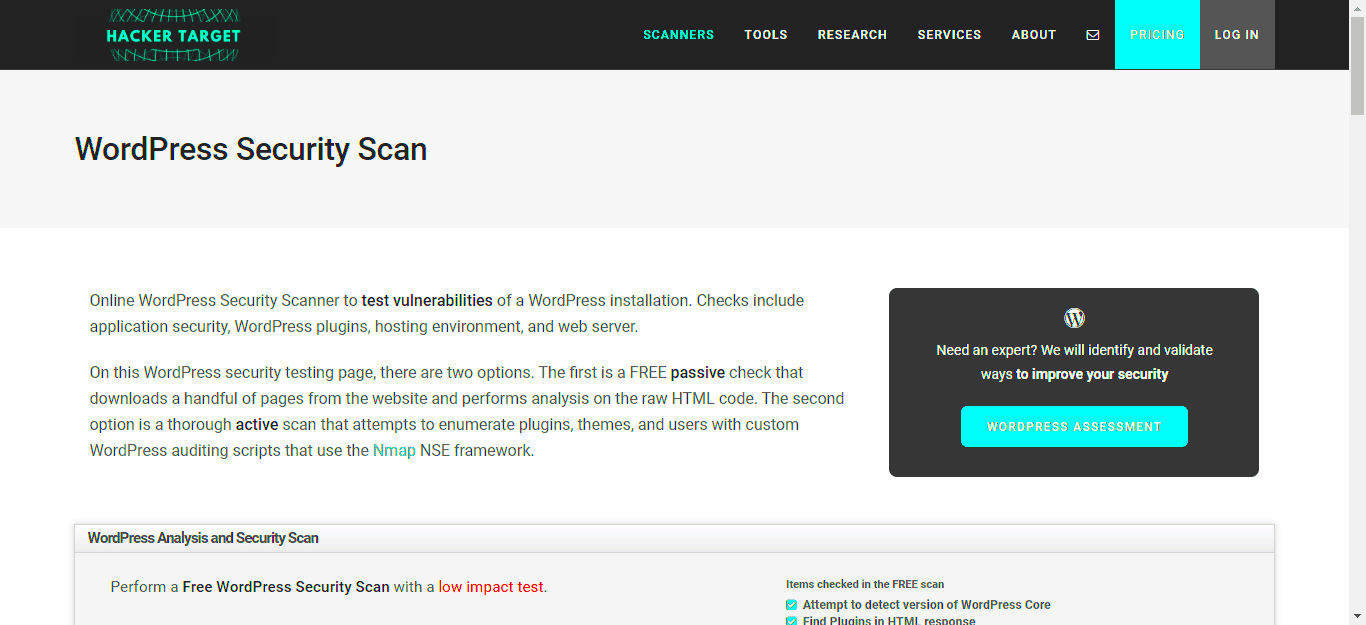
- WPScan: A widely-used tool specifically designed for WordPress that provides comprehensive vulnerability reports.
- Nessus: A powerful, professional-grade tool supporting a broad range of platforms, including WordPress.
- OpenVAS: An open-source scanner that provides various features for vulnerability assessment.
- Qualys: An enterprise-level tool that offers great flexibility and is suitable for larger sites.
- Acunetix: A commercial tool that identifies a variety of web vulnerabilities and is ideal for comprehensive security audits.
Next, think about the user interface of these tools. If you’re not technically savvy, a user-friendly interface can make a big difference. Look for tools that offer clear documentation and support. Viewing reviews or case studies can also help determine how effective a tool might be for your needs. Remember, finding the right tool will help safeguard your site and give you peace of mind.
Configuring Your Scanning Tools
Once you’ve chosen your vulnerability scanning tool, the next step is configuration. This can seem daunting at first, but trust me, it’s essential for ensuring you get the most accurate results. Here’s how to get started:
First, you need to install the tool on your VirtualBox instance. After installation, configure the following settings based on your needs:
- Target Selection: Specify the URL of your WordPress site. Make sure you enter it correctly to prevent missing any vulnerabilities.
- Authentication: If your site has restricted areas, you’ll need to provide login credentials for the scanner. Ensure this is set up to thoroughly inspect those areas.
- Scan Types: Select the type of scan you want to perform — whether it’s a quick scan or a more in-depth analysis. A full scan might take longer but will yield more comprehensive results.
- Scheduling: Configure a schedule for regular scans. Vulnerabilities can arise suddenly, so running scheduled scans can keep your site protected.
After setting up these configurations, run a test scan to check for any errors. Review the results carefully; they often include detailed reports on any discovered vulnerabilities. Always keep your tools updated to benefit from the latest vulnerability signatures!
With everything set up properly, you’re now better equipped to keep your WordPress site secure from potential threats.
Running the Vulnerability Scan
Now that you’ve set up your WordPress site on VirtualBox and configured your scanning tool, it’s time to run the vulnerability scan. This is the crucial moment where we’ll uncover potential security flaws that could expose your site to malicious attacks.
Before you hit that scan button, ensure that you’ve checked the following:
- Network Configuration: Ensure that your virtual machine’s network settings are correct. For example, if you are using a bridged adapter, verify that your VM has internet access.
- Data Backup: Always back up your WordPress installation. Running a scan could lead to unintended changes or even performance issues.
- Scanner Updates: Ensure that the scanner software you are using is up to date. New vulnerabilities are discovered regularly, and the latest database will help you find them.
Once everything is set, you can start the vulnerability scan. Depending on the tool you’re using, initiate the scan by selecting the ‘Scan’ option and inputting your site’s URL. Make sure you configure the scan settings according to your needs. Here are some general choices you might encounter:
| Scan Type | Description |
|---|---|
| Quick Scan | Fast scanning option to identify major vulnerabilities. |
| Full Scan | A comprehensive scan that delves deeper into the site’s security. |
| Custom Scan | Allows you to specify particular areas or plugins for scanning. |
Once you select your preferences, sit back and relax – the scan may take anywhere from a few minutes to an hour, depending on the depth of the scan and size of your site. Once completed, you’ll be excited to see the results!
Interpreting Scan Results
Congratulations! You’ve run your vulnerability scan and now you’re looking at the results. It can initially feel overwhelming, but understanding the report is crucial for securing your WordPress site.
Your scan results typically fall into several categories:
- Critical: These vulnerabilities need immediate attention as they pose the greatest risk to your site.
- High: Significant issues that should be addressed promptly but aren’t as urgent as critical findings.
- Medium: Important but not immediately dangerous; still worth fixing.
- Low: Minor issues that may not pose a direct threat but are good to tidy up.
Next, review each reported vulnerability carefully. Look for clear descriptions and recommendations for remediation. Here’s what you need to keep in mind:
- Context is Key: Not all vulnerabilities are equally detrimental. Examine how the reported vulnerabilities relate to your specific setup.
- Action Items: Many reports will offer actionable advice. Follow the instructions to address the issues.
- Research: If you’re unsure about any finding, take a moment to research it. Understanding the vulnerability can help you better assess its risk.
Ultimately, don’t assume that you’re done just because the scan is complete. Regular scans can help keep your site secure. Staying proactive with scanning and patching vulnerabilities can save you from potential disasters down the road. Happy scanning!
9. Mitigating Discovered Vulnerabilities
Once you’ve scanned your WordPress site for vulnerabilities using VirtualBox and identified any issues, the next crucial step is mitigation. This can seem daunting, but breaking it down into manageable steps can make the task easier. Here’s a straightforward approach to tackle the vulnerabilities you’ve discovered:
- Patching and Updating: The first line of defense is keeping your WordPress core, themes, and plugins up to date. Look for any updates related to the vulnerabilities you’ve found and apply them promptly. Developers regularly release patches to fix security flaws.
- Utilizing Security Plugins: Consider installing security plugins such as Wordfence or Sucuri. These plugins can provide firewalls, malware scanning, and other features that enhance your security posture, making it significantly harder for threats to exploit vulnerabilities.
- Strengthening User Authentication: Weak passwords and user accounts can be gateways for attacks. Encourage the use of strong passwords, implement two-factor authentication, and limit user access to only those who need it.
- Reviewing Themes and Plugins: If any third-party themes or plugins are linked to the vulnerabilities, consider replacing them with more reputable options. Remove any unused plugins or themes as they can serve as entry points for attackers.
- Backing Up Your Site: Regular backups are essential. In the event that a vulnerability does get exploited, you want to be able to restore your site to a previous state quickly.
By methodically addressing each vulnerability, you can significantly reduce the risks to your WordPress site. Stay proactive and don’t wait for an incident to happen!
10. Best Practices for Ongoing WordPress Security
Once you’ve mitigated the discovered vulnerabilities, it’s vital to maintain a consistent security strategy to prevent future issues. Here are some best practices you’ll want to adopt for ongoing WordPress security:
| Best Practice | Description |
|---|---|
| Regular Updates | Ensure all components, including WordPress core, themes, and plugins, are updated regularly to incorporate the latest security patches. |
| Security Audits | Conduct frequent security audits using both automated tools and manual inspections to catch new vulnerabilities early. |
| Server Security | Ensure that the server hosting your WordPress site is configured securely. This includes using firewalls, SSL certificates, and secure file permissions. |
| Educating Users | Train anyone who has access to your site on best security practices, such as recognizing phishing attempts and the importance of strong passwords. |
| Monitoring and Alerts | Set up monitoring tools to alert you of unusual activities on your site, such as unauthorized logins or unexpected file changes. |
Implementing these best practices will create a security-first culture that helps maintain the integrity and safety of your WordPress site over time. Security isn’t just a one-time effort; it’s a continuous endeavor that demands vigilance and adaptability.
Conclusion
Scanning WordPress sites for vulnerabilities using VirtualBox provides a robust environment to effectively identify and mitigate potential security threats. By leveraging a virtualized setup, developers and security professionals can create isolated environments that simulate their live WordPress installations without risking the actual site. This practice not only enhances security but also allows for extensive testing before implementing any changes on live servers.
Here are key takeaways highlighted in this process:
- Isolated Environment: VirtualBox enables the creation of a secure environment, minimizing risks during vulnerability testing.
- Versatile Tools: Using various security scanning tools, such as WPScan and Burp Suite, facilitates comprehensive analysis of the WordPress installation.
- Ease of Reversion: If something goes wrong during vulnerability tests, reverting to a previous VirtualBox snapshot is simple, ensuring quick recovery.
- Cross-Platform Compatibility: VirtualBox works on different operating systems, making it accessible for a wider range of users.
Additionally, consider organizing your scanning process using the following table:
| Step | Description |
|---|---|
| 1 | Set up a VirtualBox instance with the desired OS. |
| 2 | Install WordPress and necessary plugins. |
| 3 | Deploy security scanning tools. |
| 4 | Conduct vulnerability assessments. |
| 5 | Analyze results and implement fixes based on findings. |
By following these steps, you can effectively enhance your WordPress site’s security posture.


