Managing access to your WordPress site is crucial for security, especially if you want to restrict certain users from specific locations. One powerful method to accomplish this is by using the .htaccess file. In this post, we’ll explore how this file can help you control access based on IP addresses, making your site a lot safer from unwanted visitors.
Understanding .htaccess and Its Role in WordPress

The .htaccess file is a configuration file used on web servers running Apache. This file allows you to set server directives on a per-directory basis, which means you can control various aspects of your site’s behavior without changing the main server configuration. When it comes to WordPress, .htaccess can play a vital role in enhancing security, improving performance, and customizing URL structure.
Here’s a breakdown of how .htaccess interacts with WordPress:
- Access Control: With .htaccess, you can restrict access to your site or specific directories based on IP addresses. This is especially useful for blocking malicious users or bots.
- Redirects: The file allows you to create redirects, helping manage visitors effectively and improving SEO by directing traffic to the right pages.
- Custom Error Pages: You can define custom error pages (like 404 errors) to enhance user experience and maintain consistency across your site.
- Security Measures: It can prevent directory browsing, hotlinking, and even enable password protection for sensitive areas of your site.
In summary, the .htaccess file serves as a powerful tool that can help you take control of your WordPress site and bolster its security. By understanding its functionalities, you can make informed decisions on how to restrict access and protect your content effectively.
Benefits of Restricting Access Based on IP
Restricting access to your WordPress site based on IP address can have a profound impact on your site’s security and overall performance. Here are some significant benefits of implementing such restrictions:
- Enhanced Security: One of the primary reasons to restrict IP access is to bolster your website’s security. By allowing only specific IP addresses, you can prevent unauthorized access and potential attacks from malicious users.
- Control Over User Access: If you run an internal blog or a site that requires confidential information, restricting IPs ensures that only trusted individuals can access your resources. This control can be a lifesaver in sensitive business environments.
- Reduced Spam: By filtering traffic based on IP addresses, you significantly decrease the chances of spam bots from overwhelming your site. This leads to a cleaner blog and makes content management easier.
- Increased Performance: Limiting access can improve overall site performance. When you allow only specific IPs, the server has fewer requests to handle, reducing server load and speeding up response times.
- Customize User Experience: Targeting certain users based on their IP can allow for a more customized experience. You can show specific content or features based on geographical locations or known trusted users.
In summary, restricting access based on IP can lead to improved security, enhanced control over user access, reduced spam, better performance, and a more tailored user experience. Overall, this simple practice can make a world of difference for your WordPress site.
Identifying Your IP Address
Before you can restrict access based on IP, you’ll need to know what your own IP address is. This knowledge is crucial for setting up the .htaccess file correctly. Depending on the type of device and network you’re using, there are a few straightforward methods to find your IP address:
- Using a Search Engine: The easiest way is to simply type “What’s my IP” into Google or any search engine. You’ll quickly see your public IP address displayed at the top of the search results.
- Accessing Router Settings: If you’re on a local network, you can find your IP address by logging into your router settings. Once logged in, look for a section usually called “Device List” or “LAN Status” to see all devices and their associated IP addresses.
- Windows Command Prompt: For Windows users, you can press Windows Key + R, type cmd, and hit Enter. In the Command Prompt, type ipconfig and hit Enter. Look for the section labelled “IPv4 Address” to find your local IP.
- MacOS Terminal: Mac users can navigate to Applications > Utilities > Terminal and type ifconfig. Your IP will usually be displayed next to the term “inet.”
- Mobile Devices: On mobile devices, go to your settings, tap on Wi-Fi, and then tap on the network you’re connected to. You should see your IP address listed in the details.
Once you’ve identified your IP address, you’ll be ready to implement restrictions in your WordPress site’s .htaccess file. Knowing how to find your IP makes the entire process smoother and more efficient.
Backing Up Your .htaccess File
Before you dive into making changes to your .htaccess file, it’s crucial to back it up. This file is like the command center for your website, and a small error could lead to significant issues. Trust me; you don’t want to be the one who accidentally breaks their site while trying to enhance its security!
Here’s a simple step-by-step guide to back up your .htaccess file:
- Access Your Website Files: You can do this via an FTP client like FileZilla, or through your web hosting account’s file manager.
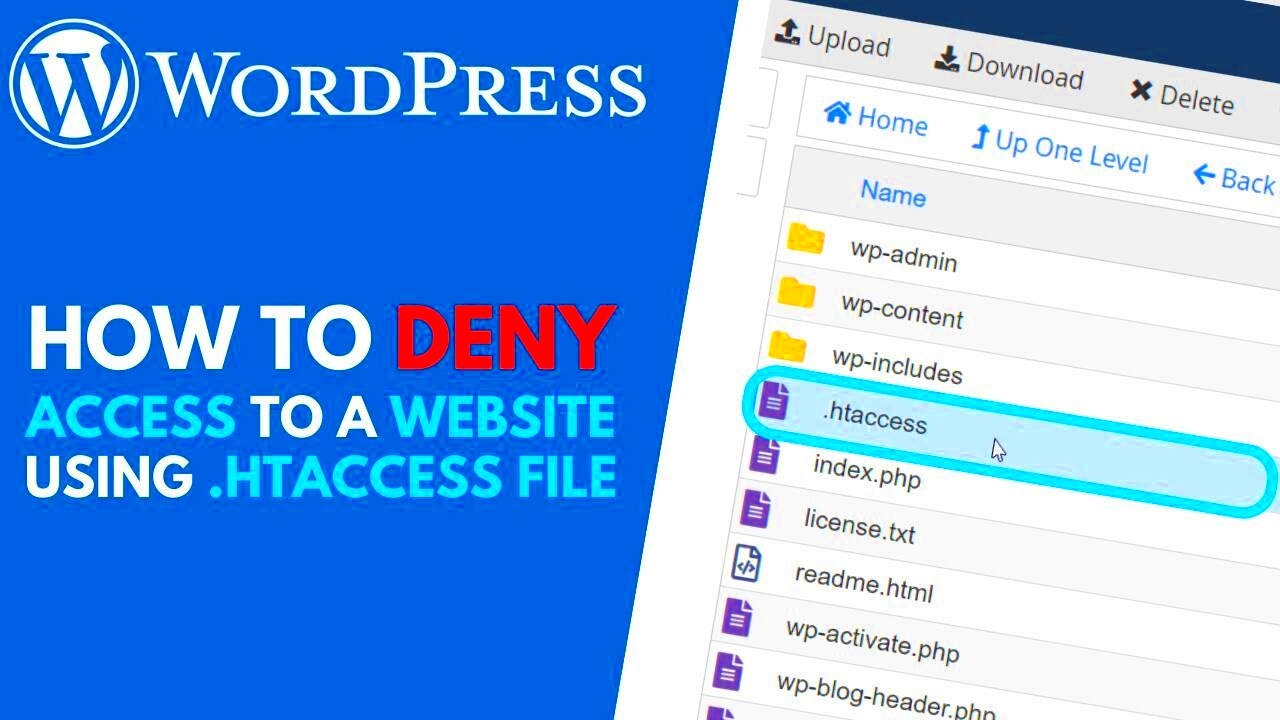
- Locate the .htaccess File: This file is usually found in the root directory of your WordPress installation. It’s a hidden file, so make sure you enable the view for hidden files in your FTP client or file manager.
- Download the File: Right-click on the .htaccess file and select the download option. This will save a copy of the file to your local computer.
- Rename the Backup: It’s a good idea to rename the backup file to something like .htaccess-backup for easy identification in case you need it later.
Backing up your .htaccess file is a critical step that can save you from a world of headaches. If anything goes wrong during your modifications, you can quickly restore the previous version, ensuring your site remains functional.
Modifying the .htaccess File
Now that you have your backup sorted, let’s get into the nitty-gritty of modifying your .htaccess file to restrict access based on IP addresses. This process can seem intimidating, but I promise, it’s easier than it sounds.
Here’s how you can make your modifications:
- Open the .htaccess File: Use your FTP client or file manager to open the .htaccess file for editing. Most text editors will work, but make sure you’re not using a word processor that adds formatting.
- Add Your IP Restriction Rules: To restrict access, you’ll need to add specific lines of code. Here’s a sample code snippet:
# Restrict Access Order Deny,Allow Deny from all Allow from xxx.xxx.xxx.xxx (Your IP Address)
Replace xxx.xxx.xxx.xxx with the actual IP address you want to allow access.
- Save Changes: Once you’ve added your code, save the file. Make sure you don’t add any extra spaces or lines, as this can create errors.
- Test Your Changes: After saving, visit your site from the allowed IP address and ensure everything is working as expected. It’s a good idea to check from other IPs to confirm that access is restricted.
Note that modifying your .htaccess file should be done with caution. A single misplaced character can render your website inaccessible! If you’re uncertain about the changes, refer back to your backup or consult with a WordPress expert.
By following these steps, you’ll enhance your site’s security while keeping unwanted visitors at bay.
7. Testing Your Configuration
Once you’ve added your IP restrictions to the .htaccess file, it’s crucial to test your configuration to ensure it works as intended. Testing allows you to confirm that only authorized users can access your WordPress site, while unauthorized attempts are blocked. Here’s how you can effectively test your configuration:
- Check From Allowed IPs: First, log in to your WordPress site from an IP address you’ve allowed in the .htaccess file. You should be able to access your site without any issues. Navigate through various pages to ensure everything functions normally.
- Access From Restricted IP: To check the restrictions, you can use a different device or a VPN to simulate being on a restricted IP address. Attempt to access your WordPress site; you should encounter a “403 Forbidden” error or a similar message indicating access is denied.
- Use Online Tools: There are several online services that allow you to check your public IP address. Make use of these to ensure your testing covers all bases. Services like “WhatIsMyIP” can be quite handy.
- Monitor Access Logs: If you have access logging enabled, reviewing the logs can provide insights into what’s being blocked or allowed. This can help you understand if certain legitimate traffic is being inadvertently restricted.
Having completed these tests, you should have a clear picture of whether your IP restrictions are functioning properly. If everything is working correctly, you can rest assured that your WordPress site is now more secure!
8. Troubleshooting Common Issues
If you find that your access restrictions aren’t functioning as expected, don’t fret! It’s pretty common to run into a few hiccups when working with .htaccess configurations. Here are some common issues and how to troubleshoot them:
- Access Denied Errors: If you or a trusted user is receiving access denied errors, double-check the IP address they are using. Sometimes, the IP may change due to dynamic IPs from ISPs. You can also try allowing a broader range of IPs temporarily to test.
- Server Crashes: Occasionally, incorrect rules can lead to server errors. If you experience a 500 Internal Server Error, it’s often due to a syntax error in the .htaccess file. Restore a previous version or comment out recent changes to see if the error resolves.
- Changes Not Taking Effect: Changes to .htaccess may not be reflected immediately. Clear your browser’s cache or try accessing the site in an incognito window to ensure you’re seeing the latest configuration.
- Conflicting Rules: Multiple rules in .htaccess can sometimes clash. If you have various directives, sequential order matters. Make sure that your IP deny/allow rules are clearly laid out and do not overlap with other directives.
By following these troubleshooting steps, you can identify and resolve issues quickly, ensuring that your WordPress site remains both functional and secure. Don’t hesitate to consult forums or documentation if you encounter something particularly tricky!
9. Additional Security Measures
Restricting access by IP address is just one layer of security that can be applied to your WordPress site. While it’s a vital step, combining it with other security measures can create a robust defense against potential threats. Here are some additional security practices you should consider implementing:
- Regular Software Updates: Ensure that WordPress, themes, and plugins are regularly updated. Outdated software can be a significant vulnerability.
- Use Strong Passwords: Encourage the use of strong, unique passwords for all user accounts, particularly for admin accounts. Tools like password managers can help.
- Two-Factor Authentication: Implement two-factor authentication (2FA) for all user logins. This adds an additional layer of security beyond just passwords.
- Limit Login Attempts: Use plugins to limit login attempts. This can help mitigate brute force attacks by blocking IP addresses after several unsuccessful attempts.
- Backup Your Site: Regularly back up your WordPress site. In case of a hacking incident or data loss, having recent backups can save you from headaches.
- Install a Security Plugin: Consider using a dedicated security plugin, such as Wordfence or Sucuri. These plugins can provide firewall protection, malware scanning, and other helpful features.
Remember, improving your site’s security is an ongoing process. Stay informed about best practices and emerging threats to keep your WordPress site safe from harm.
10. Conclusion
In conclusion, restricting WordPress access based on IP with .htaccess is a powerful way to enhance your site’s security. By controlling who can access your backend, you significantly reduce the risk of unauthorized logins and potential breaches. However, it’s essential to recognize that this method is just one piece of the puzzle.
When used alongside additional security measures like strong passwords, two-factor authentication, and regular backups, you’ll enhance your site’s resilience against attacks. Security is not a one-time setup but a continuous effort. Regularly revisit your security strategy to adapt to new threats and ensure ongoing protection.
By taking these proactive steps, you can create a safer environment for your content and users. So go ahead, implement these measures, and enjoy the peace of mind that comes with knowing your WordPress site is better protected!

