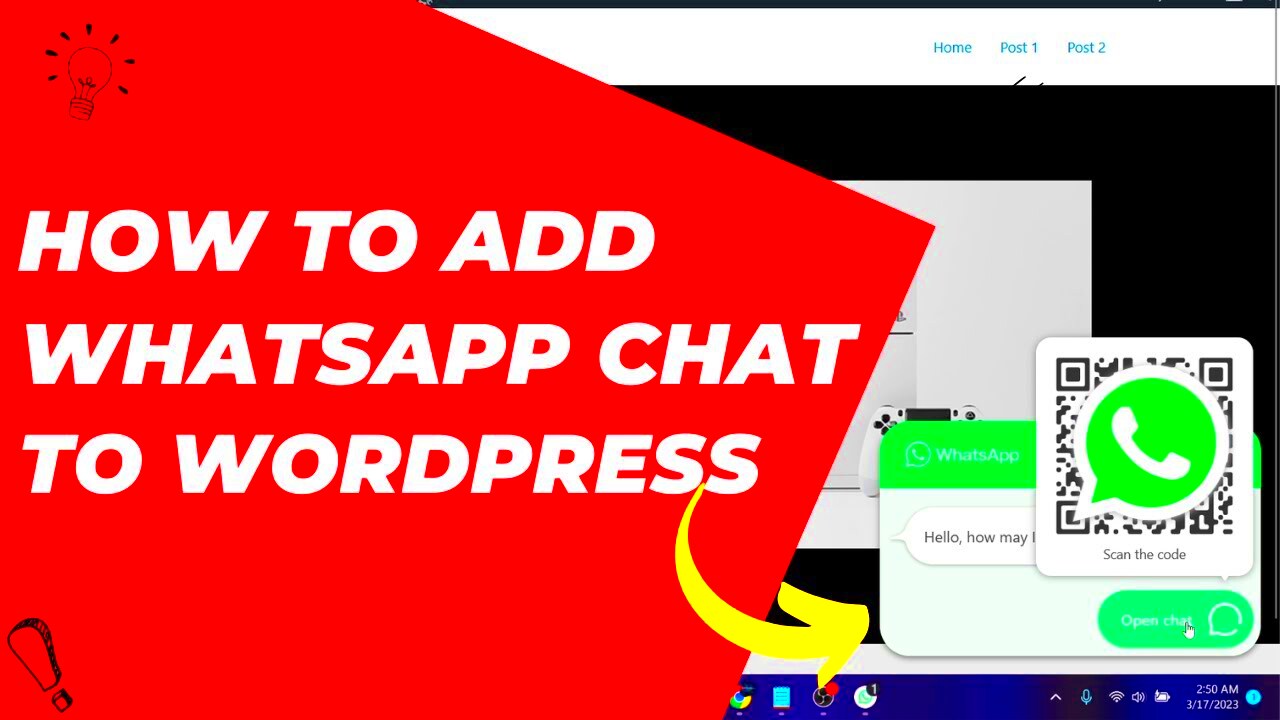
In today’s digital age, effective communication is key to building a strong relationship with your audience. That’s where WhatsApp chat integration comes into play! By integrating WhatsApp chat into your WordPress website, you enable real-time, seamless communication with your visitors, enhancing their overall experience. Imagine a visitor browsing your site, and with just a click, they can start a conversation with you directly on WhatsApp. Sounds great, right? Let’s dive deeper into how this integration can transform your communication strategy!
Benefits of Adding WhatsApp Chat to Your Website

Integrating WhatsApp chat into your WordPress website offers numerous advantages. Here are some noteworthy benefits:
- Instant Communication: Users can reach out to you immediately, making it easier to answer queries and provide support.
- User Convenience: Many people prefer using WhatsApp. By offering this option, you cater to their preferences, improving user satisfaction.
- Increased Engagement: Real-time messaging encourages more visitors to communicate, leading to higher engagement rates.
- Enhanced Customer Support: Quick responses to inquiries can help resolve issues faster and improve overall customer service quality.
- Cost-Effective: Using WhatsApp for customer communications usually avoids the costs associated with traditional customer service methods.
Let’s take a closer look at how these benefits impact your business:
| Benefit | Impact on Your Business |
|---|---|
| Instant Communication | Stay ahead of competition by addressing customer needs promptly! |
| User Convenience | Boost customer satisfaction and loyalty with preferred communication channels. |
| Increased Engagement | Drive more conversions through active conversations. |
| Enhanced Customer Support | Build trust and credibility by providing reliable support. |
| Cost-Effective | Improve your profit margins with reduced communication costs. |
In summary, adding WhatsApp chat to your website not only enriches the user experience but also significantly benefits your business. It’s a win-win situation!
Requirements for Integration
Before you dive headfirst into adding WhatsApp chat to your WordPress website, it’s essential to gather everything you need to ensure a smooth integration. Here’s a comprehensive list of what you’ll require:
- WordPress Website: Obviously, you must have a WordPress site up and running. Whether it’s a personal blog or an online store, WhatsApp chat can enhance user engagement.
- WhatsApp Account: You’ll need an active WhatsApp account. If you plan to use WhatsApp Business, that’s a plus as it comes with additional features tailored for businesses.
- Plugin or Code: Decide on the method of integration. You can either use a dedicated plugin like “WP Social Chat” or add custom code to your website. Choose what’s best for you based on your tech skills!
- Access to WordPress Dashboard: Make sure you have administrator access to your WordPress dashboard. This will allow you to install plugins and make changes to your site easily.
- Customization Preferences: Think about how you want the chat to look. Familiarize yourself with your branding guidelines, as you’ll likely want to customize the chat widget to match your site’s design.
- Testing Tools: After integration, you’ll want to test the chat function. Ensure you have access to another device or a friend who can help you test its functionality.
With these requirements checked off your list, you’re well on your way to integrating WhatsApp chat into your website. Let’s get to the exciting part – actually adding it!
Step-by-Step Guide to Adding WhatsApp Chat
Adding WhatsApp chat to your WordPress website is simpler than you might think! Follow this step-by-step guide to make it happen:
- Login to Your WordPress Dashboard: Start by logging into your WordPress admin panel. This is where all the magic begins!
- Choose Your Integration Method: Decide if you want to use a plugin or custom code:
- If you choose a plugin, navigate to Plugins > Add New and search for “WP Social Chat” or a similar plugin. Click on Install Now, then Activate.
- If you prefer custom code, you’ll need to add a snippet to your theme’s footer or use a code-snippet plugin.
- Configure Your Plugin: Once the plugin is installed and activated, head to the plugin settings to configure options. You’ll usually need to enter your WhatsApp number and customize the appearance of the chat button.
- Test the Chat Feature: After setup, visit your website as a visitor and click on the WhatsApp chat button. Make sure to send a test message to see if everything is working smoothly.
- Customize Further: Play around with the settings in the plugin or the custom code to achieve the look and functionality you desire. Adjust colors, positions, and more to make it feel right at home on your site!
And voila! You’ve added WhatsApp chat to your WordPress site effortlessly. Now you can connect with your visitors in real time, answering their questions and boosting engagement like never before!
Configuring WhatsApp Chat Settings
Once you’ve successfully integrated WhatsApp chat into your WordPress website, the next crucial step is configuring the chat settings. This is where you tailor the chat functionality to meet your specific needs and preferences.
First, navigate to the plugin settings page, where you’ll find various options to customize. Most plugins will allow you to set up the following:
- Phone Number: Enter your WhatsApp number, being sure to use the correct international format. This is the number customers will message.
- Greeting Message: Craft a warm welcoming message that users will see when they first open the chat. This helps set the tone for your customer service.
- Response Time: Specify your average response time to manage customer expectations. You can even automate this information within the greeting message.
- Chat Button Position: Choose where the chat button appears on your site (e.g., bottom right, bottom left), ensuring it’s easily accessible without being intrusive.
- Availability Schedule: If applicable, set up a time frame during which users can expect responses. This can help communicate your support hours clearly.
Don’t forget to save your settings! Take some time to test the chat functionality on your website to ensure everything works as intended. Consider asking friends or colleagues for their feedback on the chat experience.
Customizing the Appearance of Your WhatsApp Chat
The appearance of your WhatsApp chat button and window is essential to creating a seamless user experience. A well-designed chat feature not only reinforces your brand identity but also improves engagement with your visitors.
Most WordPress WhatsApp plugins offer customization options that allow you to change:
- Button Style: You can choose between different styles such as a bubble, icon, or a full-sized button. Select one that complements your website’s design.
- Button Color: Opt for a color that stands out yet matches your brand’s color scheme. This helps the button catch the eye without appearing out of place.
- Text on Button: Customize the text label on your chat button. You might opt for something simple like “Chat Now” or “Need Help?” to encourage clicks.
- Chat Window Theme: Adjust the theme of the chat window. Many plugins allow you to select light or dark modes, which can enhance readability and user comfort.
Your goal is to make the WhatsApp chat feature not only functional but also visually appealing. After customizing, don’t forget to preview changes on different devices (desktop and mobile) to ensure your chat window scales well across various screen sizes.
7. Testing the WhatsApp Chat Feature
After you’ve successfully integrated the WhatsApp chat feature into your WordPress website, the next crucial step is testing it. You want to ensure that everything works seamlessly for your users. Here’s how you can carry out effective testing:
- Check the Button Visibility: Ensure the WhatsApp chat button is easily visible. It should not be hidden behind other elements or difficult to locate.
- Test on Different Devices: Open your website on various devices—desktops, tablets, and smartphones. The chat feature should be responsive, adapting to different screen sizes.
- Click on the Button: Test the button by clicking it. It should redirect you to WhatsApp, either through the app or the web version, depending on what device you’re using.
- Send a Test Message: Send a test message from your website to see if it arrives correctly in your WhatsApp account. This step is vital to ensure the communication channel is functional.
- Check Notifications: Verify that you receive notifications for new messages. This ensures you won’t miss any inquiries coming through your website.
Don’t forget to ask your friends or colleagues to help you by testing from different accounts as well. Getting another perspective can highlight issues you might not notice yourself! Once you’re confident everything is working as it should, you can promote the feature on your website.
8. Common Issues and Troubleshooting Tips
Even with the best setups, issues can arise when using WhatsApp chat on your WordPress website. Here are some common problems and their solutions:
| Issue | Solution |
|---|---|
| Button Not Visible | Check your theme settings and ensure the code is correctly placed. It may help to clear your site cache. |
| Messages Not Received | Confirm that the phone number is correctly set up and verified on WhatsApp. Recheck the integration settings. |
| Button Misalignment on Mobile | Inspect your mobile responsiveness settings and adjust the CSS styles if necessary. |
| Error Messages When Clicking | Review the plugin settings and ensure your URL formatting is correct. Reinstalling the plugin can also help. |
Keeping your plugins and WordPress version up-to-date can prevent many of these issues from occurring. If you encounter a problem that isn’t listed here, don’t hesitate to reach out to technical support or consult community forums; you’re not alone in this!
Conclusion and Next Steps
Incorporating WhatsApp chat into your WordPress website is a practical strategy to enhance user engagement and improve customer support. With the steps outlined in this guide, you can effectively add WhatsApp chat functionality, offering visitors an immediate way to connect with you or your team. This feature not only facilitates better communication but also helps in building trust with your audience.
As you move forward, consider the following next steps:
- Customize the Chat Widget: Ensure that the chat widget aligns with your brand’s aesthetics by adjusting its colors, position, and size.
- Promote WhatsApp Availability: Let your visitors know about the WhatsApp chat option by adding call-to-action buttons on key pages.
- Monitor Conversations: Regularly check the conversations on WhatsApp to gather feedback and understand customer needs better.
- Analyze Engagement: Use tools to track chat interactions, helping you to understand how effectively you are engaging with visitors through this channel.
Additionally, you may consider integrating WhatsApp chat with other customer service platforms or utilizing automation to streamline your communication. With these enhancements, your WordPress website can become a more interactive and user-friendly environment, promoting confidence in your services and increasing overall satisfaction.
Embrace the opportunity to connect with your audience in real time and keep refining your approach based on user interactions. The integration of WhatsApp chat is not just a technological addition; it’s a step towards more personalized and competent customer service.

