Static sites have gained immense popularity in recent years, and for good reason! They are fast, secure, and easy to host. In contrast to dynamic websites that require server-side processing to generate content, static sites serve pre-rendered pages directly from the server. This means that when someone visits your site, they get a quick, no-fuss experience as they’re essentially served a ready-made page. Let’s dive deeper into why static sites are worth considering for your WordPress website.
Benefits of Converting to a Static Site

If you’re still on the fence about switching your WordPress site to a static site, here are some compelling reasons to make the leap:
- Speed: Static sites load incredibly fast since they don’t have to interact with a database or run complex scripts. A quicker site enhances user experience and boosts search engine rankings!
- Security: With fewer vulnerabilities compared to dynamic sites, static sites are less prone to hacking and attacks. There’s no backend or database to exploit, making your site more secure.
- Reduced Server Costs: Static sites require less server power, which can lead to lower hosting fees. You can even host them on cheaper platforms like GitHub Pages or Netlify!
- SEO Benefits: Since static sites are faster and often provide a more straightforward structure, they can contribute positively to your SEO efforts.
- Easy to Manage: Once converted, maintaining a static site can be simpler. You can focus more on content creation instead of managing complex server-side operations.
In summary, converting your WordPress site to a static site can provide a plethora of benefits that enhance both performance and security, making it an appealing option for many webmasters.
Overview of the Conversion Process

Converting your WordPress site to a static site may sound daunting, but it’s quite an achievable goal! The process involves a series of steps that will help you transform your dynamic website into a lightning-fast static version that can enhance security and performance.
First, let’s break down the primary steps of the conversion process:
- Backup Your Website: Before making any changes, it’s crucial to back up your entire website to ensure you don’t lose any valuable data. Use plugins or your host’s backup service.
- Install a Static Site Generator Plugin: Choose a reliable plugin that fits your needs. There are several options available, and we’ll discuss those in the next section.
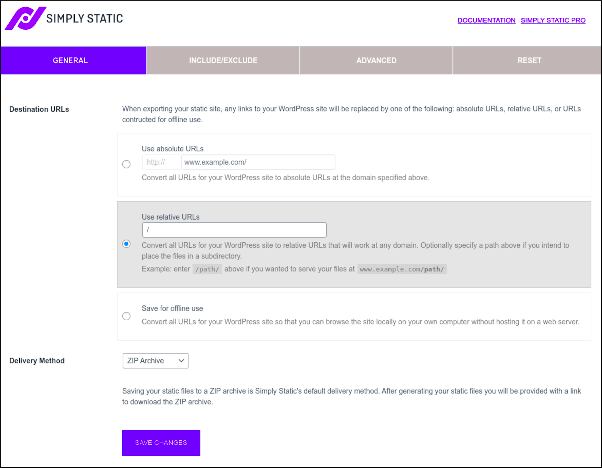
- Configure Plugin Settings: After installation, dive into the plugin settings to customize the conversion based on your preferences. This might include selecting which pages you want to convert or excluding certain content.
- Run the Conversion: Initiate the conversion from the plugin interface. The tool will generate a static version of your site, which typically includes HTML files, images, and other assets.
- Test the Static Site: It’s essential to test the static site thoroughly. Check for broken links, verify the layout and functionality, and ensure everything is working smoothly.
- Launch the Static Site: Once you’re happy with the tests, it’s time to replace your live WordPress site with the newly created static version. Make sure to follow proper procedures to avoid downtime.
And there you have it! By following these steps, you can successfully convert your WordPress site into a static site, enjoying improved performance and enhanced security.
Choosing the Right Plugin for Your Needs
When it comes to converting your WordPress site into a static version, selecting the right plugin is crucial. With numerous options available, each plugin has its own set of features, benefits, and possible downsides. Here are some factors to consider when making your choice:
- Functionality: Look for a plugin that provides features that align with your needs. Do you want full-page caching, the ability to exclude certain posts, or an easy way to regenerate static files?
- User Reviews and Ratings: Check user feedback and ratings on the WordPress Plugin Repository to gauge the effectiveness and reliability of the plugins you’re considering.
- Regular Updates: A well-maintained plugin regularly receives updates, which can help patch any security vulnerability and ensure compatibility with the latest WordPress versions.
- Support: Investigate whether the plugin has a support forum or documentation available. Good support can be invaluable during the conversion process.
- Pricing: Some plugins are free, while others come with premium versions. Evaluate the pricing plan and decide if the added features are worth the investment for your specific needs.
Here are some popular plugins to consider:
| Plugin Name | Price | Key Features |
|---|---|---|
| WP2Static | Free | Customizable export options, supports multiple hosting. |
| Simply Static | Free/$39 | Easy to use, generates static files quickly. |
| StaticPress | Free | Automatic generation of static pages, supports custom URL structures. |
Choosing the right plugin is key to a smooth conversion process. Take your time to review your options; you want one that will closely align with your website’s specific needs and provide a hassle-free experience.
5. Step-by-Step Guide to Using the Plugin
Turning your dynamic WordPress site into a static website can sound a bit daunting, but with the right plugin, it’s a breeze! Here’s a simple step-by-step guide to help you through the process:
- Install the Static Site Plugin:
First, navigate to your WordPress dashboard. Go to
Plugins>Add New. In the search bar, type the name of your chosen static site plugin, like “WP2Static” or “Simply Static”. ClickInstall Nowand thenActivateonce it’s done. - Configure Plugin Settings:
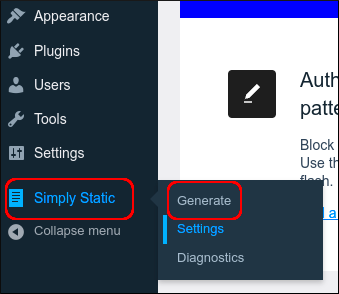
After activation, you’ll usually find the plugin’s new menu item either in your dashboard or under the
Settingsmenu. Click on it and go through the configuration settings, which typically include:- Choosing the output directory for your static files.
- Setting the destination for your static site (local or remote).
- Selecting the pages and posts you want to convert.
- Generate Your Static Site:
Once configured, find the option to generate or export your static site. This process usually takes a few moments. You might see a progress bar to keep you updated!
- Download Your Static Files:
After the generation is complete, you’ll typically find a download link. Click it to download the zip file containing all your static files.
- Upload to Your Hosting Server:
Finally, unzip the downloaded file and upload it to your preferred hosting provider. Whether this is via FTP, cPanel, or another method, just ensure the files are placed in the root directory.
And voilà! Your WordPress site has been successfully transformed into a static website. How easy was that?
6. Testing Your Static Site After Conversion
Once you’ve turned your WordPress site into a static site, it’s crucial to test everything for functionality. You want to make sure that all your pages work seamlessly. Follow these steps to test your new static site:
- Check Page URLs:
Open a browser and type in the URLs of the key pages on your static site. Ensure they load properly and lead to the correct content.
- Test Links:
Click on all internal and external links present on your pages. Make sure they direct to the expected locations and are not broken.
- Validate Form Submissions:
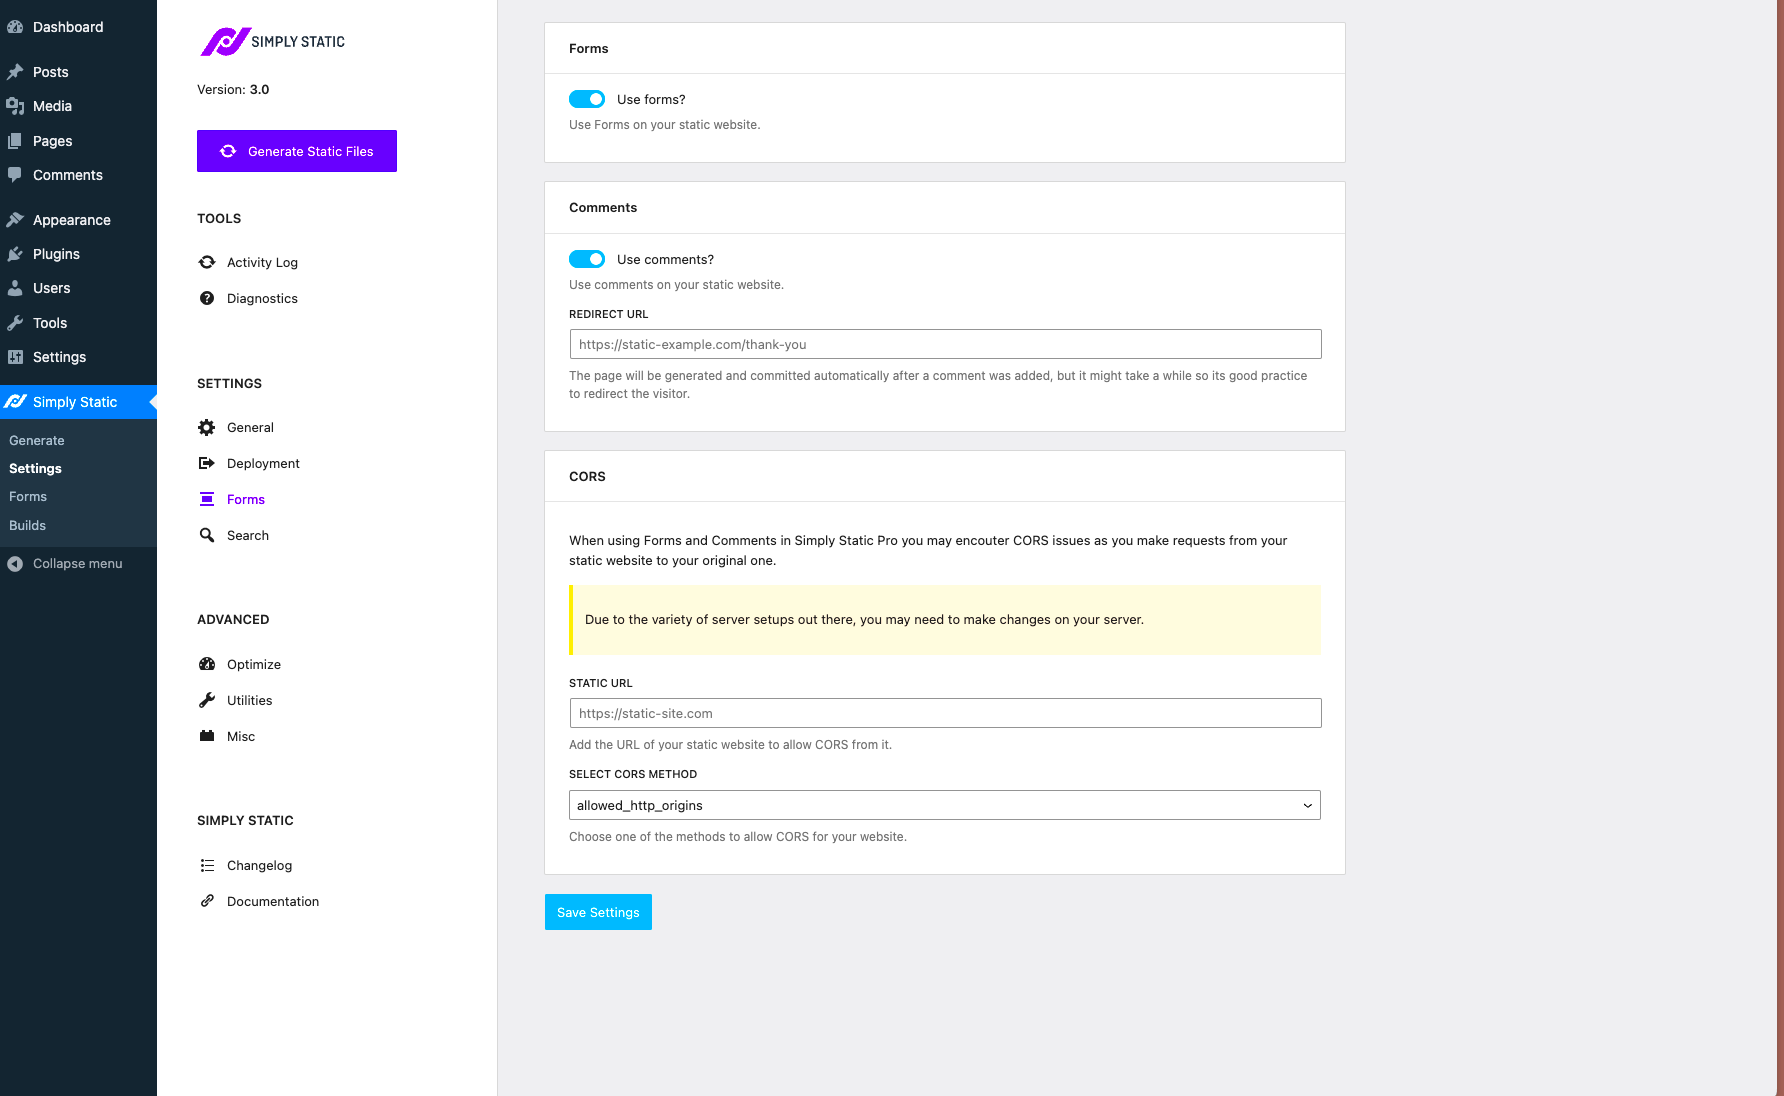
If your site includes contact forms, be aware that these won’t work in a static setup. A workaround is to replace forms with a link to your email or a third-party service like Google Forms.
- Check Media Files:
Ensure that images, videos, and other media files are loading correctly. Sometimes, paths can get mixed up, especially if you’ve changed directories during the conversion.
- Review Responsiveness:
Take a moment to check your static site on various devices (desktop, tablet, phone) and screen sizes to make sure the layout remains user-friendly.
After all these tests, if everything runs smoothly, you can confidently say your static site is ready for the world! Remember, regular monitoring can help catch any issues that might pop up over time.
Common Issues and Troubleshooting
When you convert your WordPress site to a static site using a plugin, you might run into some common issues. Fortunately, with a bit of troubleshooting, you can typically resolve these problems quickly.
Here are some common issues you might encounter:
- Broken Links: One of the biggest headaches can be broken links on your static site. This might happen due to dynamically generated content that doesn’t get captured during the conversion. Always run a link-checking tool after conversion to spot any 404 errors.
- Missing Images or Media: Sometimes, images and other media files can go missing in the conversion process. Ensure that your static site’s directory structure mirrors that of your original WordPress site. You may need to manually upload any missing files.
- Changes Not Reflected: If you’re making updates to your original WordPress site but don’t see those changes on your static version, you may need to re-run the conversion. Check the plugin settings to ensure that the process is convenient.
- Compatibility Issues: Some static site plugins might conflict with certain themes or other plugins. Check the plugin’s documentation for compatibility issues or potential solutions.
- Performance Problems: If your static site loading speed is not up to par, consider optimizing images, minifying CSS and JavaScript files, and utilizing a Content Delivery Network (CDN).
Taking the time to troubleshoot these common issues can save you a lot of headaches down the line. If problems persist, don’t hesitate to reach out to the plugin’s support forums or community for additional help!
Best Practices for Maintaining a Static Site
Maintaining a static site might seem straightforward, but there are several best practices that you should follow to ensure it runs smoothly and efficiently.
Here are some key practices to keep in mind:
- Regular Backups: While static sites tend to be more stable, it’s still essential to back them up regularly. Use tools or services that can automatically back up your static files without manual intervention.
- Optimize for Speed: Since static sites can load quickly, incorporate performance optimization techniques like minifying CSS/JavaScript, compressing images, and leveraging browser caching.
- Monitor Uptime: Use monitoring tools to check your site’s uptime. If your static site goes down, it might take longer to get it back online compared to a dynamic site.
- SEO Updates: Static sites can be optimized for Search Engine Optimization (SEO) just like dynamic ones. Regularly check that your meta tags, alt attributes, and site structure are SEO-friendly.
- Periodic Content Updates: Just because your site is static doesn’t mean it should sit idle! Make sure to revisit your content every so often; this could include updating blog posts, refreshing your portfolio, or adding new testimonials.
By adopting these best practices, you’ll keep your static site not only functional but also engaging and relevant. Remember, maintaining a site is an ongoing task, and staying proactive will yield the best results!
9. Case Studies: Success Stories of Static Site Conversions
When considering the switch from a dynamic WordPress site to a static site, it’s inspiring to look at real-world examples. Here are a few success stories where businesses made the leap—and thrived!
- The Travel Blog
This travel blogger wanted to streamline their website for faster loading times, especially for mobile users. After transitioning to a static site, they saw a 50% reduction in loading times. This improvement boosted their overall user engagement, resulting in a 30% increase in page views.
- The E-commerce Store
A small e-commerce business decided to convert their WordPress site to a static version due to security concerns. Post-migration, not only did they experience enhanced security, but their server costs decreased by 40%. Additionally, their customers reported a much smoother shopping experience, leading to a 20% increase in sales.
- The Portfolio Site
An artist showcasing their work needed a reliable site that wouldn’t glitch during heavy traffic. After converting to a static site, they achieved 99.9% uptime during a recent exhibit opening. This stability allowed them to capture potential client leads effortlessly.
These stories highlight that switching to a static site not only simplifies management but can also deliver increased performance, security, and user satisfaction. Each case serves as a powerful reminder that taking the plunge into the static waters can lead to smoother sailing for your online presence.
10. Conclusion and Next Steps
So you’ve read about the benefits and success stories of converting your WordPress site to a static one. Now, what’s next? It’s time to take action! Here are some steps to help you move forward:
- Assess Your Current Site:
Review your existing WordPress setup. Identify content you’d like to maintain and any features that could pose challenges during migration.
- Choose the Right Plugin:
Research and select a reputable static site generator plugin that fits your needs. Some popular options include WP2Static and Simply Static.
- Backup Your Site:
Before making any changes, ensure you have a complete backup of your WordPress site. This step is crucial for safeguarding your data.
- Migrate Your Content:
Use the chosen plugin to generate your static site. Follow the documentation carefully to ensure a smooth transition.
- Test Performance:
Once the static site is live, test it thoroughly. Check loading speeds, functionality, and monitor for any issues.
Transitioning to a static site may feel daunting, but with patience and the right approach, it can lead to remarkable outcomes for your website. Remember, a static site isn’t just a step back; it’s a leap forward towards efficiency and reliability!


