If you’re venturing into the world of website creation, you’ve probably heard about Beaver Builder. This powerful WordPress plugin simplifies the web design process, particularly for those who aren’t tech-savvy. Beaver Builder serves as a drag-and-drop page builder that complements WordPress, allowing users to craft stunning layouts without writing a single line of code. Whether you’re a blogger, business owner, or just someone looking to express themselves online, Beaver Builder makes it easy to create personalized, beautiful websites in no time. Let’s dive deeper into its workings and how it integrates with the
Understanding the WordPress Edit Screen
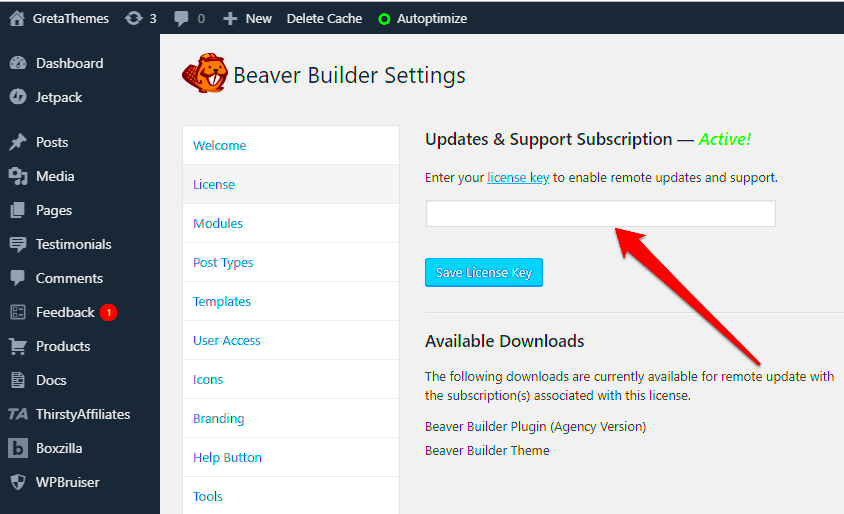
The WordPress Edit Screen is your launchpad for creating and managing your content. It’s where the magic happens—where you can add new posts, pages, or updates to your existing content. Here’s a closer look at what you’ll find in the Edit Screen and how to make the most of it:
- Dashboard Overview: Upon logging into your WordPress site, you’ll land on the Dashboard. From here, you can access your Edit Screen by clicking on ‘Posts’ or ‘Pages’ on the left sidebar.
- Heading Options: At the top, you’ll see options for adding a new post or page. Click ‘Add New’ to get started on your content.
- Content Area: The main section of the Edit Screen is where you’ll write your content. It’s divided into the text editor and the Beaver Builder interface.
- Beaver Builder Tab: When using Beaver Builder, you’ll find a button that says “Launch Beaver Builder”. Click this to switch to the drag-and-drop interface where you can easily create layouts and design elements.
- Publishing Options: On the right side, you’ll find settings for publishing your post or page. You can choose to publish immediately or schedule it for later.
Understanding the WordPress Edit Screen is crucial for efficiently managing your website content. With Beaver Builder, this process becomes even more intuitive and user-friendly!
Accessing Beaver Builder: Step-by-Step Guide
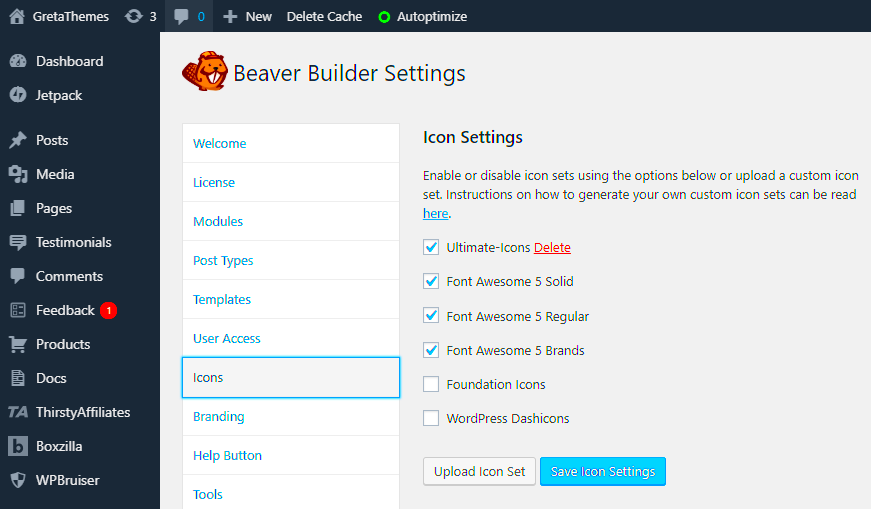
If you’re eager to dive into the world of Beaver Builder and start crafting beautiful pages for your WordPress site, accessing the tool is your first step. Thankfully, it’s a straightforward process that even beginners can master in no time. Let’s walk through a simple, step-by-step guide to get you up and running!
- Log into Your WordPress Dashboard: Start by logging into your WordPress dashboard using your credentials. This is where all the magic happens!
- Navigate to the Page or Post: Once you’re in your dashboard, locate the “Pages” or “Posts” option in the menu. Here, you can either create a new page/post or edit an existing one. Click on the title of the page or post you want to edit.
- Click on Beaver Builder: When the editor opens, you should see a button labeled “Launch Beaver Builder” or “Beaver Builder.” Click that button to transition into the Beaver Builder interface.
- Explore the Interface: Now that you’re in Beaver Builder, take a moment to familiarize yourself with the layout. You’ll see various options on the left and a preview of your page on the right.
- Start Building: With everything set up, you can begin dragging and dropping elements, changing text, and customizing your layout to fit your vision!
And there you go! You’ve successfully accessed Beaver Builder and are ready to create amazing content. Don’t forget, practice makes perfect, so don’t hesitate to experiment with the features available.
Switching Between Beaver Builder and Standard Editor
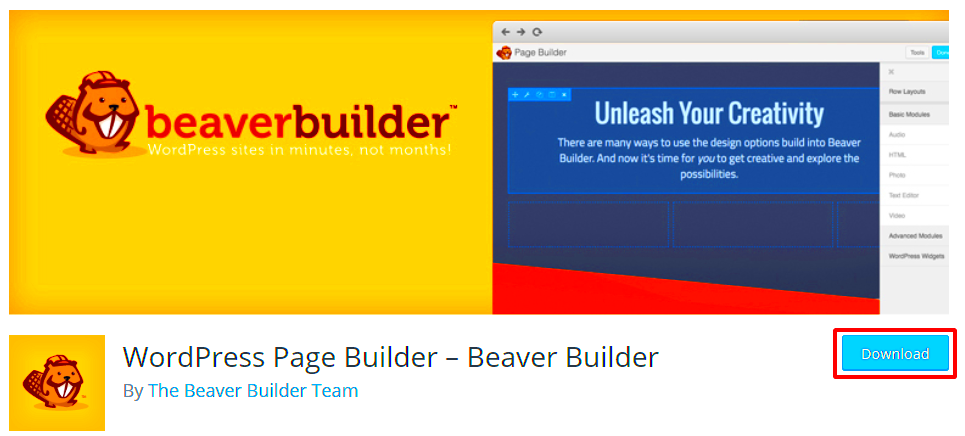
One of the great things about Beaver Builder is its flexibility. You can easily switch between the Beaver Builder interface and the standard WordPress editor, allowing you to adjust and fine-tune your content as needed. Let’s go over how to do this smoothly!
- While in Beaver Builder: If you’re currently in Beaver Builder and want to switch back to the standard editor, you’ll find the “Done” button at the top right corner of the Beaver Builder window. Click it, and you’ll be presented with options.
- Select “Save Draft” or “Publish”: Here, you’ll have the choice to save your changes or publish your page. Choose the desired option, and the interface will take you back to the WordPress editor.
- Using the Standard Editor: You can make any additional changes or adjustments you deem necessary in the standard editor. This is a great time to add meta descriptions, tags, or additional settings not available in Beaver Builder.
- Return to Beaver Builder: If you want to jump back into Beaver Builder, simply click the “Launch Beaver Builder” button again while in the WordPress editor, and you’re back to editing visually!
This seamless back-and-forth capability makes your workflow efficient. Whether you need to adjust your site’s content quickly or take a more visual approach, Beaver Builder has got you covered. Happy building!
Common Issues When Accessing the Edit Screen
When you’re using Beaver Builder to create stunning pages on your WordPress site, you might occasionally hit a few bumps in the road while trying to access the edit screen. Here are some common issues you might encounter, along with some insights on how to resolve them.
- Plugin Conflicts: Sometimes, other plugins can interfere with Beaver Builder. If your edit screen isn’t loading, try deactivating other plugins to see if that solves the issue.
- Theme Compatibility: Certain themes may not be fully compatible with Beaver Builder. Ensure that you’re using a theme that supports page builders to avoid any compatibility issues.
- JavaScript Errors: A common issue in WordPress, JavaScript errors can halt Beaver Builder’s scripts. Use your browser’s developer tools (usually accessed by pressing F12) to check for errors in the console.
- Server Issues: Sometimes, server configurations can prevent Beaver Builder from loading properly. If you suspect this, reach out to your hosting provider for assistance.
- Outdated Versions: Always make sure that both your WordPress and Beaver Builder versions are up to date. If not, updating could resolve your issues.
If you encounter problems, don’t panic! A little troubleshooting can often save the day.
Tips for Enhancing Your Editing Experience with Beaver Builder
Want to take your editing experience with Beaver Builder to the next level? Here are some fantastic tips that can help you create efficiently and effectively.
- Utilize the Templates: Beaver Builder offers a variety of pre-designed templates that can save you time. Don’t hesitate to use these templates as a foundation for your designs.
- Get Familiar with Shortcuts: Learning the keyboard shortcuts can significantly speed up your editing workflow. For example, pressing “Ctrl + Z” undoes changes quickly.
- Experiment with Modules: Take time to explore different modules available in Beaver Builder. Each module has unique settings, and experimenting can lead to exciting new layouts.
- Maintain a Clean Workspace: Keep your editing environment organized by removing unnecessary clutter and distractions. This helps you focus better on the task at hand.
- Regular Backups: Make it a habit to back up your work regularly. This ensures that you can restore previous versions if something goes wrong.
With these tips in mind, you’re set to make the most out of your Beaver Builder experience, unleashing your creative potential!
Conclusion: Mastering Beaver Builder for Your WordPress Site
Beaver Builder is a powerful tool that enhances the WordPress editing experience, allowing users to design and customize their websites with ease. By understanding how to access the WordPress edit screen and effectively use the features of Beaver Builder, you can create stunning pages that lead to a more engaging user experience.
To get started with Beaver Builder, you’ll first need to follow these simple steps:
- Install Beaver Builder: Go to your WordPress dashboard, navigate to the “Plugins” section, and select “Add New.” Search for Beaver Builder, install, and activate the plugin.
- Create a New Page: Click on “Pages” in the dashboard menu, then select “Add New” to create a new page.
- Launch Beaver Builder: Once your new page is ready, click the “Launch Beaver Builder” button to enter the page builder interface.
The Beaver Builder interface is intuitive and user-friendly. You can utilize modules such as:
- Content Modules: Text, images, and videos.
- Row Layouts: Choose from various pre-designed templates.
- Advanced Modules: Call-to-action buttons, sliders, and galleries.
Be sure to save your progress regularly and publish your page once you’re happy with your design. By mastering Beaver Builder, you’ll not only create beautiful pages but also ensure they are functional and responsive across all devices.

