So, you’re looking to add a login button to your WordPress menu? Great choice! A login button can streamline the user experience on your website, allowing your visitors to easily access their accounts. Whether you’re running a membership site, an online store, or a blog with multiple authors, having a convenient login option in your navigation can make a world of difference. In this post, we’ll explore how to set this up and why it’s beneficial for your website.
Understanding WordPress Menus
To add a login button effectively, it’s essential to have a solid understanding of how WordPress menus work. Menus are a crucial part of your site’s navigation, allowing users to access various sections without hassle. Here’s what you should know:
- What is a WordPress Menu?
A WordPress menu is a collection of links to different sections of your website. These links can point to pages, posts, categories, custom links, and more.
- Where Are Menus Located?
Menu locations can differ based on your theme. Typically, you’ll find your menus in the header, footer, or sidebar. However, most themes allow you to configure where your menu appears.
- How to Access Menus in WordPress:
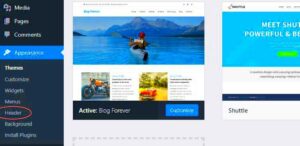
Log into your WordPress dashboard and navigate to the “Appearance” section. From there, click on “Menus.” Here, you’ll find options to create and manage your menus.
In the next sections, we’ll dive into how to effectively add that login button to your menu, along with some tips and tricks for customization. Keep reading!
Why Add a Login Button to Your Menu?

Adding a login button to your WordPress menu can significantly enhance the user experience for your website visitors. Imagine a scenario where users need to navigate back and forth just to find where to log in. Frustrating, right? A login button in the menu makes it super accessible!
Here are a few compelling reasons why this small addition can make a big difference:
- Improved Accessibility: With the login button readily visible on your menu, users don’t have to dig through pages to find where to log in. This streamlined process can reduce bounce rates.
- Increased Engagement: By making it easier for users to log in, you encourage them to spend more time on your site, whether it’s to comment on a blog or access member-only content.
- Professional Appearance: A login button integrated into your menu gives your website a polished and professional look. It shows that you care about user experience.
- Better Resource Management: If your site has member-specific content, easy access to login can help manage those resources better, as users effortlessly access relevant materials.
- Encourages a Community Feel: When users can log in quickly and easily, it fosters a sense of community. They’ll feel like they belong and are part of something special.
In summary, adding a login button to your WordPress menu isn’t just a matter of convenience; it’s a strategic move to boost user satisfaction and engagement!
Step 1: Create a Custom Login Page
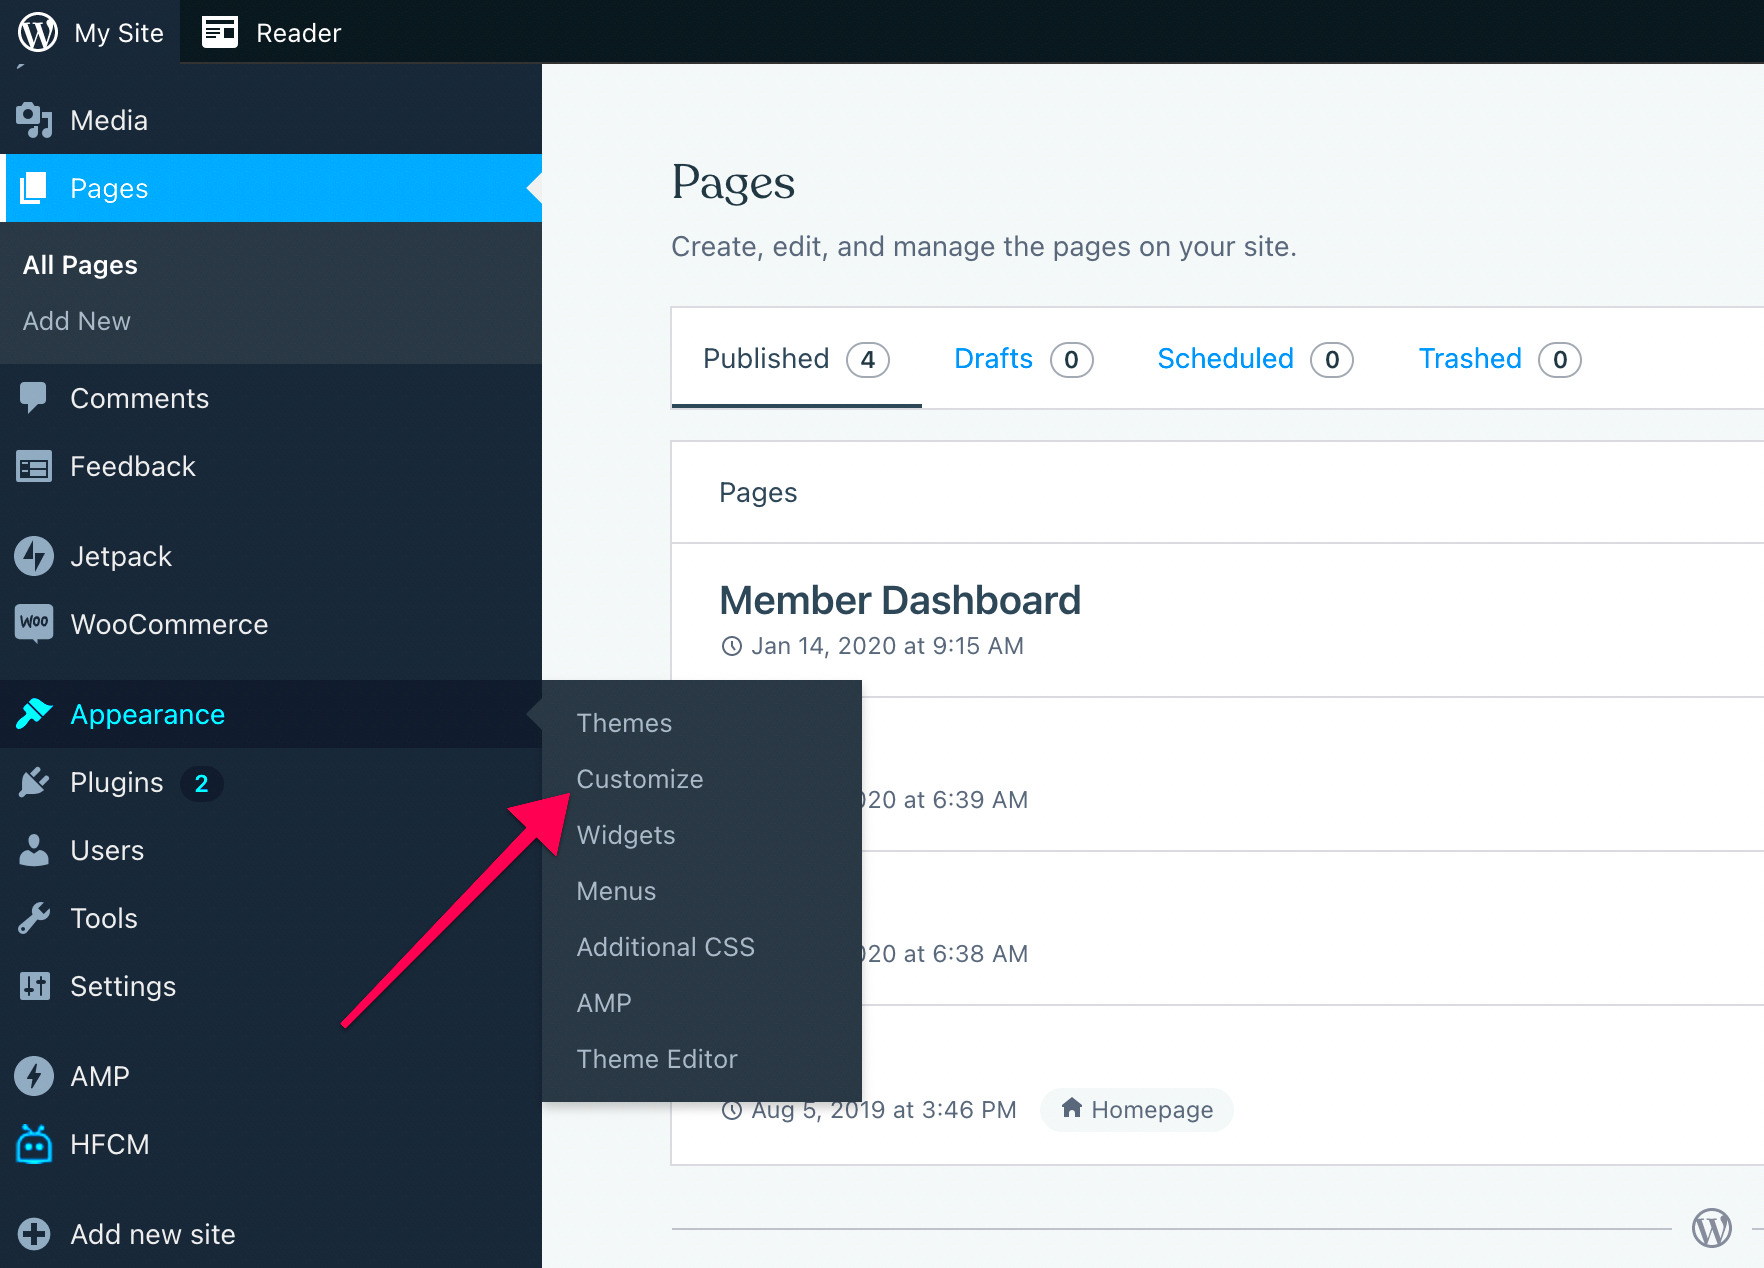
Alright, let’s dive right into the nitty-gritty. The first step to adding a login button to your WordPress menu is creating a custom login page. It might sound intimidating, but trust me, it’s as straightforward as pie! Here’s how you can do it:
- Access Your WordPress Dashboard: Log in to your WordPress admin panel. This is your command center!
- Create a New Page: Go to Pages > Add New. This brings you to a blank slate where you can create your custom login page. Name it something easily recognizable, like “Login”.
- Add Your Login Form: There are several plugins available that let you add a login form effortlessly. Some popular options include:
- WPForms: An easy drag-and-drop form builder.
- Theme My Login: A dedicated plugin for user login.
After installing one of these plugins, simply use the shortcode they provide to insert the login form into your page.
- Customize Your Login Page: You can personalize the look of your login page to match your site’s branding. Add logos, change colors, or modify the design as needed.
- Publish the Page: Once you’re satisfied with how it looks, click the Publish button. Your custom login page is now live!
And there you have it! Creating a custom login page is an essential step in adding that login button to your menu. Next, you’ll be able to dynamically link your new login page to your menu for quick access, enhancing the overall experience for your users.
Step 2: Add the Login Button to Your Menu
Alright, let’s get down to business and add that elusive login button to your WordPress menu! If you followed our previous steps, you should be ready to jump into the WordPress dashboard. Here’s how you can do it:
- Navigate to Your Menus: In the WordPress dashboard, head over to Appearance and then click on Menus. This is where you can edit your site’s menus and add new items.
- Select the Correct Menu: If you have multiple menus, you will need to select the one you want to edit. Use the dropdown menu to find your main menu, often labeled as “Primary Menu” or something similar.
- Add Custom Links: Now, look for the Add menu items section on the left. Here, you’ll see an option labeled Custom Links. Click on it!
- Input Your Login Link: In the URL field, enter the login page URL for your site (usually something like
yourwebsite.com/wp-login.php). In the Link Text field, type in “Login” or whatever text you prefer for your button. - Click Add to Menu: After you’ve filled that out, hit the Add to Menu button. You’ll see your new link appear in the menu structure on the right.
- Position the Button: Drag and drop the Login button to where you want it to appear in your menu. Don’t forget to save your changes when you’re done!
And voila! You’ve successfully added a login button to your menu!
Step 3: Customize the Login Button Appearance
Now that you have the login button in place, let’s make it look fabulous! Customizing the appearance of your login button can set the tone for your entire site. Here’s how to do it:
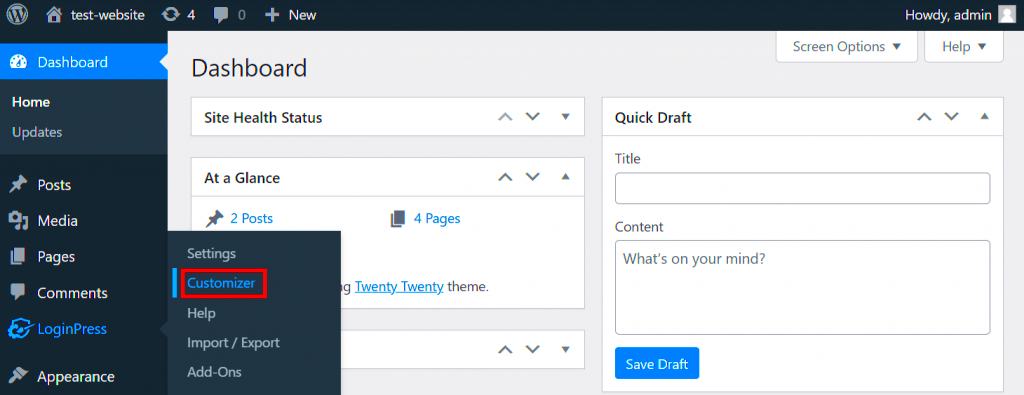
- Access the Customizer: From your WordPress dashboard, go to Appearance and then select Customize. This opens up the Live Customizer where you can see any changes in real-time.
- Edit Menu Settings: Within the Customizer, look for options that mention menus. Click on it to see the menus you’ve created.
- Select Your Login Button: Click on your login button to open further customization options. You may be able to modify the text, link, and even the positioning.
- Change Styles: Under the Additional CSS section (or a similar custom styling option), you can add custom CSS to modify the appearance. For example:
.menu-item a { background-color: #0073aa; /* Background color */ color: white; /* Text color */ padding: 10px 15px; /* Spacing */ border-radius: 5px; /* Rounded corners */ } .menu-item a:hover { background-color: #005177; /* Hover color */ } - Publish Changes: Once you’re happy with how the login button looks, be sure to hit the Publish button to save your changes!
Now, your login button not only serves a functional purpose but also complements the overall aesthetics of your website. Happy customizing!
Step 4: Test the Login Button Functionality
Now that you’ve added the login button to your WordPress menu, it’s time to put it to the test! Testing is a crucial step before you roll out any new feature. For the login button, you want to ensure it behaves as expected and provides a seamless experience for your users. Here’s how to test its functionality:
- Visit Your Website: Go to the homepage of your WordPress site where you have added the login button.
- Check the Menu: Look at the navigation menu and locate your newly added login button. Is it visible? Make sure it looks good alongside the other menu items.
- Click the Button: Go ahead and click on the login button. This should redirect you to the login page. Verify that the URL is correct and the login form is functioning properly.
- Attempt to Log In: Enter your credentials and try to log in. If everything goes smoothly, you should be redirected back to your site or wherever you have set it to go after logging in.
- Log Out: After logging in, make sure that there’s an option to log out. Clicking this should successfully log you out.
If everything tests out okay, congrats! Your login button is good to go. If not, you might need to revisit earlier steps or check for any mistakes. Always make sure to test on different devices and browsers to ensure complete functionality.
Common Issues and Troubleshooting
Even with the best of intentions, sometimes things don’t go as planned. If you’re facing issues with your login button or its functionality, here’s a list of common problems along with some troubleshooting tips:
| Issue | Possible Solution |
|---|---|
| Login button not showing | Check your menu settings to ensure the button is properly added and saved. Also, consider refreshing the page or clearing your browser cache. |
| Redirect not working | Verify the URL you set for the login button. It should be directing to yourwebsite.com/wp-login.php. |
| Login form not appearing | Ensure that if you have any security plugins, they aren’t blocking access to the login page. Disable temporarily to test. |
| Styling issues | Check your theme’s CSS. You might need to add some custom styles to ensure the button blends well with your site design. |
Remember, it’s always helpful to consult the WordPress support community or forums if you’re stuck. There are plenty of resources out there, and chances are, someone else has faced a similar issue!
Conclusion
Adding a login button to your WordPress menu can significantly enhance user experience by providing easy access for returning users. This simple yet effective feature encourages engagement and convenience for both site owners and visitors.
As we’ve explored, there are several methods to add a login button, ensuring that you can choose the one that aligns with your technical skills and website requirements. Below is a summary of the key methods:
- WordPress Custom Links: Use the built-in custom menu functionality to add a login link manually.
- Plugins: Utilize plugins like “WP Menu Cart” or “Theme My Login” for enhanced features and easier integration.
- Code Snippets: For those comfortable with coding, customize the functions.php file to programmatically add a login link.
Consider your site’s design and the convenience of your users when implementing this feature. The placement of the login button is crucial; it should be easily visible but not distracting. Also, remember to provide logout options and handle user sessions responsibly for enhanced security.
| Method | Ease of Use | Customization Options |
|---|---|---|
| Custom Links | Easy | Basic |
| Plugins | Moderate | Advanced |
| Code Snippets | Advanced | Full |
In conclusion, no matter which method you choose, integrating a login button into your WordPress menu can greatly improve user flow and site interaction. Regularly reassess its functionality and ease of use to ensure it continues to meet your users’ needs.

