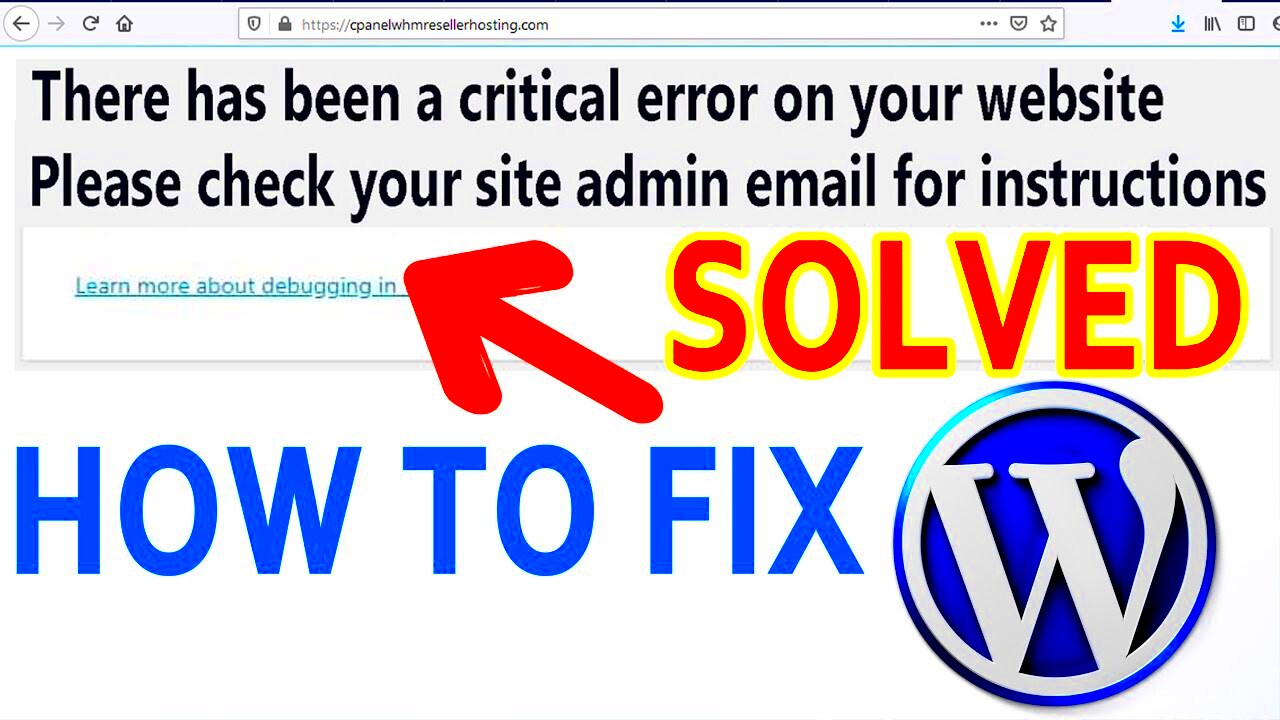
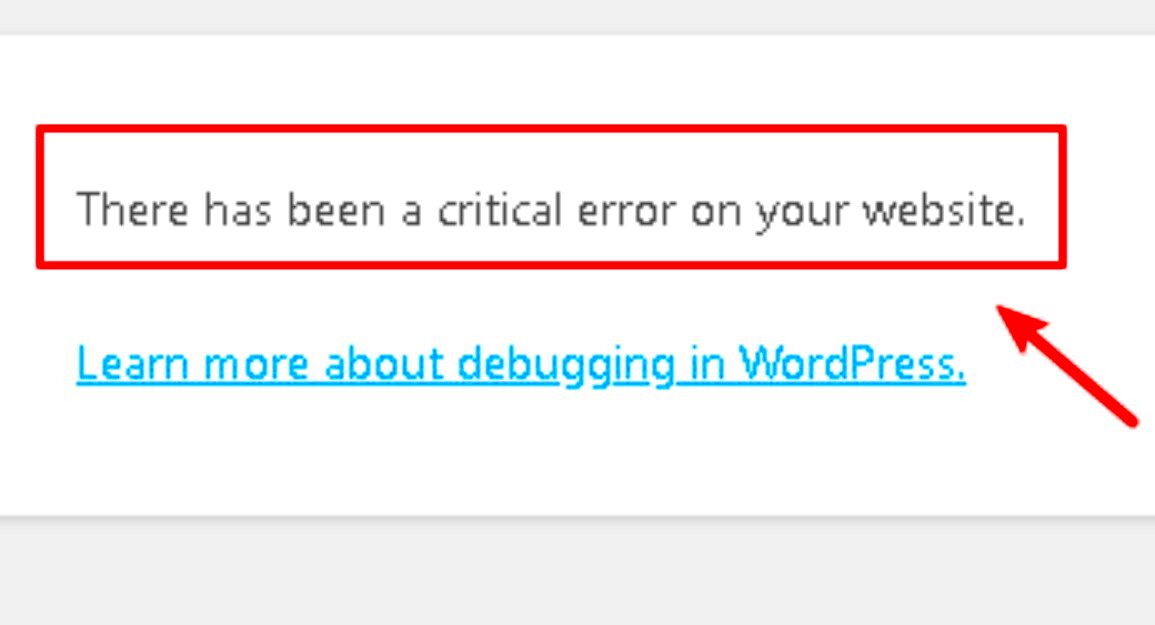
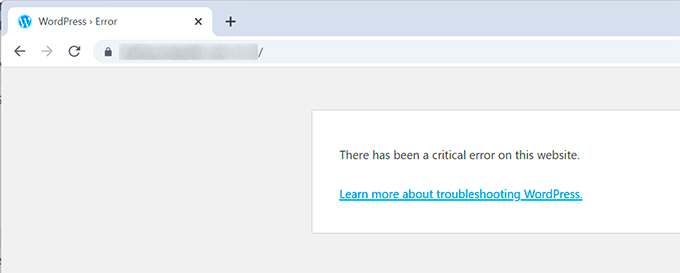
If you’ve stumbled across the dreaded “Critical Error” warning while trying to access your WordPress admin panel, you’re not alone. This can be a frustrating experience, especially when you need to manage your website urgently. But don’t worry! In this guide, we’ll walk you through what this error means and how you can regain access to your WordPress dashboard. So, take a deep breath, and let’s dive in!
Understanding the Critical Error Warning

The “Critical Error” message usually indicates that your WordPress site has encountered a significant issue that’s preventing it from loading properly. Here’s a closer look at what might be going on:
- Plugin Conflicts: One of the most common causes is a conflict between two or more plugins. If you’ve recently installed or updated a plugin, it might be the culprit.
- Theme Issues: Similar to plugins, your active theme could also be causing problems, especially if it hasn’t been updated for a while.
- PHP Errors: If there’s a coding error within your theme or plugin that contradicts WordPress’s requirements, it might trigger this error.
- Memory Limit Exhaustion: Your hosting account may exceed its memory limit while attempting to load WordPress, leading to this error.
- Corrupted Core Files: Sometimes, core WordPress files become corrupted, which can prevent your site from functioning correctly.
When you see this error, it’s important to approach it methodically:
- Check your email for any error messages WordPress may have sent you.
- Disable any recently added plugins or themes.
- Increase your site’s memory limit via wp-config.php.
Understanding the reasons behind this warning can help you take effective steps to resolve it and get your website back online. Don’t worry; troubleshooting can be straightforward with the right guidance!
Common Causes of Critical Errors in WordPress

Encountering a critical error in WordPress can be frustrating, especially when you just want to access your admin dashboard. These errors can stem from several underlying issues, so let’s explore some of the most common causes that could be triggering that pesky warning.
- Plugin Conflicts: One of the most frequent culprits is a conflict between installed plugins. If two plugins try to access the same resource or function simultaneously, it can result in an error.
- Theme Issues: Sometimes the theme you’re using might not be compatible with the WordPress version. An outdated or poorly coded theme can lead to critical errors as well.
- Memory Exhaustion: WordPress has a memory limit, and if your website exceeds this limit—either due to heavy plugins or themes—you may end up with an error. Increasing the PHP memory limit can often solve this problem.
- Core File Corruption: Occasionally, a corrupted core file during a WordPress update can lead to errors. This might happen due to incomplete updates, leading to missing files or functions.
- Server Configuration: Sometimes, the error can arise due to restrictions imposed by your hosting environment. For instance, improper server settings or insufficient file permissions can cause critical errors.
Identifying the exact cause can sometimes feel like looking for a needle in a haystack, but understanding these common issues can help you diagnose and tackle the problem efficiently!
Method 1: Disabling Plugins via FTP
If you’re locked out of your WordPress admin area because of a critical error, don’t worry! One proven method to regain access is by disabling your plugins via FTP. This may sound technical, but follow these steps, and you’ll be up and running in no time!
Step-by-Step Guide to Disable Plugins via FTP
Before starting, make sure you have FTP client access to your server. If you don’t have an FTP client, applications like FileZilla or Cyberduck are great options. Here’s how to go about it:
- Connect to Your Site: Open your FTP client and input your server credentials (host, username, password, and port). Click ‘Connect’ to access your site’s files.
- Navigate to the Plugins Folder: Once connected, navigate to the
wp-contentfolder. Here, you’ll find a subfolder namedplugins. - Disable Plugins: To disable all your plugins at once, simply rename the
pluginsfolder to something likeplugins_disabled. This action will deactivate all your plugins immediately. - Check Your Site: After renaming, attempt to access your WordPress admin again. If you can log in, it’s likely a plugin conflict causing the issue.
- Reactivate Plugins One by One: Now, you can start renaming the
plugins_disabledfolder back topluginsand reactivate each plugin individually via the WordPress dashboard to pinpoint the problematic one.
By following these steps, you should be able to regain access to your WordPress admin and get back to managing your site!
Method 2: Accessing Recovery Mode
If you’re encountering a critical error in WordPress, one effective way to regain control is by using Recovery Mode. This method helps you access the admin dashboard without dealing with the errors that are blocking your path. Here’s how to navigate Recovery Mode seamlessly.
When WordPress detects a critical error, it automatically sends an email to the site administrator, granting them access to Recovery Mode. This email contains a special link, which, when clicked, allows you to log in to your website even if the error persists. Here’s a straightforward guide on how to utilize this feature:
- Check Your Email: Look for an email from WordPress. It usually states something like “Your Site is Experiencing a Technical Issue.”
- Find the Recovery Link: Within the email, you’ll see a link that says something like “Proceed to the Recovery Mode.” Click on that link.
- Login to Admin: Enter your WordPress credentials. If successful, you’ll be granted access to the admin dashboard, where you can start troubleshooting the error.
- Deactivate Plugins or Themes: Once in Recovery Mode, identify and deactivate the problematic plugin or theme that caused the error.
Using Recovery Mode can be a lifesaver, especially if you’re not tech-savvy. If you don’t see the email, check your spam folder, and if necessary, you can manually trigger Recovery Mode by including a line in your wp-config.php file.
Method 3: Checking the .htaccess File
The .htaccess file is a powerful file that controls many aspects of your WordPress site’s functionality. If you’re dealing with a critical error, it’s a good idea to check this file. A corrupted .htaccess file can lead to various issues, including the infamous critical error message. Here’s how to inspect it:
- Access Your Website’s Files: Use an FTP client like FileZilla or your hosting provider’s File Manager to navigate to the root directory of your WordPress installation.
- Locate the .htaccess File: Look for the .htaccess file in the root folder. If you don’t see it, ensure that your FTP client is set to show hidden files.
- Backup the File: Before making changes, create a copy of the .htaccess file on your local machine. This way, you can restore it if things go awry.
- Edit the File: Open the .htaccess file and inspect its content. It should contain default WordPress rules. A standard .htaccess file looks like this:
# BEGIN WordPressRewriteEngine OnRewriteBase /RewriteRule ^index\.php$ - [L]RewriteCond %{REQUEST_FILENAME} !-fRewriteCond %{REQUEST_FILENAME} !-dRewriteRule . /index.php [L]# END WordPress
If you notice any unfamiliar rules or codes, consider removing them or replacing your current .htaccess file with the default rules above. Afterward, save the changes and try to access your WordPress site again.
Checking and correcting the .htaccess file is a straightforward yet essential step in resolving critical errors and getting your website back up and running!
Method 4: Increasing PHP Memory Limit
If you’re facing a critical error warning in WordPress, one common culprit could be the insufficient PHP memory limit. This is particularly true for sites that utilize multiple plugins or heavy themes, as they demand more resources. Increasing your PHP memory limit is relatively simple and can be done in several different ways. Let’s take a look at how you can do this to potentially resolve your critical error.
You can increase the PHP memory limit via:
- wp-config.php File: This is one of the easiest methods. You only need to add a line of code to your
wp-config.phpfile, which is located in your WordPress root directory. Just add:
define('WP_MEMORY_LIMIT', '256M');This line of code specifies that you want to set the memory limit to 256 megabytes. If you’re still seeing the critical error after this change, you may need to specify an even higher limit.
- php.ini File: If you have access to your server’s php.ini file, you can adjust it there as well. Find the line that specifies memory limit and change it to:
memory_limit = 256MYou’ll need to restart your server for this change to take effect.
- .htaccess File: If you’re using Apache, you could also update your .htaccess file located in your WordPress directory. Add the following line:
php_value memory_limit 256MRemember, after making any of these changes, it’s important to check if the issue persists. If you are unsure or uncomfortable making these adjustments yourself, don’t hesitate to reach out to your hosting provider for assistance. They might also have specific recommendations or limits based on your hosting plan!
Method 5: Debugging WordPress
When dealing with a critical error in WordPress, enabling debugging can provide valuable insights into what might be causing the issue. Debugging allows you to gather more detailed error messages instead of just a vague critical error warning. Let’s walk through how to enable debugging and interpret the results.
The first step is to edit your wp-config.php file once more. Look for the following line:
define('WP_DEBUG', false);Change it to:
define('WP_DEBUG', true);This adjustment turns on debugging mode, displaying any errors on your site. Additionally, you might want to add the following line right beneath it:
define('WP_DEBUG_LOG', true);This will send your site’s error messages to a debug.log file located in the wp-content directory. You can check this file to see all logged errors, giving you a clearer understanding of what’s going wrong.
After that, it’s also helpful to use:
define('WP_DEBUG_DISPLAY', false);This option prevents errors from displaying on the public-facing side of your site, which can be especially useful if you are troubleshooting on a live site. It keeps your visitors from seeing error messages but still allows you to log them for review.
Once you’ve located the source of the critical error, you can begin to troubleshoot further. Common issues might range from plugin conflicts to theme compatibility. If at any point you find yourself overwhelmed or unsure, remember that the WordPress support forums are a fantastic resource where fellow users and developers are eager to help!
Preventing Future Critical Errors
Once you’ve successfully navigated through the critical error warning and regained access to your WordPress admin panel, you might find yourself wondering how to prevent such issues in the future. After all, nothing is worse than the surprise of an unexpected error message stopping you in your tracks! Here are some proactive steps to help you safeguard your WordPress site:
- Regular Backups: Ensure you have a reliable backup solution in place. Use plugins like UpdraftPlus or BackWPup that can automatically back up your site on a schedule.
- Keep Everything Updated: Regularly update your WordPress core, themes, and plugins. Developers frequently release updates to patch vulnerabilities and fix bugs.
- Quality Themes and Plugins: Be selective about the themes and plugins you choose to install. Stick with reputable sources from the official WordPress repository.
- Test Before Going Live: If you’re making major changes or installing new plugins, consider using a staging site first. This way, you can test changes before deploying them to your live site.
- Monitor Site Performance: Use tools like Google Search Console or WebPageTest to keep an eye on performance issues that could lead to errors.
- Limit Plugin Usage: Too many plugins can complicate your site and lead to conflicts. Review and remove any that you don’t actively use.
- Security Measures: Implement security plugins like Wordfence or Sucuri to ward off potential threats that might cause critical errors.
By adhering to these tips, you’ll significantly reduce the chances of facing critical errors in the future. Remember, a little maintenance goes a long way in keeping your WordPress site running smoothly!
Conclusion
In conclusion, dealing with a critical error in WordPress can be a daunting experience, but it doesn’t have to be the end of your journey. Armed with the right knowledge and steps, you can navigate through these challenges with confidence. Whether it’s temporarily deactivating plugins, switching themes, or increasing PHP memory limits, taking targeted actions can help you regain access to your WordPress admin.
Moreover, prevention is your best ally in maintaining a healthy website. By implementing regular backups, keeping your platform updated, and being judicious in your plugin choices, you can minimize the risk of encountering critical errors in the first place. The goal is to foster a stable, secure, and efficient WordPress environment.
So, the next time you face a critical error, although it may seem frightening at first, remember that you have tools and strategies at your disposal. Learn from the experience and strengthen your site for the future. Happy blogging!


