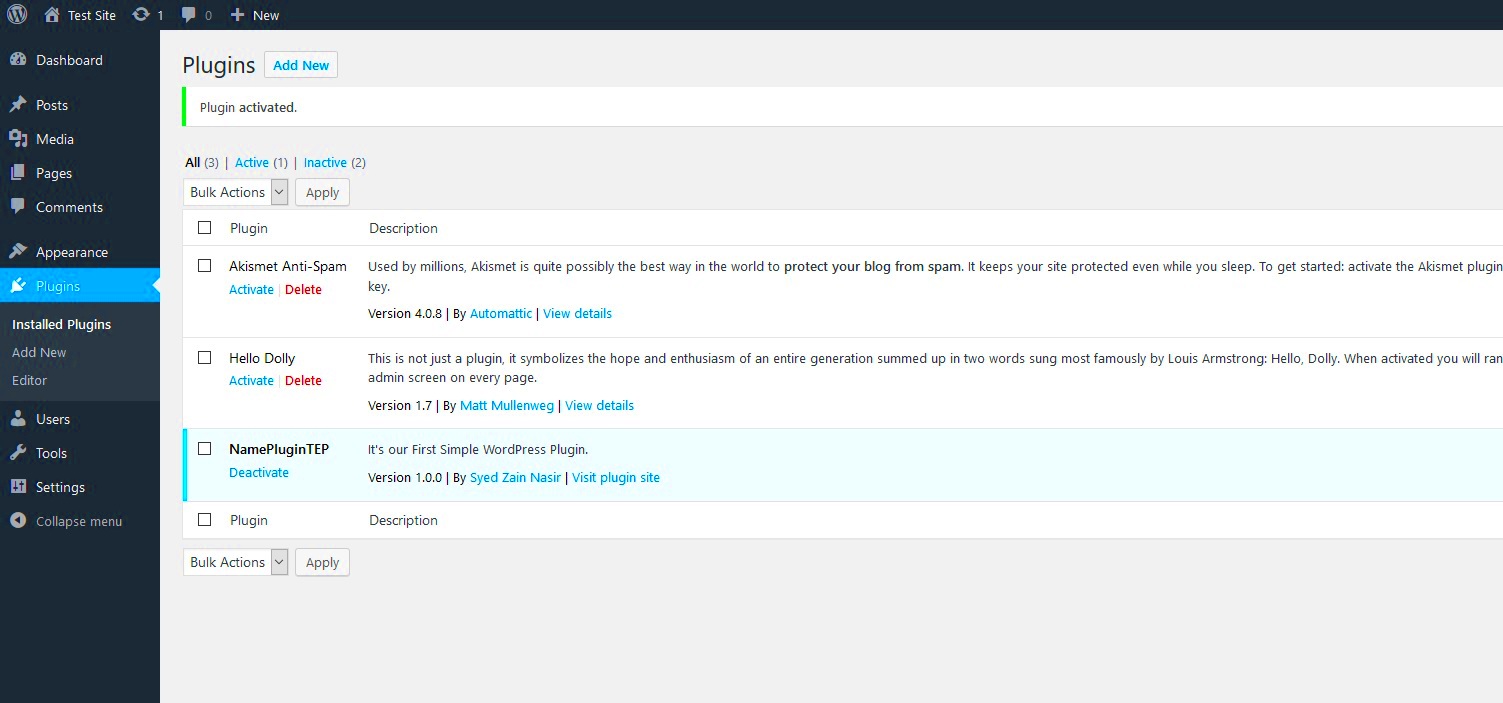
Customizing the WordPress admin area can be a powerful way to enhance user experience and create a personalized interface for site managers. By default, the admin area follows a standard layout, but you can modify the styles to match your brand or specific functionality. Whether you’re managing multiple websites or developing a plugin, customizing the admin interface allows you to streamline workflows and improve navigation. In this guide, we’ll explore how you can use the admin_enqueue_scripts hook to add custom styles and scripts to the WordPress admin panel.
Understanding admin_enqueue_scripts Hook

The admin_enqueue_scripts hook is one of the key hooks in WordPress that allows you to add custom stylesheets, scripts, and other assets specifically for the WordPress admin area. This hook is triggered when the admin pages are loaded, making it the perfect place to inject your custom styles and functionality without affecting the front end of the site.
Here’s how it works:
- Fires on Admin Pages: The hook is executed only on admin pages, so you don’t need to worry about affecting the frontend of the website.
- Custom Scripts and Styles: It allows you to enqueue custom stylesheets, JavaScript files, and other resources needed for your admin interface.
- Optimized Performance: By enqueuing scripts only on relevant admin pages, you avoid unnecessary resource loading.
To use admin_enqueue_scripts, you simply need to hook into it with a function that registers your scripts and styles, which will be loaded only when the admin area is being accessed. The hook ensures that your code is executed in the right context without causing conflicts with other admin functionality.
How to Add Custom Stylesheets in the Admin Area

Adding custom styles to the WordPress admin area can make a big difference in how users interact with the admin panel. By using the admin_enqueue_scripts hook, you can load your custom CSS files directly into the admin interface. Below is a simple step-by-step process to add custom stylesheets:
function custom_admin_styles() {
    wp_enqueue_style( 'custom-admin-style', get_template_directory_uri() . '/css/admin-style.css' );
}
add_action( 'admin_enqueue_scripts', 'custom_admin_styles' );
Explanation:
- wp_enqueue_style: This function is used to enqueue the custom stylesheet. In the example above, the file
admin-style.cssis located in the theme’s/css/folder. - get_template_directory_uri: This function retrieves the URL of the current theme’s directory. You can replace it with
get_stylesheet_directory_uriif using a child theme. - admin_enqueue_scripts: This hook tells WordPress to load your custom stylesheet in the admin area only.
To ensure that the styles are applied only on certain pages or for specific users, you can further refine your conditions by checking the page using the get_current_screen() function or checking user roles with current_user_can().
Custom styles in the admin area can range from simple tweaks, such as changing colors or fonts, to more complex layouts, such as modifying the appearance of admin menus or dashboard widgets. With this method, you have full control over the design and functionality of the WordPress backend.
Using wp_register_style and wp_enqueue_style Functions
When styling the WordPress admin area, it’s essential to understand the difference between the wp_register_style and wp_enqueue_style functions. Both functions are used to add custom CSS files, but they serve slightly different purposes. Understanding how to use them together can give you better control over how and when your styles are loaded.
Here’s a quick breakdown:
- wp_register_style: This function registers a stylesheet, making it available for later use. It does not load the stylesheet immediately, but instead makes it ready for enqueueing at a later stage. This is useful when you want to register multiple styles and then decide which ones to load based on specific conditions.
- wp_enqueue_style: This function actually loads the stylesheet into the page. It’s used after a stylesheet has been registered (either using
wp_register_styleor directly in thewp_enqueue_stylecall). It ensures that your CSS file is properly included in the admin area.
Here’s an example of using both:
function custom_admin_styles() {
    wp_register_style( 'custom-admin-style', get_template_directory_uri() . '/css/admin-style.css' );
    wp_enqueue_style( 'custom-admin-style' );
}
add_action( 'admin_enqueue_scripts', 'custom_admin_styles' );
In this example, the stylesheet admin-style.css is registered first and then enqueued to be loaded in the admin area. This method offers flexibility, especially when you need to register multiple styles or conditionally load them on specific pages or for certain users.
By using both functions together, you can optimize how your styles are managed, ensuring they load only when necessary and are properly organized in your WordPress theme or plugin.
Applying Custom Styles to Specific Admin Pages
Sometimes, you may want to apply custom styles only to specific admin pages, not the entire WordPress backend. Fortunately, WordPress provides an easy way to target specific admin pages using the get_current_screen() function.
Here’s how you can apply styles selectively:
- Targeting Specific Pages: Using the
get_current_screen()function, you can determine which admin page is currently being viewed and conditionally load styles based on that. - Page Slug: Every admin page in WordPress has a unique page slug (e.g.,
post,options-general, etc.). You can use this to load styles only on the relevant pages.
For example, if you want to apply styles only to the Post edit page, you can do the following:
function custom_admin_post_page_styles() {
    $screen = get_current_screen();
    if ( 'post' === $screen->id ) {
        wp_enqueue_style( 'custom-post-admin-style', get_template_directory_uri() . '/css/post-admin-style.css' );
    }
}
add_action( 'admin_enqueue_scripts', 'custom_admin_post_page_styles' );
This code checks if the current page is the Post editor and, if so, enqueues the custom stylesheet for that specific page only. This is helpful for targeting specific pages without unnecessarily loading styles across the entire admin dashboard.
By using conditional logic like this, you can maintain a clean and efficient admin area, with custom styles applied only where they’re needed.
Best Practices for Admin Area Customization
While customizing the WordPress admin area can improve the user experience, it’s essential to follow best practices to avoid conflicts, maintain performance, and ensure accessibility. Here are some key recommendations to keep in mind:
- Keep Styles Simple: While it’s tempting to create elaborate designs, simplicity is key. The admin area should remain functional and easy to navigate. Overly complex styles can slow down performance and confuse users.
- Use WordPress Defaults: Stick to WordPress’s default UI components and styles where possible. Custom styles should complement the existing UI, not overwhelm it.
- Load Styles Conditionally: Only load your custom styles where necessary. Use conditional statements to ensure that styles are applied only on specific pages. This helps improve load times and avoids bloating the admin area.
- Ensure Responsiveness: The WordPress admin area should be usable on all screen sizes. Test your custom styles on different devices to ensure the admin interface remains accessible.
- Respect Accessibility Standards: Ensure your styles don’t hinder accessibility. Consider color contrast, font sizes, and navigation options for users with disabilities.
- Test for Compatibility: Always test your customizations in different environments. Ensure they work with multiple versions of WordPress and don’t conflict with other plugins or themes.
By following these best practices, you can ensure that your customizations are effective, user-friendly, and don’t cause performance or compatibility issues down the road. Focus on creating a streamlined, intuitive, and accessible experience for administrators while still maintaining the core functionality of WordPress.
Common Issues and How to Resolve Them
When customizing the WordPress admin area, you might encounter a few common issues. These can range from conflicts with other plugins to styles not loading properly. Understanding how to troubleshoot and resolve these issues is essential to maintaining a smooth experience for admins and users. Below are some of the most common issues and how you can address them:
- Styles Not Applying: If your custom styles aren’t showing up, first check if your styles are being properly enqueued. Ensure that the path to your stylesheet is correct and that the
admin_enqueue_scriptshook is correctly set up. You may also need to clear your browser cache to see changes. - Conflict with Other Plugins: Sometimes, plugins can conflict with each other, causing issues with styles or scripts. If you’re noticing unexpected behavior, try disabling other plugins one by one to identify the source of the conflict. You can also use the
wp_register_stylefunction to load styles only on specific pages to minimize the risk of conflicts. - Styles Not Loading on Specific Pages: If your styles aren’t applying to certain pages, ensure you’re using the
get_current_screen()function correctly to target the right admin pages. You can also add debug statements to check if your conditional logic is working as expected. - Performance Issues: Loading too many styles or scripts can slow down the admin area. To avoid this, always load only the necessary styles and scripts for each page. You can use the
wp_enqueue_scriptandwp_enqueue_stylefunctions conditionally, based on the specific admin page being accessed.
By addressing these common issues, you can ensure a smooth and efficient WordPress admin experience, making your customizations both functional and easy to manage.
FAQ
Here are some frequently asked questions about styling the WordPress admin area:
- Can I apply custom styles to the WordPress login page? Yes, you can use the
login_enqueue_scriptshook to enqueue custom styles for the login page, similar to how you useadmin_enqueue_scriptsfor the admin area. - How do I target specific users with custom admin styles? You can use the
current_user_can()function to apply styles only to certain user roles. For example, you can apply custom styles only for administrators or specific user groups. - Can I add custom scripts to the admin area? Yes, you can use the
admin_enqueue_scriptshook to add custom JavaScript files alongside your stylesheets. Just ensure you properly enqueue the script usingwp_enqueue_script. - How can I revert changes to the admin area if something goes wrong? You can deactivate the customizations by disabling the functions that enqueue the styles and scripts. It’s a good practice to keep a backup of the original code so you can quickly revert to the default WordPress admin interface.
- Are there any performance concerns when customizing the admin area? Yes, excessive styles or scripts can affect the performance of the admin area. It’s best to load resources conditionally and only when needed, to avoid unnecessarily slowing down the backend.
Conclusion
Customizing the WordPress admin area with custom styles and scripts can significantly enhance the user experience, making it more tailored to your needs. By using hooks like admin_enqueue_scripts, you can inject custom styles efficiently without interfering with the functionality of the WordPress core. However, it’s important to follow best practices, ensure compatibility with other plugins, and always test your customizations for performance issues.
Remember, simplicity is key. Keep your admin area clean, intuitive, and user-friendly to improve the workflow for site administrators. With the right approach, you can create a customized backend that enhances productivity and provides a professional experience.
By addressing common issues and using best practices, you can avoid common pitfalls and ensure that your custom styles and scripts work smoothly across your WordPress site. Happy customizing!


