Gutenberg blocks are the heart of WordPress’s new editor experience. They allow users to create and arrange content visually, making it easier for everyone from beginners to seasoned developers. Think of a block as a chunk of content you can customize, move around, and style independently of other blocks. This modular approach transforms how we build pages and posts, offering more flexibility and creativity.
Each block serves a specific purpose, whether it’s a paragraph, image, video, or custom block tailored to your needs. You can simply drag and drop blocks, stack them, or customize their appearance, transforming your content creation into an intuitive experience.
Understanding Taxonomy in WordPress
Taxonomy in WordPress is a way to group content together. It’s like a filing system, putting your posts into categories that make sense. There are two built-in taxonomies: Categories and Tags, but you can also create custom taxonomies based on your specific requirements.
Here’s a quick breakdown of how it works:
- Categories: These are broad groupings of posts. For example, if you run a cooking blog, categories might include desserts, appetizers, and main dishes.
- Tags: These are more specific descriptors. Using our cooking blog example, if you’re posting a chocolate cake recipe, you might tag it with “chocolate,” “cake,” and “desserts.”
- Custom Taxonomies: These are unique groupings you can create based on your needs. For instance, if you have a movie review site, you might create a taxonomy called “Genres” and use it to categorize movies like Action, Comedy, and Drama.
Taxonomies enhance site organization and improve user navigation, making it easier for visitors to find related content. Understanding how to leverage taxonomies is vital for anyone looking to build a robust WordPress site.
Setting Up Your Development Environment
Before diving into the exciting world of custom Gutenberg blocks, it’s essential to set up your development environment properly. A well-configured environment ensures that you can work seamlessly and avoid potential hiccups along the way. Here’s how you can get started:
- Install WordPress Locally: You can use tools like Local by Flywheel, XAMPP, or DesktopServer to create a local WordPress installation. This allows you to experiment without affecting a live site.
- Set Up a Code Editor: Choose a code editor that suits you. Popular options are Visual Studio Code, Atom, and Sublime Text. These tools provide features like syntax highlighting, code completion, and version control integration.
- Install Node.js and npm: Gutenberg blocks are built using modern JavaScript and React. Install Node.js which comes with npm (Node Package Manager) to manage your dependencies. Make sure you are running the latest LTS version for compatibility.
- Install WordPress Scripts: Use npm to install the necessary WordPress packages. You can run commands like
npm install @wordpress/scripts --save-devto help with building your blocks. - Familiarize with Gutenberg Documentation: Take some time to explore the Gutenberg Developer Documentation. It’s a treasure trove of information that will guide you through the block creation process.
Once you have your environment set up, you’ll be ready to create custom blocks tailored to your needs!
Creating a Basic Gutenberg Block
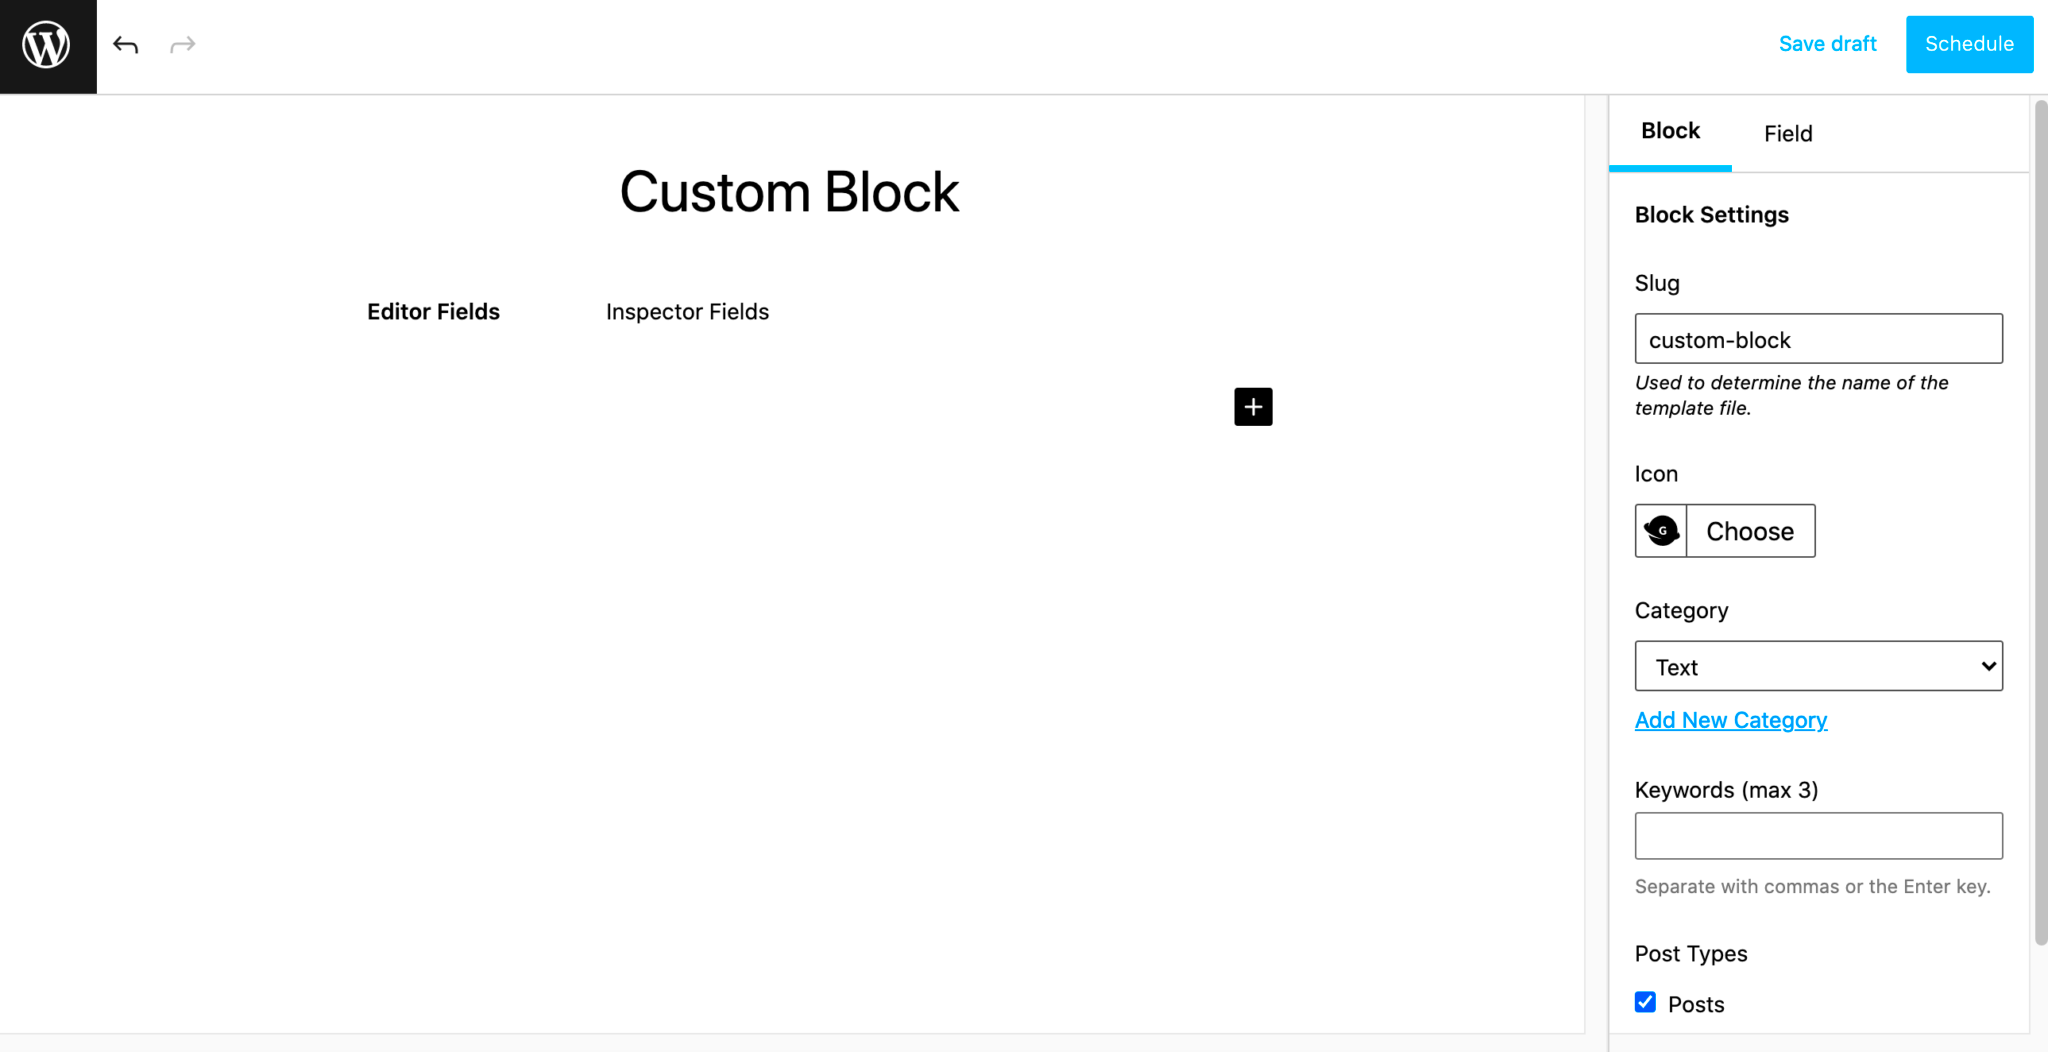
Now that your development environment is good to go, let’s jump right into creating a basic Gutenberg block. The process may seem daunting at first, but with the right steps, you’ll find it’s quite straightforward!
- Set Up the Block Structure: Create a folder for your block in the
wp-content/plugins/directory. Inside this folder, create a main PHP file (e.g.,my-custom-block.php) and an additional folder for JavaScript files. - Enqueue the Block Assets: In your PHP file, enqueue the necessary JavaScript and CSS files. Here’s a basic example:
function my_custom_block_assets() { wp_enqueue_script( 'my-custom-block', plugins_url( 'my-block.js', __FILE__ ), array( 'wp-blocks', 'wp-i18n', 'wp-element', 'wp-editor' ) );}add_action( 'enqueue_block_editor_assets', 'my_custom_block_assets' );- Create the Block in JavaScript: In your JavaScript file (e.g.,
my-block.js), register your block using the following code:
const { registerBlockType } = wp.blocks;registerBlockType( 'my-plugin/my-custom-block', { title: 'My Custom Block', icon: 'smiley', category: 'design', edit: () => { return Hello, World!; }, save: () => { return Hello, World!; },});- Activate Your Plugin: Head over to your WordPress dashboard, navigate to the “Plugins” section, and activate your custom block plugin. You should now find your block available in the Gutenberg editor!
The beauty of this process is that once you have a basic setup down, the possibilities are endless. You can expand upon this by adding more functionality, implementing styles, or even integrating with loadable data sources. So roll up your sleeves and get coding!
Fetching Taxonomy Posts
When you’re building a custom Gutenberg block in WordPress, one of the most crucial steps is fetching taxonomy posts. This is important because you want to tug at the right strings in the WordPress database to pull in the posts associated with specific taxonomies like categories and tags.
To start, you’ll want to utilize the built-in WordPress functions and REST API. The `WP_Query` class is a powerful tool for this purpose. It allows you to create custom queries to fetch posts based on certain criteria, such as taxonomies. Here’s a simple example of how you can fetch taxonomy posts:
$args = array( 'post_type' => 'post', // Change to your custom post type if needed 'tax_query' => array( array( 'taxonomy' => 'category', // Change to your taxonomy 'field' => 'slug', 'terms' => 'your-term-slug', // Replace with your term slug ), ),);$query = new WP_Query($args);This snippet fetches all posts that belong to a specific taxonomy term. Now, if you’d like to fetch posts from multiple taxonomy terms, simply add more arrays to the `tax_query` parameter.
Tips for Fetching Taxonomy Posts:
- Make sure the taxonomy you’re trying to fetch is registered correctly.
- Always sanitize and validate the taxonomy term inputs to avoid any security issues.
- Consider using caching mechanisms for improved performance, especially if you expect to fetch large datasets.
Rendering Taxonomy Posts in Your Block
Now that you’ve fetched the taxonomy posts, the next exciting step is rendering them in your custom Gutenberg block. This is where your block comes alive, displaying the relevant posts dynamically on your site. Let’s break it down a bit further.
To render the posts, you will need to loop through the results obtained from your `WP_Query` object. Here’s a basic structure that will help you render your posts:
if ($query->have_posts()) { echo ''; // Start your list of posts while ($query->have_posts()) { $query->the_post(); echo '- '; echo '
' . get_the_title() . '
'; // Displaying title echo '' . get_the_excerpt() . '
'; // Optionally display excerpt echo ' '; } echo '
'; // Close your list of posts} else { echo 'No posts found for this taxonomy.
';}// Reset post datawp_reset_postdata();This will display the posts in an unordered list, showing each post’s title and an excerpt. You might want to customize the markup further—adding features like featured images, links, or custom classes for CSS styling.
Key Points for Rendering Taxonomy Posts:
- Always reset the post data after your custom loop with `wp_reset_postdata()`.
- Consider adding pagination if you’re dealing with a lot of posts, so visitors don’t get overwhelmed.
- Your block could have settings that allow users to choose which taxonomy or terms to display, making it more dynamic!
By following these steps, you’ll have a functional and visually appealing custom Gutenberg block that showcases taxonomy posts, enriching your WordPress site with valuable content.
7. Styling Your Custom Block
When it comes to building a custom Gutenberg block for taxonomy posts in WordPress, styling is where you can really make your block stand out. The way you style your block not only enhances its appearance but also improves user experience, making it more appealing to those who interact with your content.
First, let’s familiarize ourselves with some essential CSS concepts you’ll use to style your block. You can either write your styles inline, use a separate CSS file, or both. However, keeping your styles in a dedicated CSS file helps maintain a clean structure as your project grows. Here’s how you can organize your styling:
- CSS Variables: Using CSS variables can help you maintain consistency across your styles.
- Flexbox and Grid: These layout techniques make arranging your taxonomy posts fluid and responsive.
- Media Queries: Don’t forget to test how your block appears on various devices. Media queries will help you tailor the design for mobile, tablet, and desktop views.
Here’s a simple example of a CSS rule you might use to style your block:
.custom-taxonomy-block { background-color: #f8f9fa; border: 1px solid #dee2e6; padding: 1rem; border-radius: 5px; transition: box-shadow 0.3s ease;}.custom-taxonomy-block:hover { box-shadow: 0 4px 8px rgba(0, 0, 0, 0.1);}Remember, the styling of your block should not only look good but also be functional. Make sure that any interactive elements are easy to use. Testing your block in different environments will give you insights into how users engage with your design, allowing you to make necessary adjustments.
8. Testing and Debugging Your Block
No development process is complete without thorough testing and debugging. This is especially true for custom Gutenberg blocks, where functionality and usability are paramount. You want to ensure that your block works as intended, both on the backend (where you create content) and the frontend (where users see it).
Start by evaluating the basic functionality of your block. Check if it appears in the block editor, and explore various settings you’ve implemented. Here’s a checklist to guide you through the essentials:
- Block Rendering: Ensure that your block renders correctly. Is all the content displaying as expected?
- Responsive Behavior: Use different devices to see how your block adjusts to varying screen sizes.
- Cross-Browser Compatibility: Test your block on different browsers (Chrome, Firefox, Safari, etc.) to ensure consistent behavior.
- JavaScript Errors: Open the developer console in your browser to check for any JavaScript errors when interacting with your block.
Debugging might not sound fun, but it’s crucial. The WordPress community provides great tools like Debug Bar and Query Monitor which can help identify issues within your blocks or queries. Enable the WordPress debug mode by adding the following line to your wp-config.php file:
define('WP_DEBUG', true);Finally, keep an eye on user feedback. If you’ve released your block to the public, listen to what users are saying. Are there any features they desire, or are they encountering problems? Continuous improvements will make your block even better!
Publishing Your Custom Block
Once you’ve developed your custom Gutenberg block for taxonomy posts, the next exciting step is to publish it! Publishing your block means making it available to use within the WordPress editor. Here’s a step-by-step guide to ensure your block is successfully deployed:
- Testing Your Block: Before going live, always test your block. You can do this by working in your local development environment or using the WordPress staging sites. Verify that the block behaves as expected and that it correctly pulls in taxonomy posts. Take note of any errors or adjustments you might need to make.
- Deployment: If everything checks out, it’s time to deploy your block! This involves transferring your code from your local environment to your live site. You can use FTP or SSH to upload your plugin files into the
wp-content/plugins/directory on your WordPress installation. - Activating Your Block: After deployment, navigate to your WordPress dashboard. Click on Plugins and find your custom block plugin in the list. You’ll need to activate it before you can start using your new block in the Gutenberg editor.
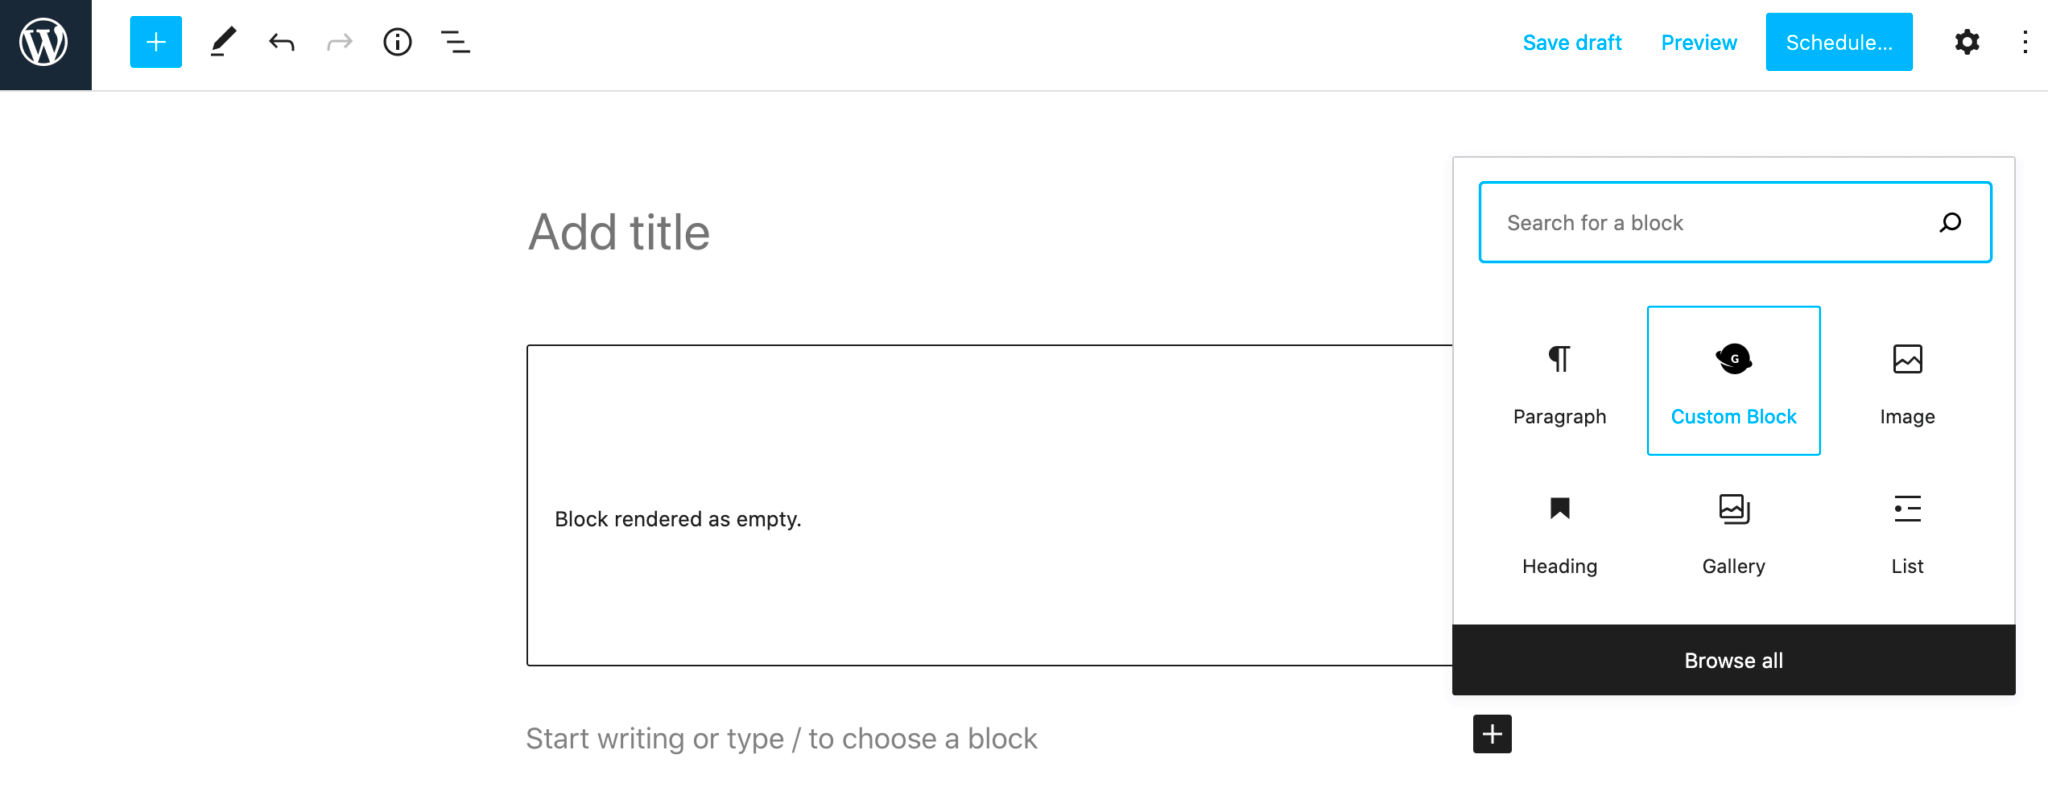
- Using the Block: Now comes the fun part! When you create or edit a post or page, you should see your custom block available in the block library. Feel free to drag it into your content area, configure any settings you’ve added, and see how it integrates with your taxonomy.
- Get Feedback: After publishing, it can be beneficial to gather feedback from team members or users. This can help you identify improvements or additional features that might be beneficial in future iterations.
Publishing your custom block can be a significant step in enhancing your site, making it more interactive and user-friendly.
Conclusion and Next Steps
Congratulations! You’ve successfully built and published your custom Gutenberg block for displaying taxonomy posts in WordPress. It’s not just an accomplishment; it opens up a whole new avenue of content management and presentation for your website. Let’s take a moment to reflect and plan your next steps:
- Refine Your Block: Now that you have the basic functionality, think about additional features you could implement. Perhaps a filtering system for your taxonomy posts or even styling options for better customization.
- Testing Across Different Devices: Make sure your new block displays well across various devices. Test it on mobile, tablets, and different browsers to ensure a seamless user experience.
- Documentation: Consider writing documentation for your custom block. This will be extremely helpful for future reference, whether you’re collaborating with others or revisiting your project after some time.
- Share Your Work: Don’t be shy! If you think others could benefit from your custom block, consider sharing it with the WordPress community. You could even submit it to the WordPress Plugin Repository to help others make use of your creation.
- Keep Learning: The world of WordPress and Gutenberg is always evolving. Keep yourself updated with new features, methods, and best practices. Joining forums, attending webinars, or even taking advanced courses can be great ways to enhance your skills.
Ultimately, building a custom block is just the beginning. As you continue to refine your skills and expand your knowledge, you’ll be able to create even more tailored solutions for your website and your audience.

